Blob Container CMK Encrypted
Ensures that blob containers in storage account are CMK encrypted
Azure allows you to encrypt data in your blob containers using customer-managed keys (CMK) instead of using platform-managed keys, which are enabled by default. Configuring a customer-managed key for blob services ensures protection and control access to the key that encrypts your data. Customer-managed keys offer greater flexibility to manage access controls.
Recommended Actions
Follow the appropriate remediation steps below to resolve the issue.
Prerequisites
Before configuring CMK encryption for blob containers, ensure you have:
- An Azure Key Vault with a key that will be used for encryption
- The storage account must have appropriate permissions to access the Key Vault. The Key Vault must have an access policy that grants the storage account (or its managed identity) the following permissions: Get, Unwrap Key, and Wrap Key. If you see an “Access denied” message when selecting the key vault, you need to configure these permissions first.
- The storage account must be configured to use customer-managed keys at the account level (optional but recommended)
Step 1: Create an Encryption Scope with CMK
Log in to the Microsoft Azure Management Console.
Find the search bar at the top and search for Storage account.
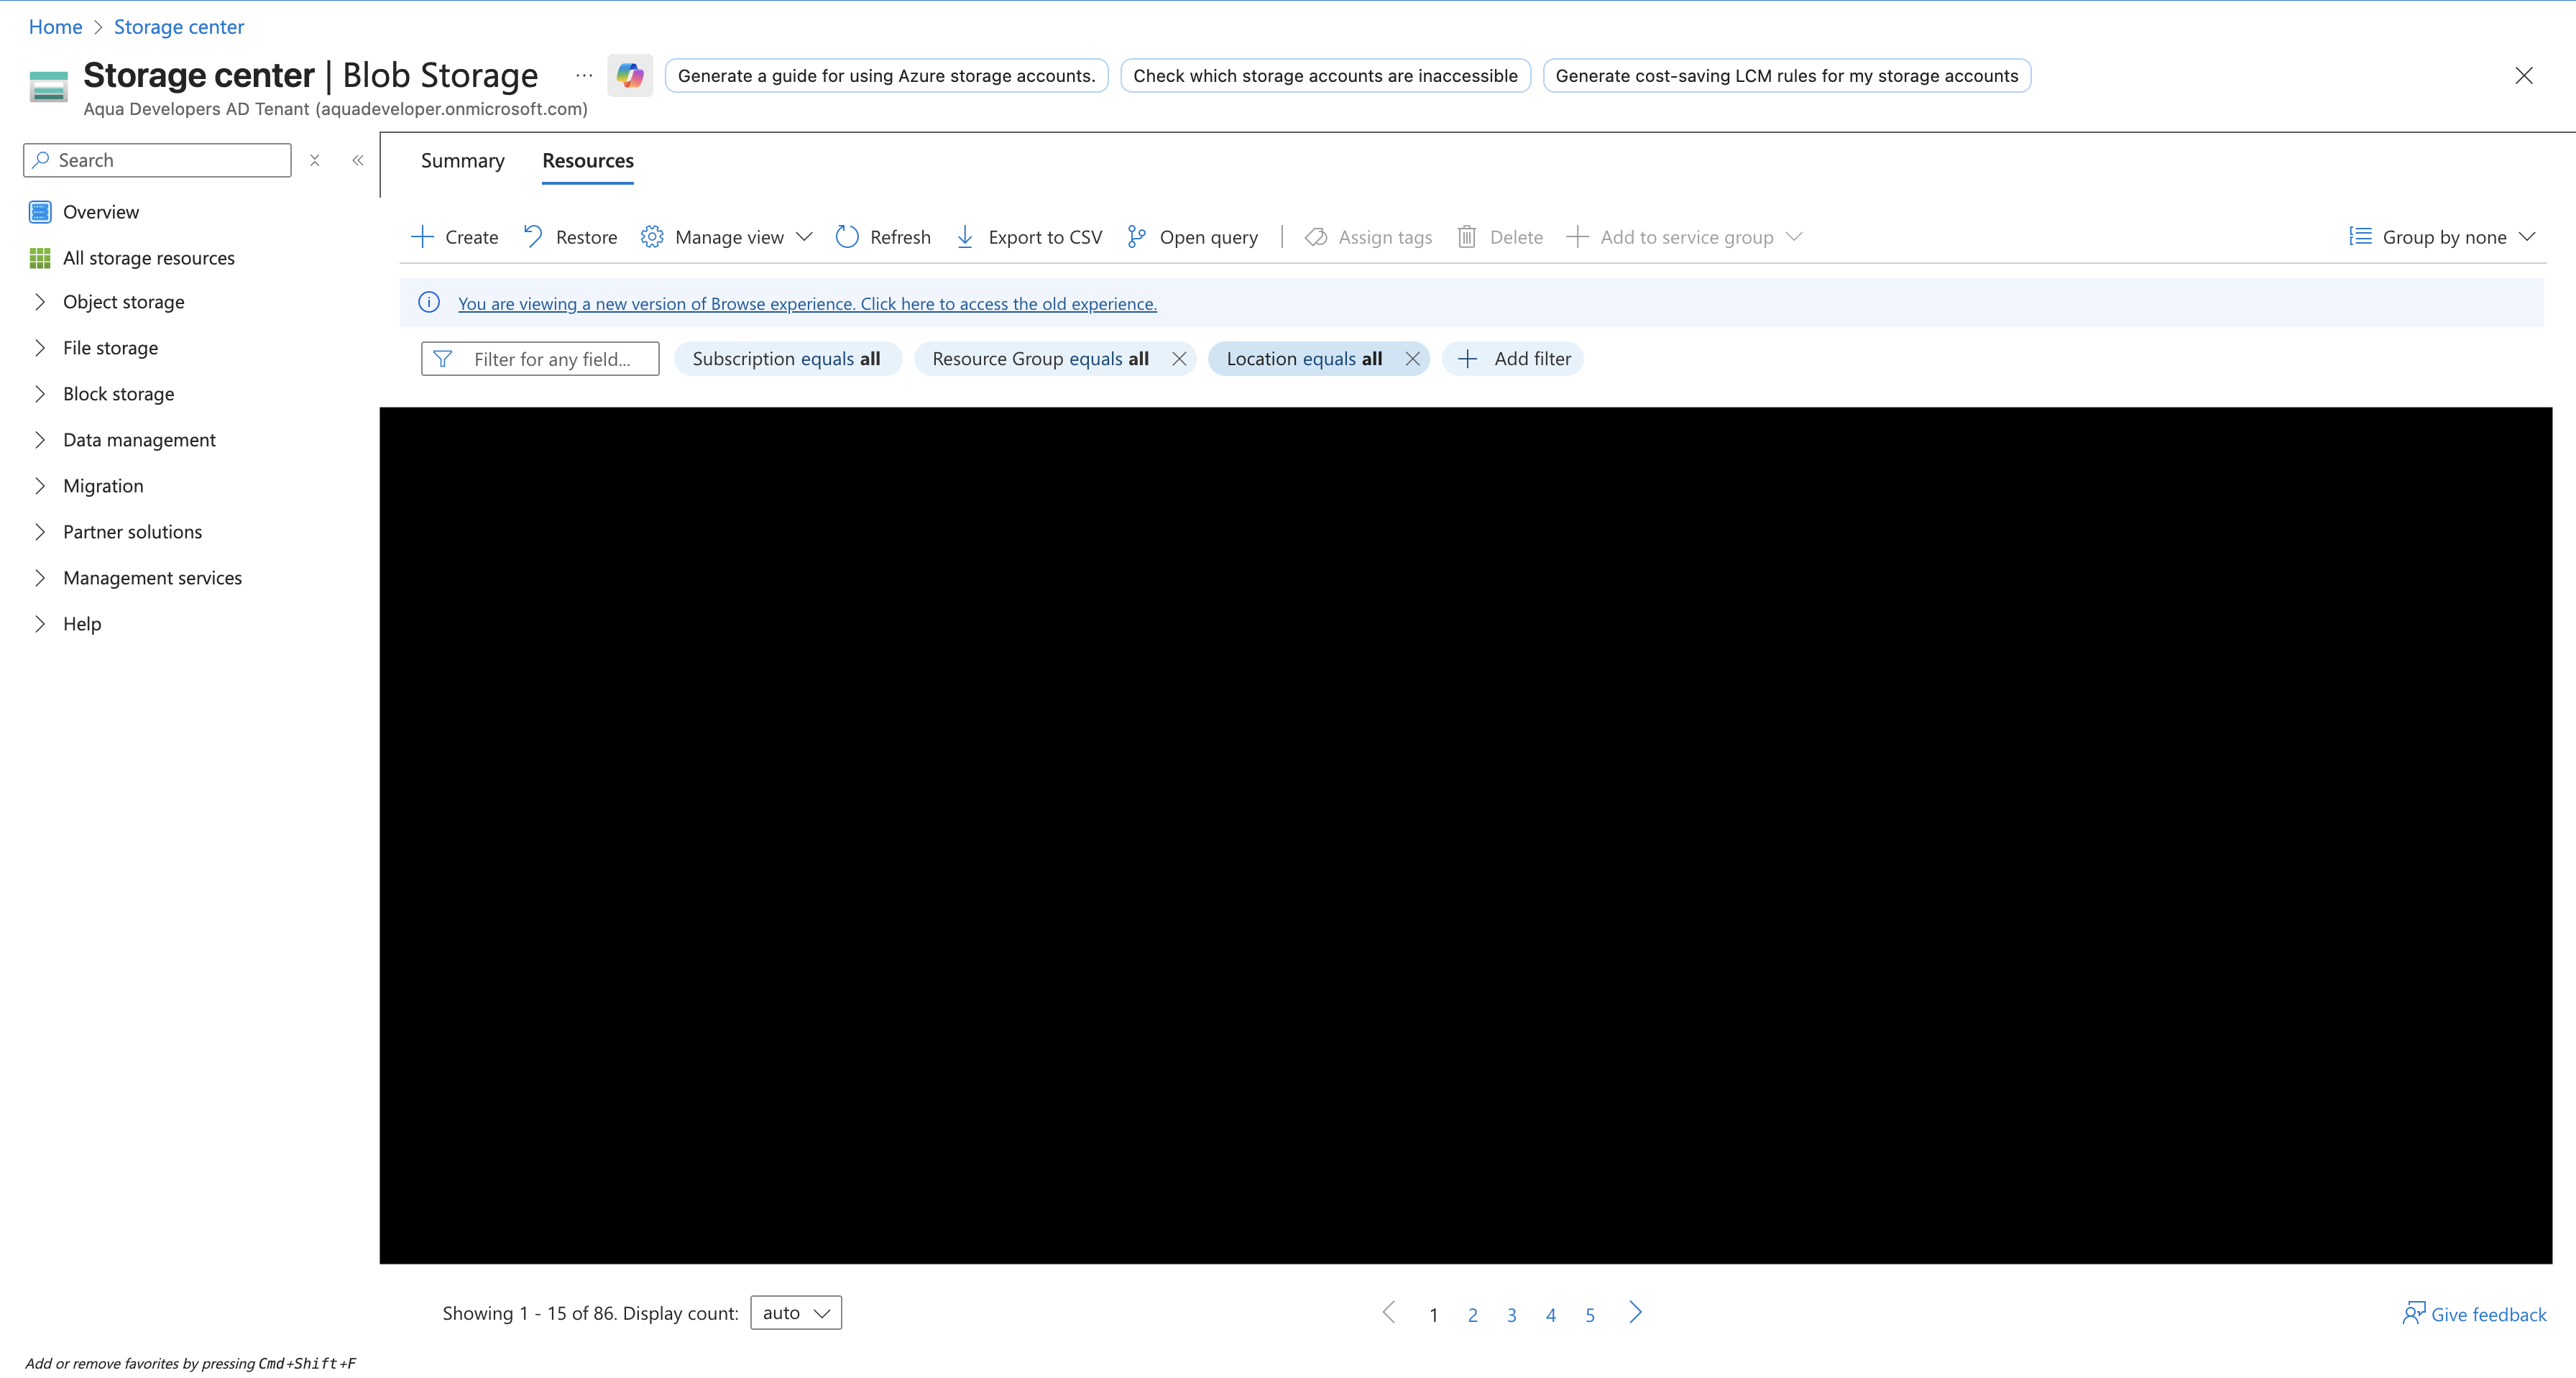
Select the Storage account by clicking on the Name link to access the configuration changes.
In the left navigation panel, scroll down and click on Encryption under Security + networking.
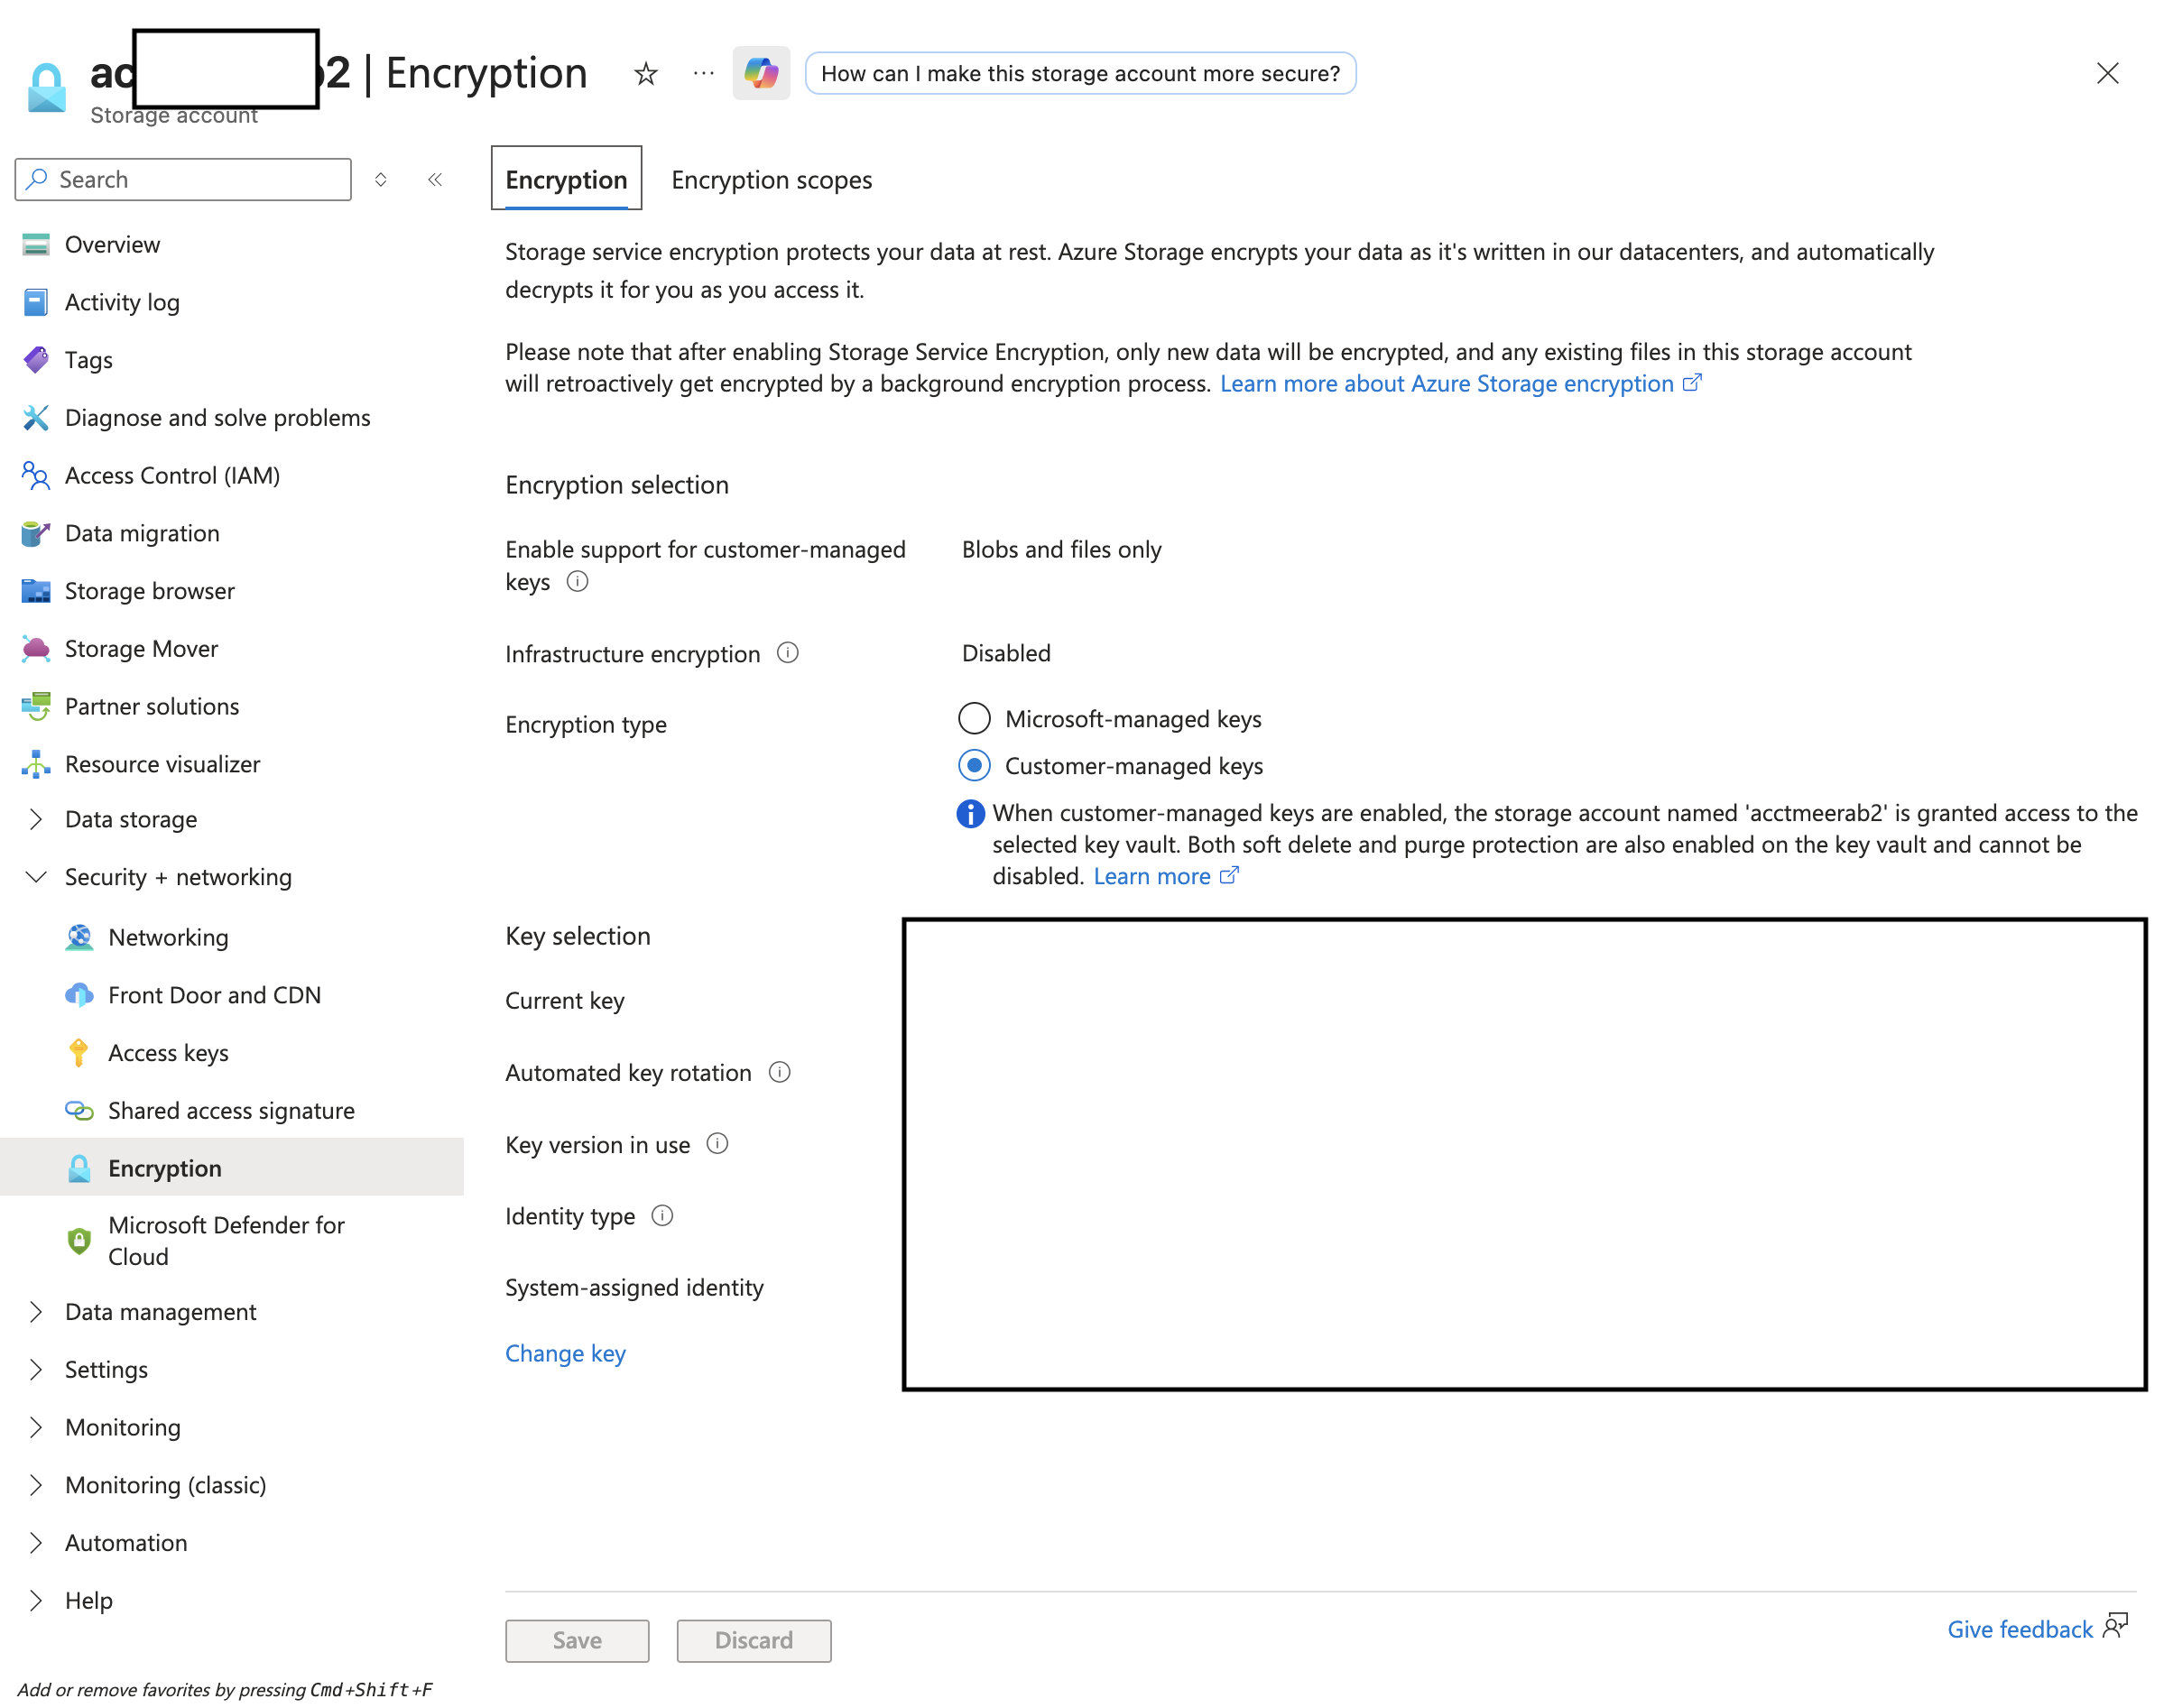
On the Encryption page, click on the Encryption scopes tab (if not already selected), then click on the + Add button at the top to create a new encryption scope.
In the Create encryption scope panel that opens on the right:
- Enter a Name for the encryption scope in the Encryption scope name field (e.g., “cmk-encryption-scope”)
- Under Encryption type, select the radio button for Customer-managed keys (this should be selected by default)
- Under Encryption key, select the radio button for Select from key vault
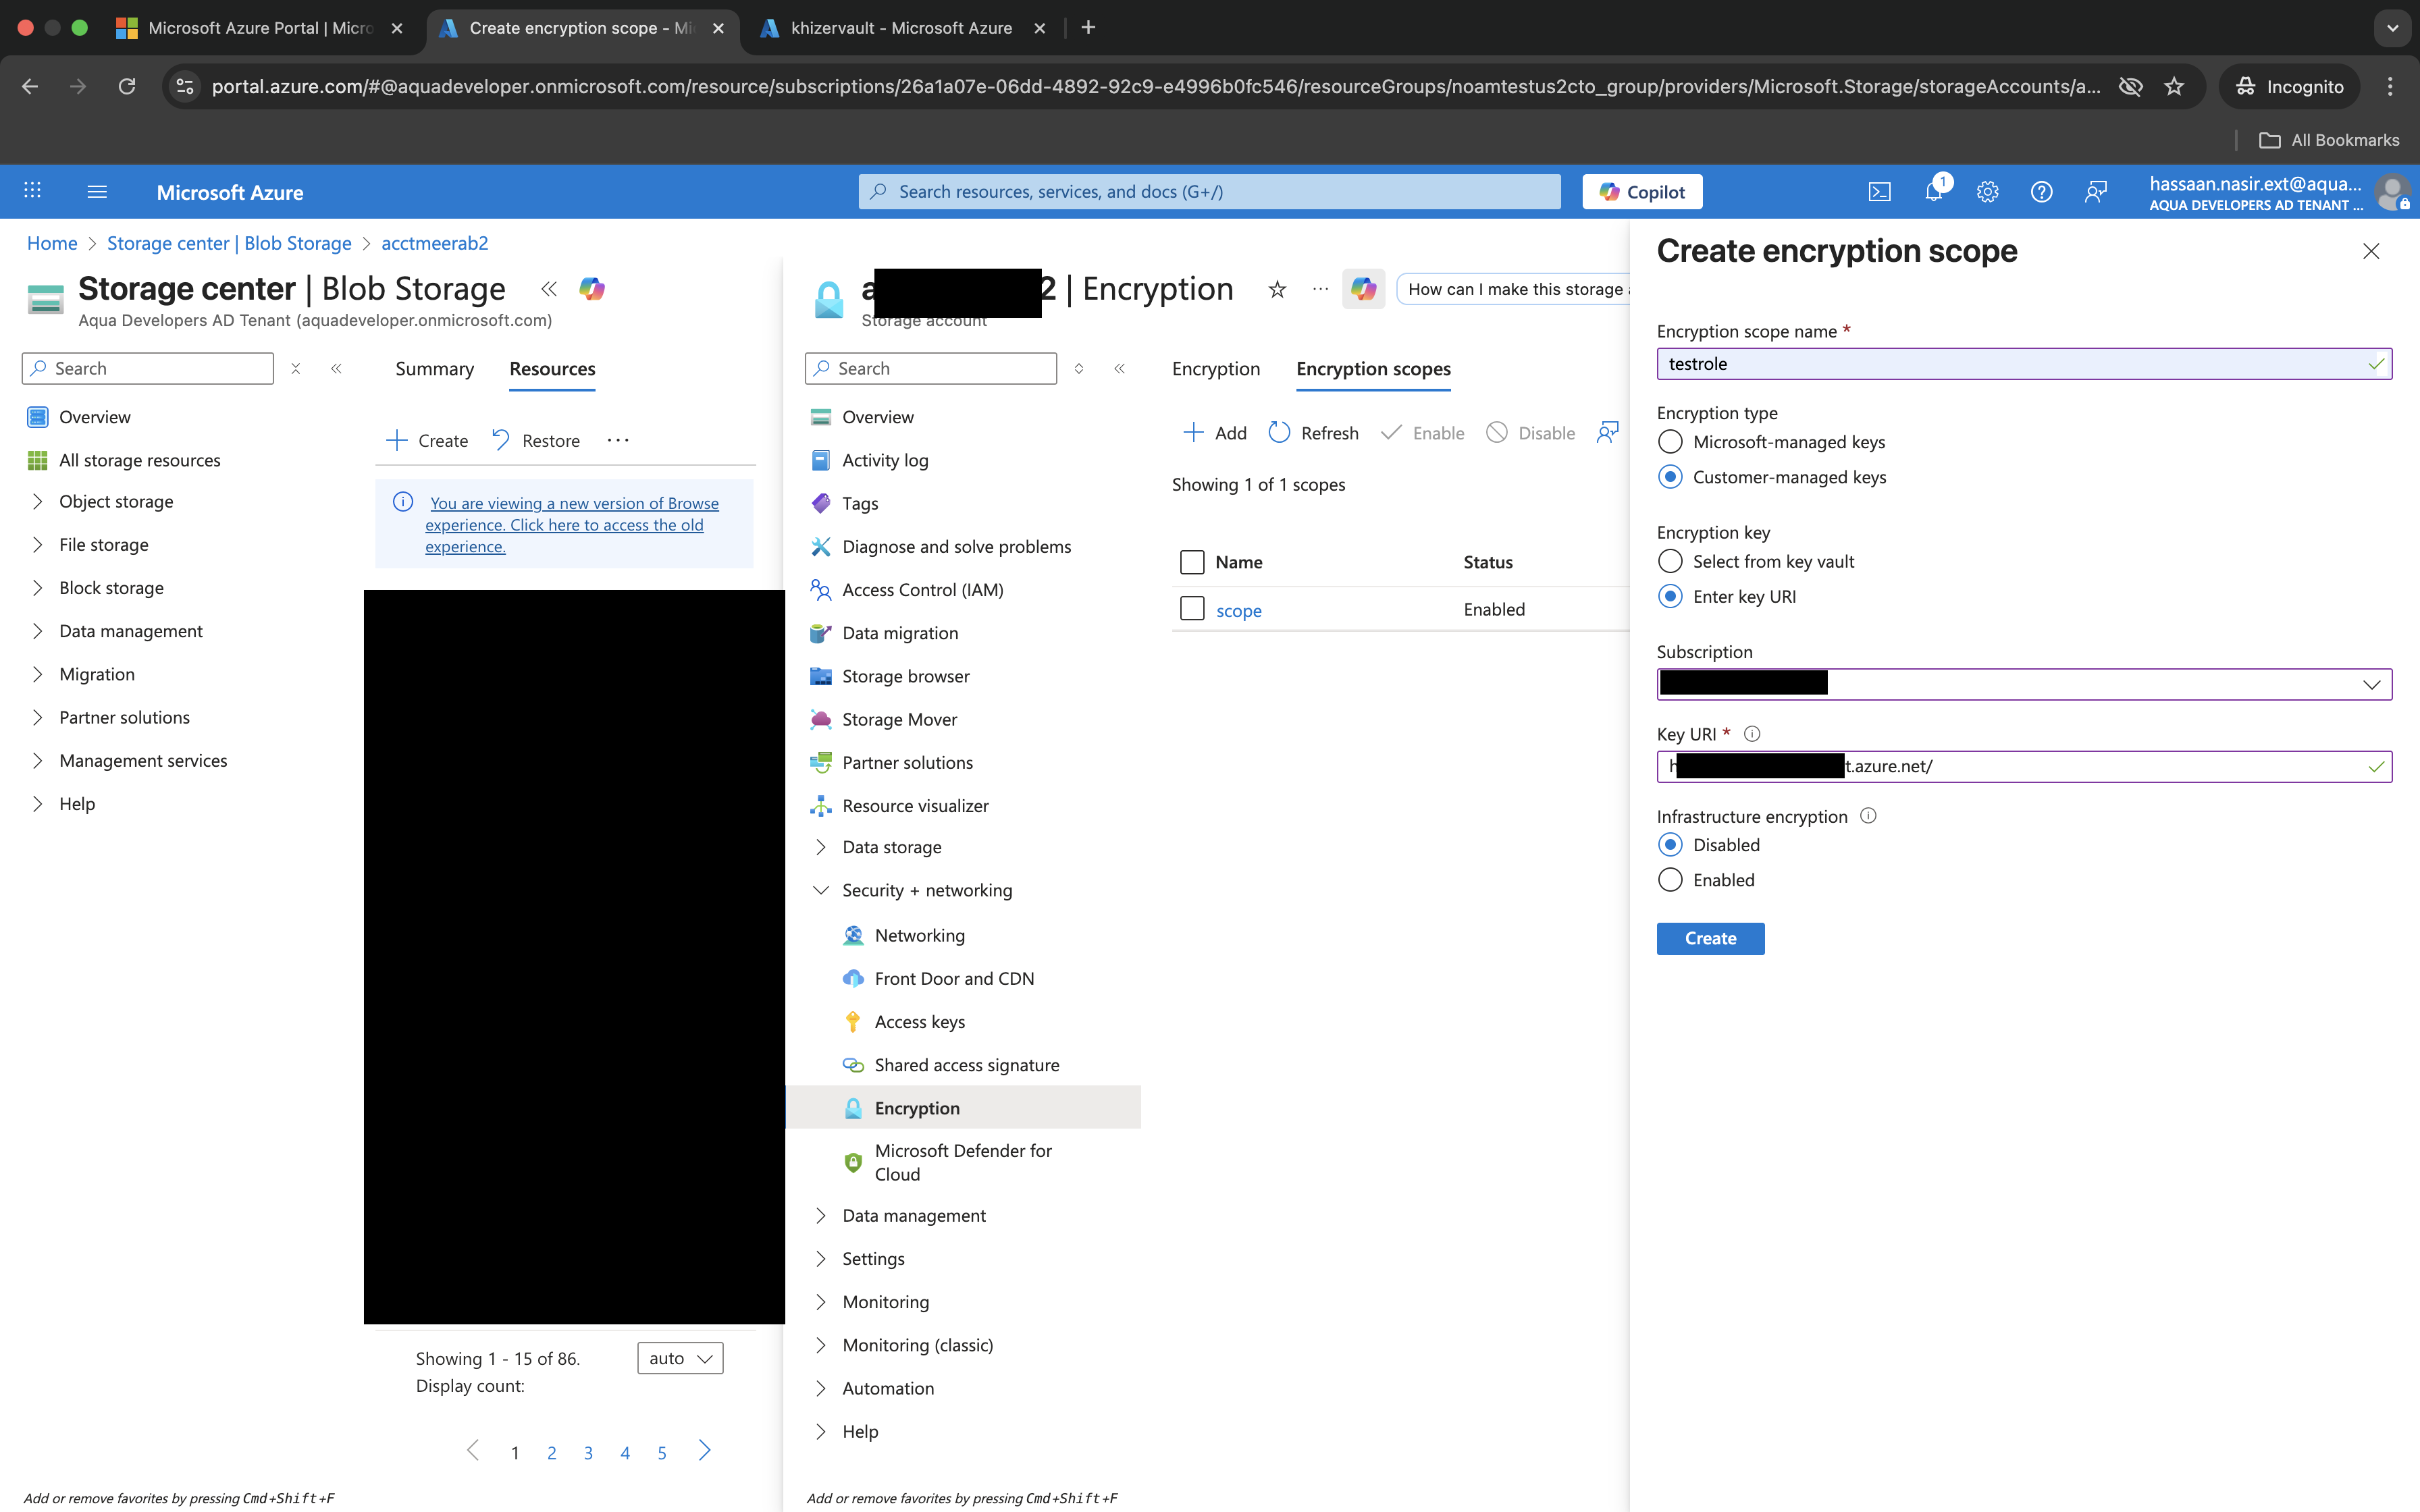
In the same Create encryption scope panel, configure the key vault settings:
- Subscription: Select your subscription from the dropdown
- Key vault (required): Click the dropdown and select your Key Vault from the list. If you see an access denied message, ensure the storage account has the necessary permissions (Get, Unwrap Key, Wrap Key) on the Key Vault.
- Key (required): Click the dropdown and select the key from your Key Vault
- Infrastructure encryption: Leave as Disabled (default) unless you require double encryption
Review all settings, then click the Create button at the bottom of the panel to save the encryption scope.
Wait for the encryption scope to be created successfully. You should see it listed on the Encryption scopes page with Status showing as Enabled.
Step 2: Create New Blob Containers with CMK Encryption
In the left navigation panel of your Storage account, click on Containers under Data storage.
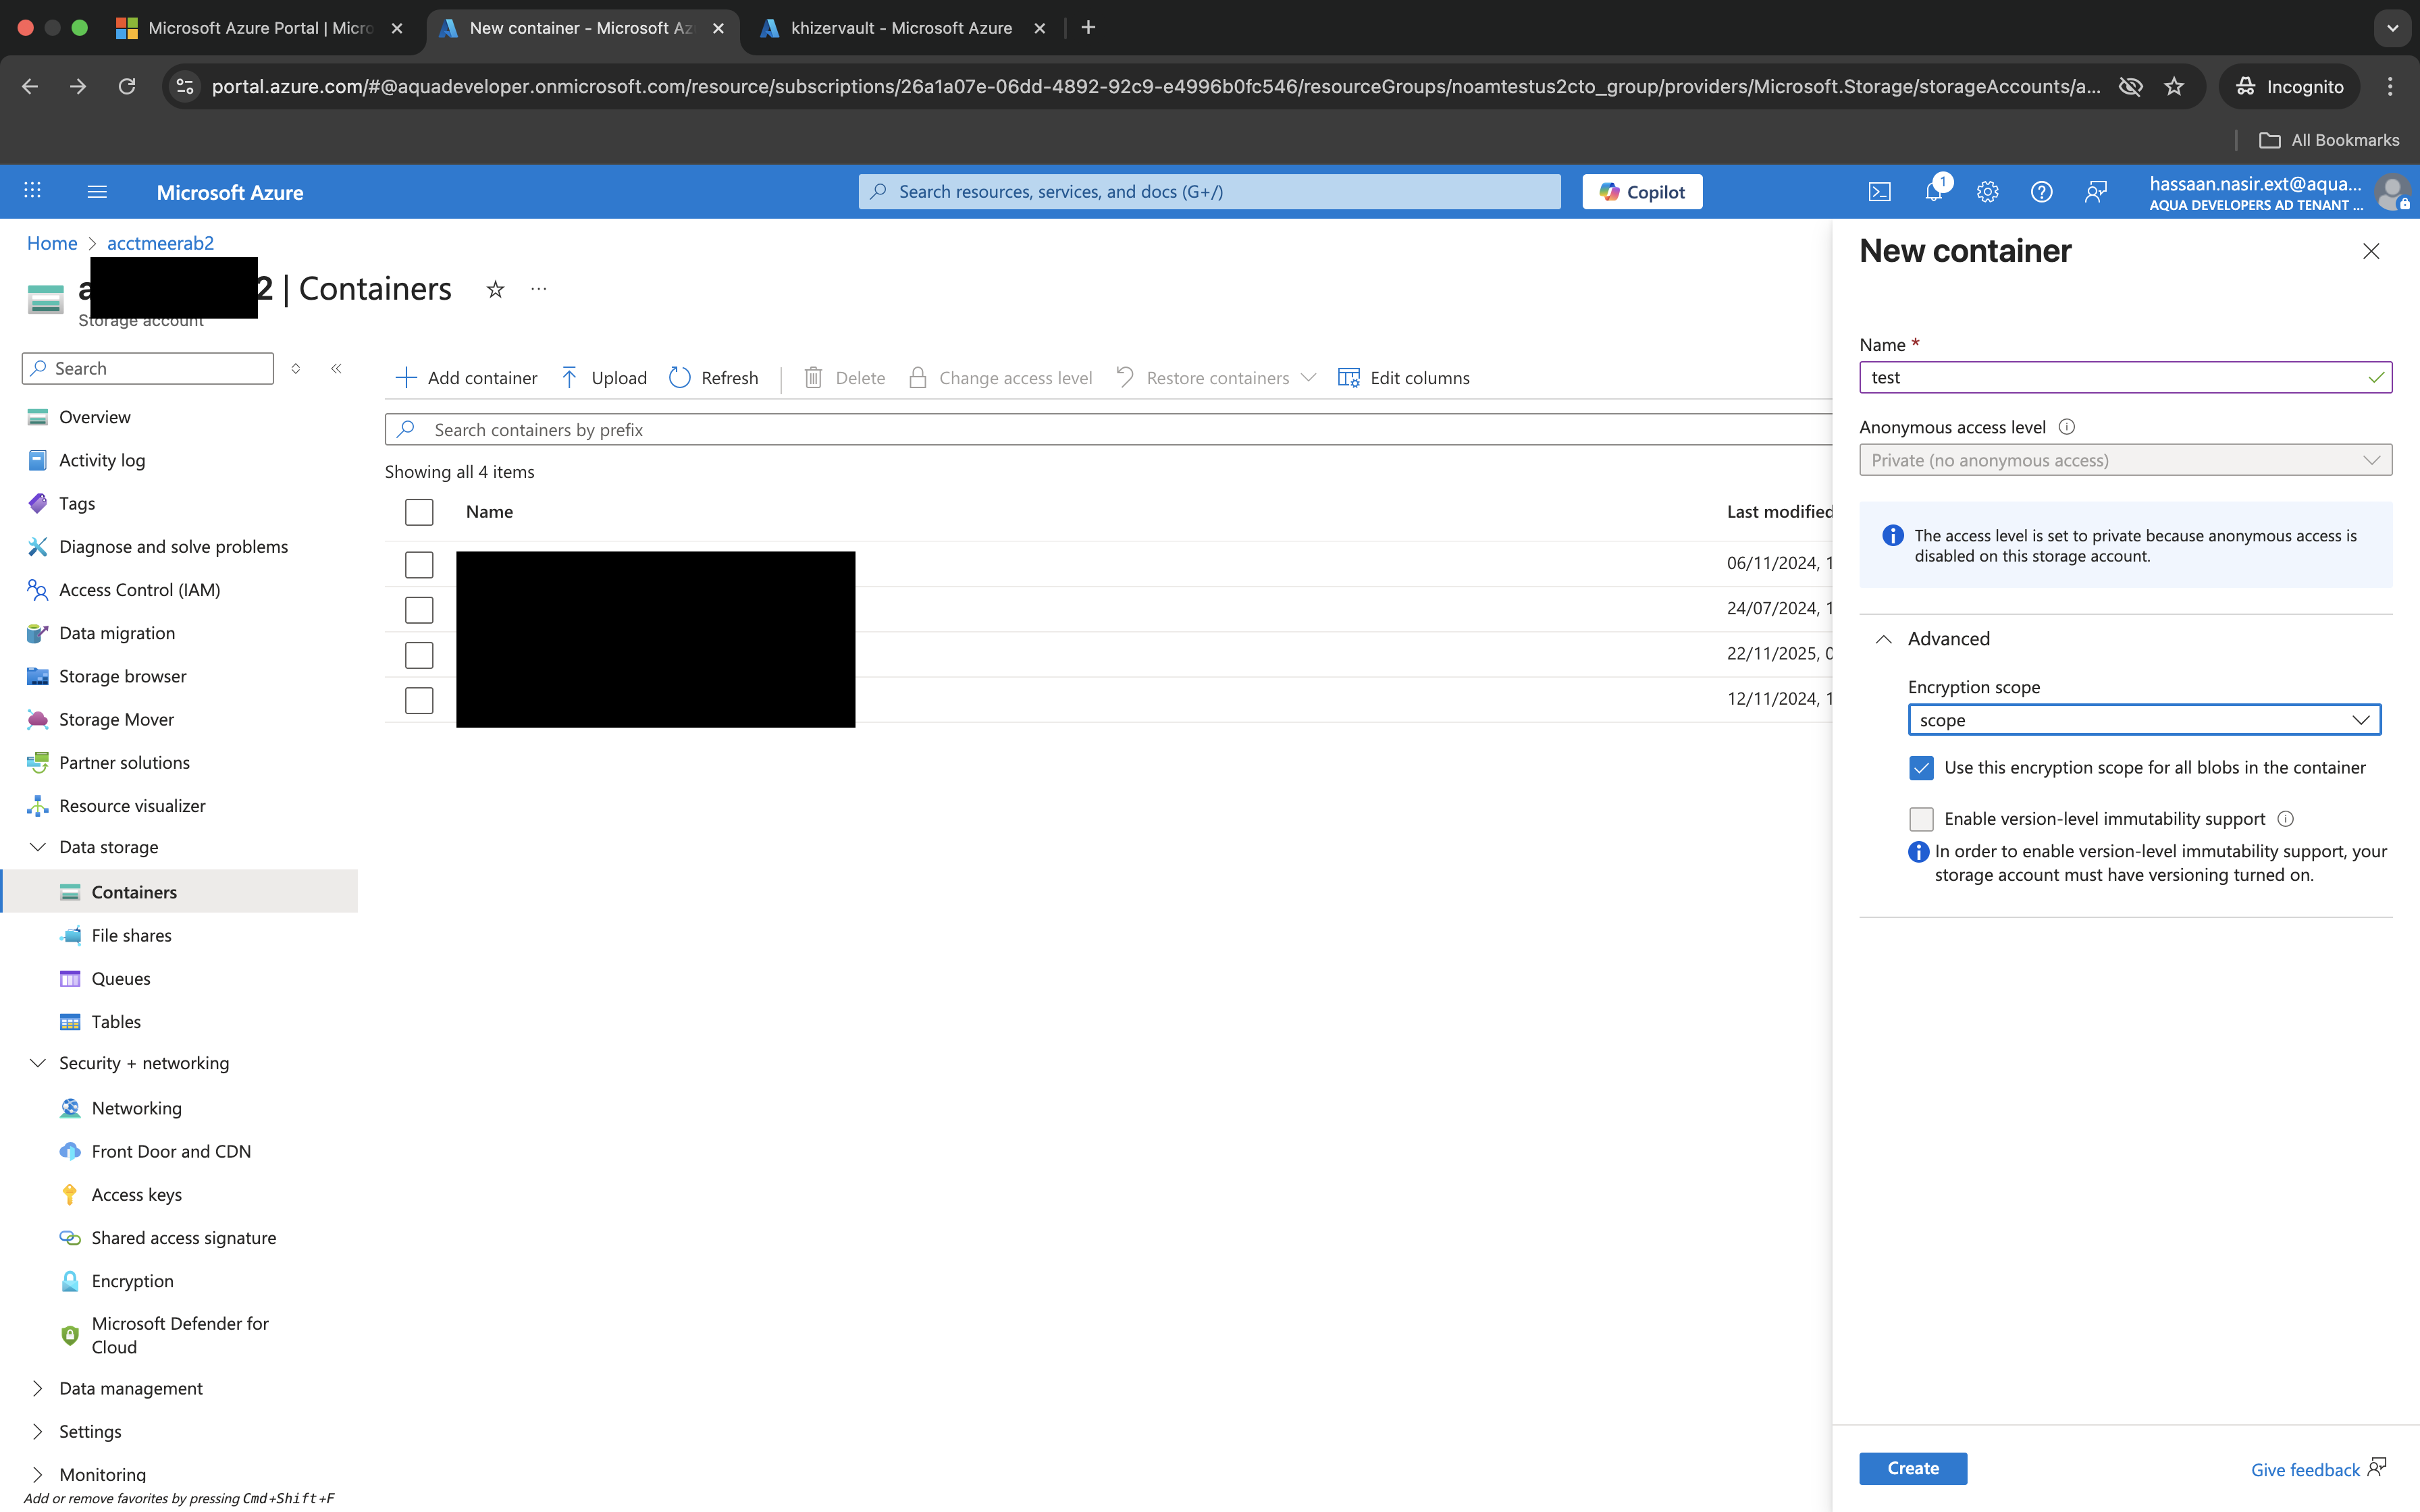
Click on the + Container button at the top to create a new container.
In the New container panel:
- Enter a Name for the container
- Select the Public access level (recommended: Private (no anonymous access))
- Under Encryption scope, select Use a specific encryption scope
- In the Encryption scope dropdown, select the CMK encryption scope you created in Step 1
- Click Create
The new container will be created with CMK encryption enabled. All blobs uploaded to this container will be encrypted using the customer-managed key from your Key Vault.
Step 3: Verify CMK Encryption
- Navigate back to the Containers page and select the container you just created.
- In the container properties, verify that the Default encryption scope shows the CMK encryption scope name you configured.
- Alternatively, you can verify by checking the encryption scopes:
- Go to Encryption under Security + networking, then click on the Encryption scopes tab
- Confirm that your encryption scope is listed with Status showing as Enabled
- Note: You cannot change the encryption scope of an existing container. You must create a new container with CMK encryption.