VM Agent Enabled
Ensures that the VM Agent is enabled for virtual machines
The VM agent must be enabled on Azure virtual machines in order to enable Azure Defender for data collection.
Recommended Actions
Follow the appropriate remediation steps below to resolve the issue.
Log into the Microsoft Azure Management Console.
Select the “Search resources, services, and docs” option at the top and search for “Microsoft Defender for Cloud”.

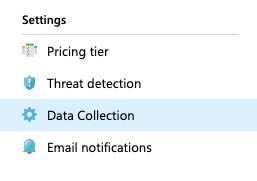
On the “Microsoft Defender for Cloud” page scroll down the left navigation panel and choose “Environment Settings”.

On the “Environment Settings” page, select the “Subscription” by clicking on its “Name”.
Under the “Settings” page, click on “Defender Plans”.
Navigate to the “Server” plan in “Defender Plans” and make sure they are turned “ON”. Proceed to Settings for “Server” under “Monitoring Coverage” for plans.

On the “Settings & monitoring” Page turn on “Agentless Scanning for machines”.
At the top of “Settings & monitoring” Page click on “Continue” to save the changes made.
Repeat steps number 7 - 8 to enable the VM agent for all virtual machines.