CLB CDN Enabled
Ensures that Cloud CDN is enabled on all load balancers
Cloud CDN increases speed and reliability as well as lowers server costs. Enabling CDN on load balancers creates a highly available system and is part of GCP best practices.
Recommended Actions
Follow the appropriate remediation steps below to resolve the issue.
Log in to the Google Cloud Platform Console.
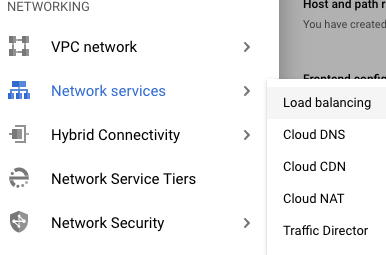
Scroll down the left navigation panel and choose the “Network Services” option under the “NETWORKING” and select the “Load balancing.”
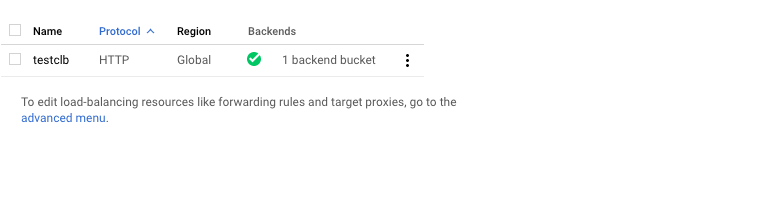
On the “Load balancing” page , click on the “Name” as a link option to select the load balancer.
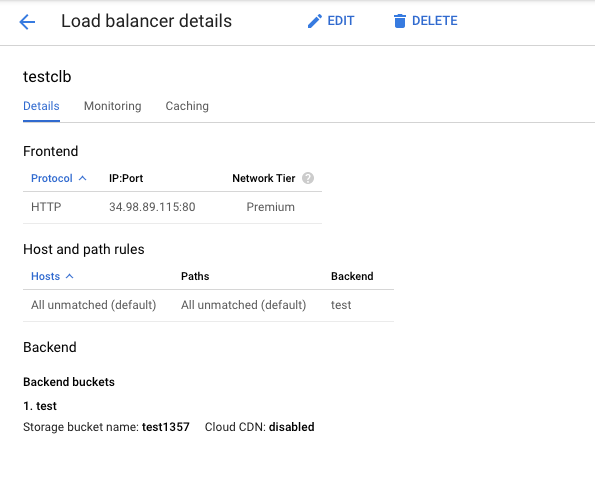
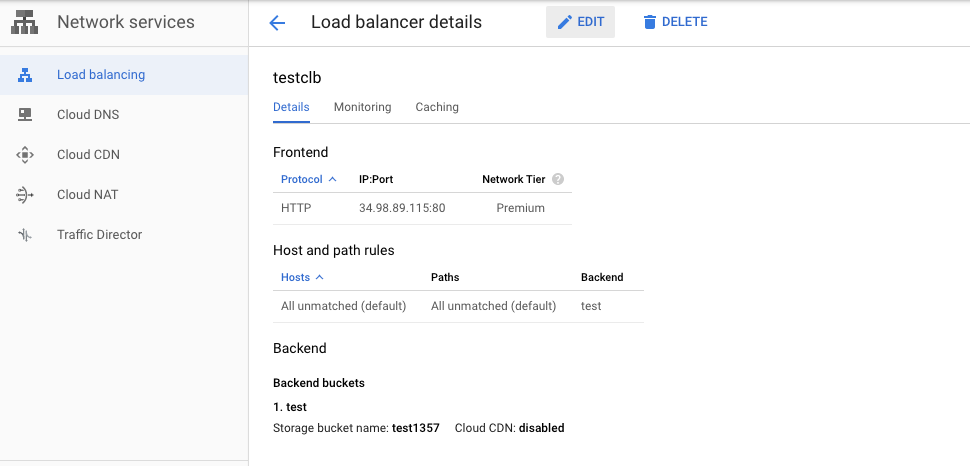
On the “Load balancer details” page, scroll down the page and check the “Cloud CDN” option under the “Backend.” If it’s set to “disabled” then the selected “Load balancer” cannot creates a highly available system and is part of GCP best practices.
Repeat steps number 2 - 4 to verify other “Load balancers” in the account.
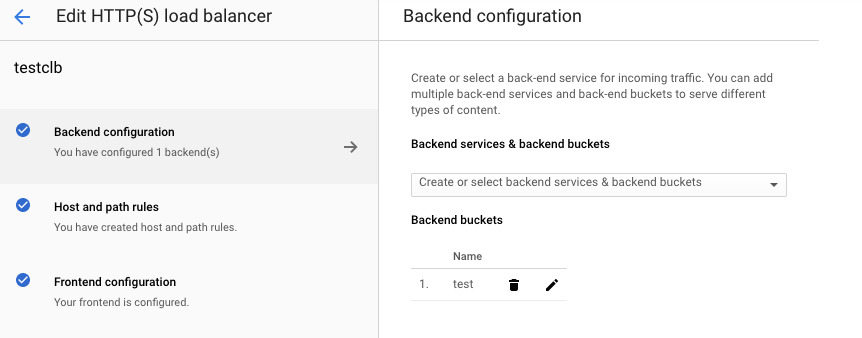
Navigate to the “Load balancing” option under the “Netowrk Services” of the “NETWORKING”, choose the “load balancer” and click on the “Edit” button at the top.
On the “Edit HTTP(S) load balancer” page, click on the “Backend configuration” option, click on the pencil icon next to the “Bucket/VM” present in the “Backend configuration” page.
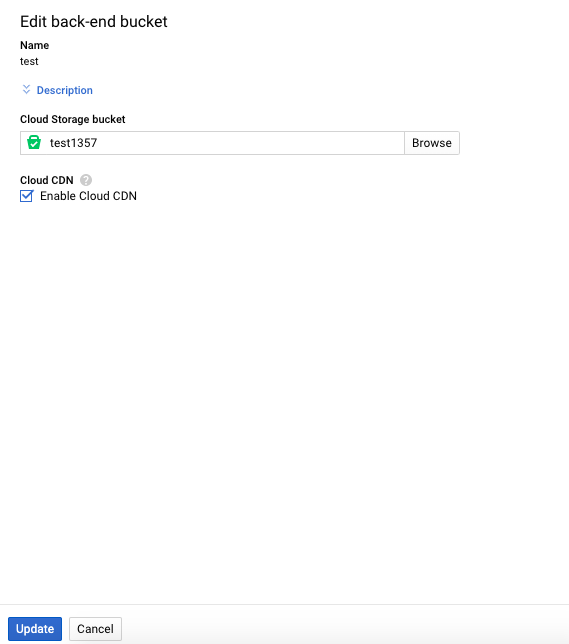
On the “Edit back-end bucket” page, click on the checkbox next to the “Enable Cloud CDN” and click on the “Update” button to make the changes.
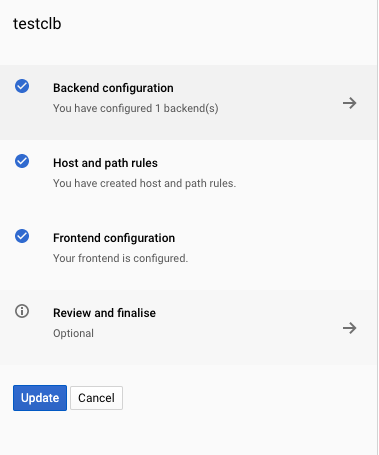
On the “Edit HTTP(S) load balancer” page, click on the “Update” button to save the changes.
Repeat steps number 6 - 9 to enable Cloud CDN on all load balancers from the network services console.