IP Forwarding Disabled
Ensures that IP forwarding is disabled on all instances
Disabling IP forwarding ensures that the instance only sends and receives packets with matching destination or source IPs.
Recommended Actions
Follow the appropriate remediation steps below to resolve the issue.
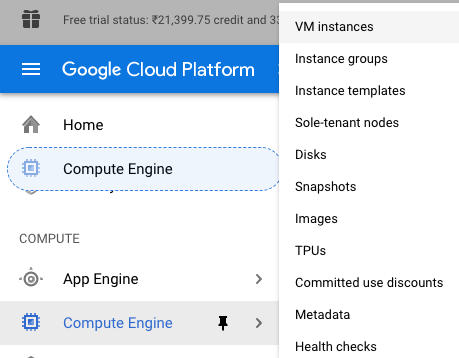
Log into the Google Cloud Platform Console.
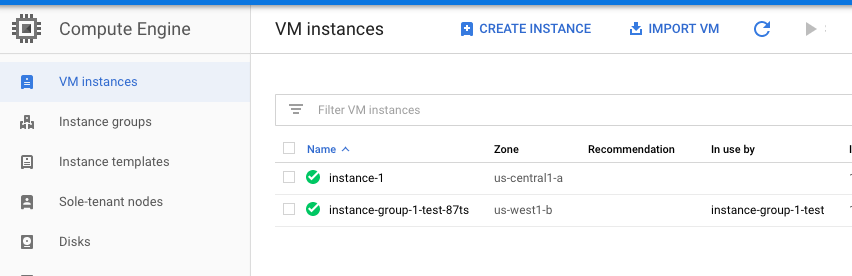
Scroll down the left navigation panel and choose the “Compute Engine” to select the “VM Instances” option.
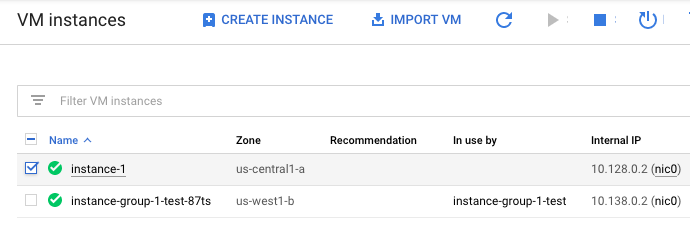
On the “VM Instances” page, select the VM instance which needs to be verified.
On the “VM instance details” page, scroll down and check “IP forwarding” under the “Network Interfaces” is enabled or not for VM instances.

Repeat steps number 2 - 4 to verify other VM instances in the network.
Navigate to “Compute Engine”, choose the “VM instances” and select the “VM instance” which needs to disabled “IP forwarding” for VM instance.
On the “VM instance details” page, select the “CREATE SIMILAR” button at the top.

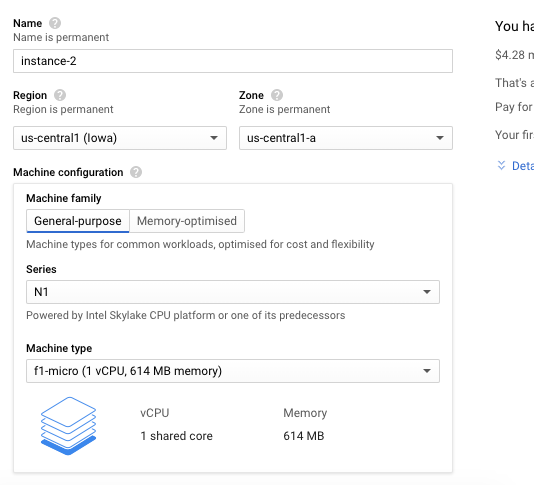
Enter the “Name” of the instance, Region, Choose the “Machine Configuration” as per the previous instance had.
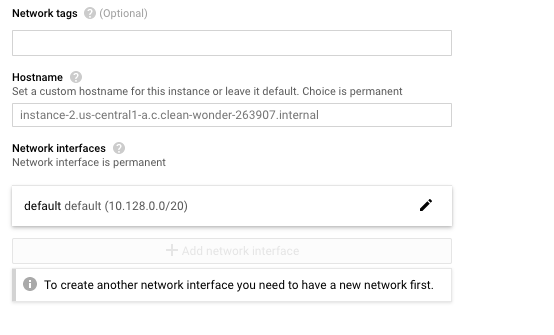
Scroll down the “Create an Instance” page, click on the “Management, security, disks, networking, sole tenancy” option, choose “Networking” and click on the pencil icon next to the “default” under “Network Interfaces.”
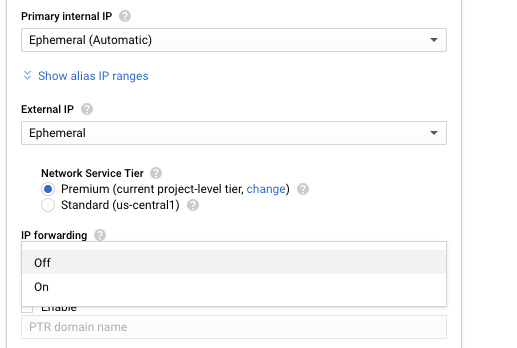
On the “Network Interfaces” tab, scroll down the page and select “OFF” from the dropdown menu under the “IP Forwarding” option.
Click on the “Create” button at the bottom to make the changes.

Once the new similar instance is up and running, delete the instance with “IP forwarding” enabled.
Repeat steps number 6 - 12 so that IP forwarding settings can only be chosen when creating a new instance. Delete the affected instances and redeploy with IP forwarding disabled.