DNS Zone Labels Added
Ensure Cloud DNS zones have labels added.
Labels are a lightweight way to group resources together that are related to or associated with each other. It is a best practice to label cloud resources to better organize and gain visibility into their usage.
Recommended Actions
Follow the appropriate remediation steps below to resolve the issue.
Log into the Google Cloud Platform Console.
Scroll down the left navigation panel and choose “Network Services” to select the “Cloud DNS” option.
On the “Cloud DNS” page, select the DNS Zone which needs to be verified whether it has labels added or not by clicking on the checkbox next to its name.

From the panel at the top of the page, click on “Labels”.
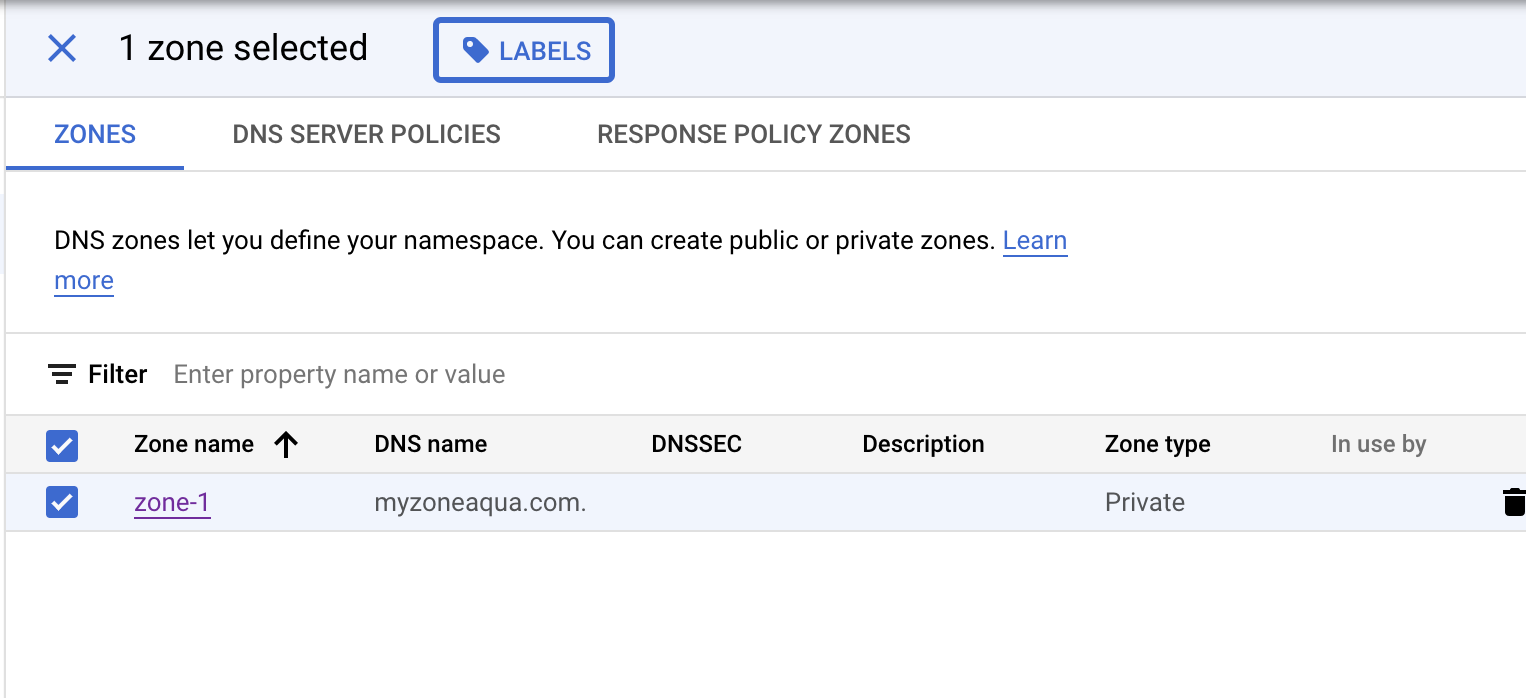
A popup will open on the right side of the page, check if there are any labels shown in it. If not, the DNS zone does not have labels added.
Repeat steps number 3-5 to check other zones in the project.
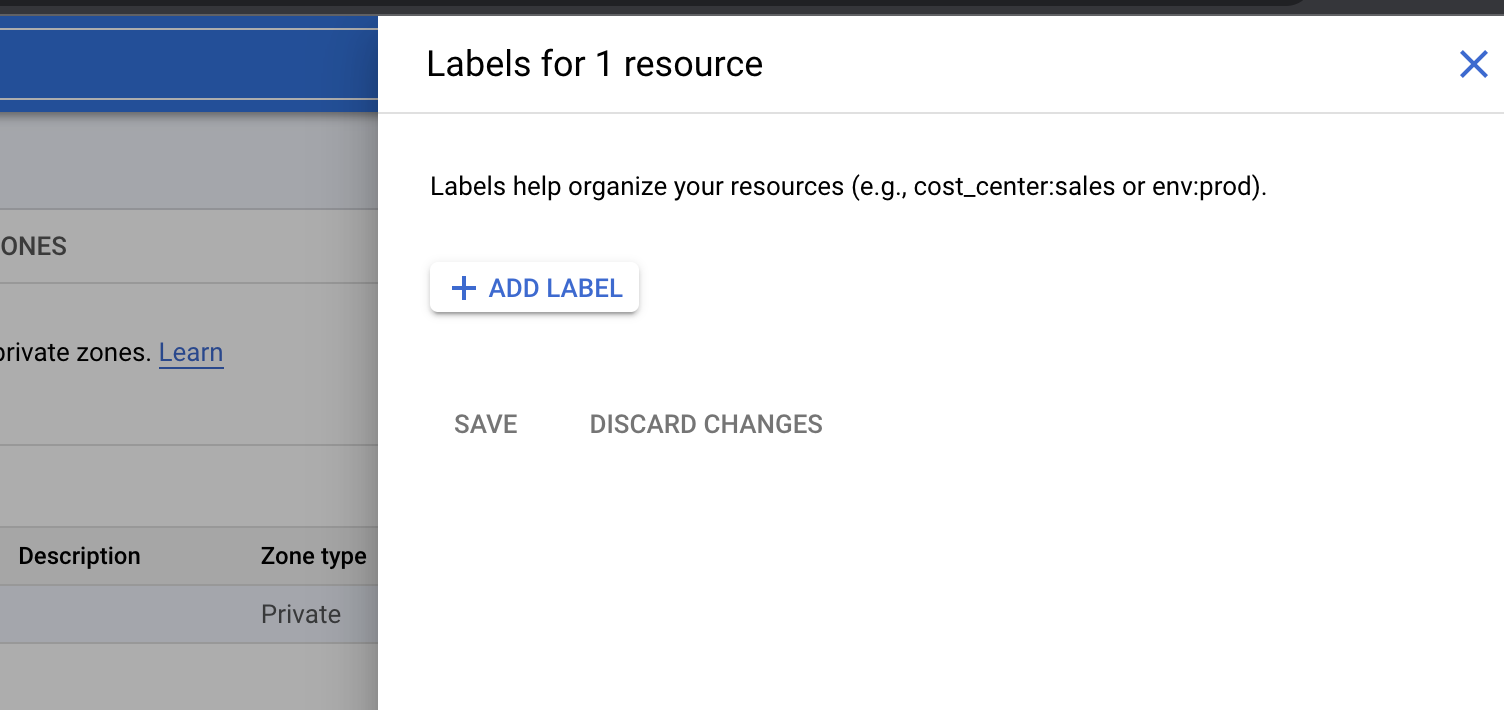
Navigate to “Network Services”, choose “Cloud DNS”. Click on the checkbox next to the name of the “DNS Zone” which needs to have labels added and click on “Labels” at the top of the page.
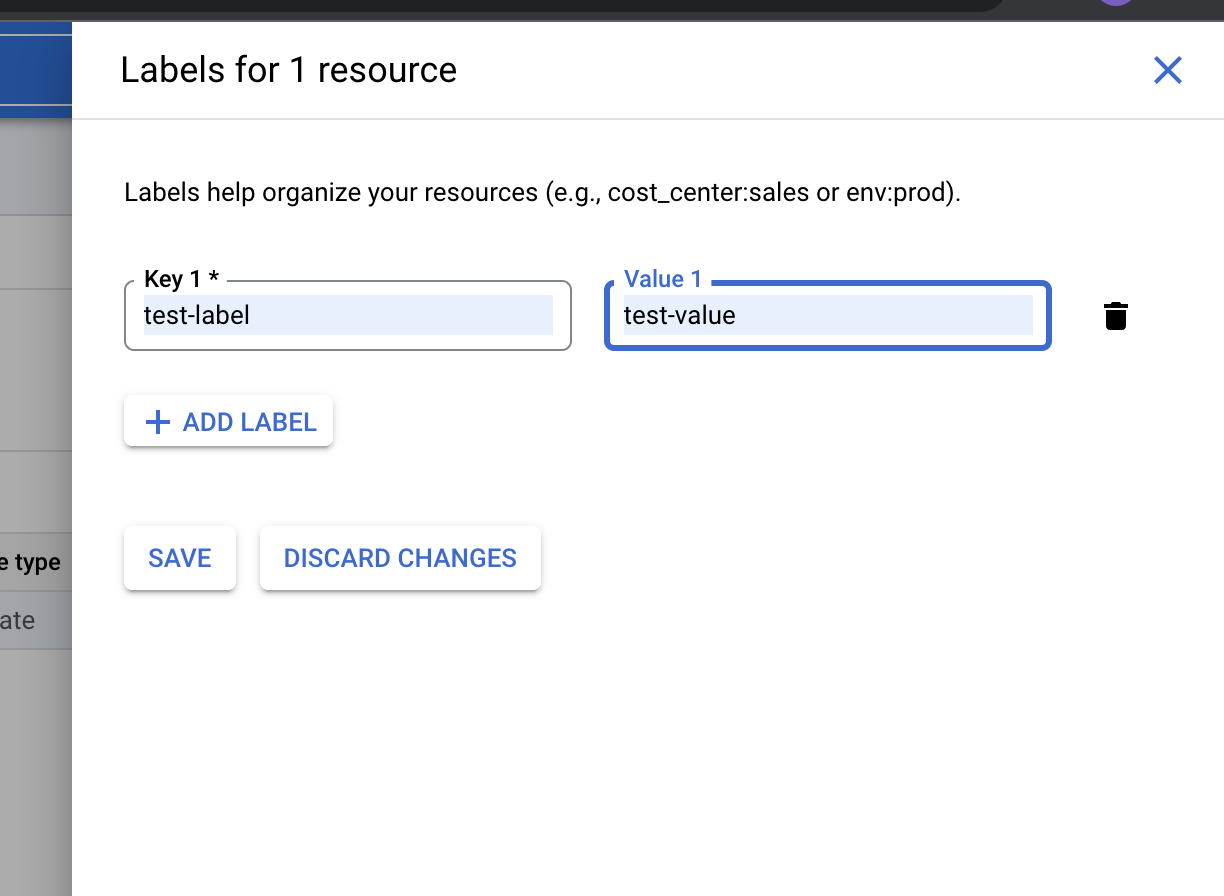
In the popup on the right side, click on “Add Label” and add key and value for the label. Add as many labels as you want and then click “Save”.
Repeat steps number 6-7 to add labels to all other zones in the project.