Automatic Node Repair Enabled
Ensures all Kubernetes cluster nodes have automatic repair enabled
When automatic repair on nodes is enabled, the Kubernetes engine performs health checks on all nodes, automatically repairing nodes that fail health checks. This ensures that the Kubernetes environment stays optimal.
Recommended Actions
Follow the appropriate remediation steps below to resolve the issue.
Log in to the Google Cloud Platform Console.
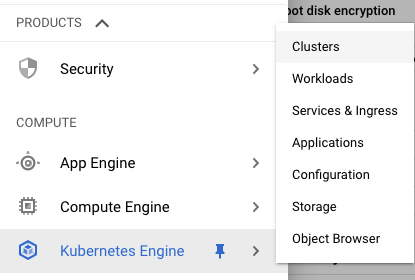
Scroll down the left navigation panel and choose the “Kubernetes Engine” option under the “Compute” and select the “Clusters.”
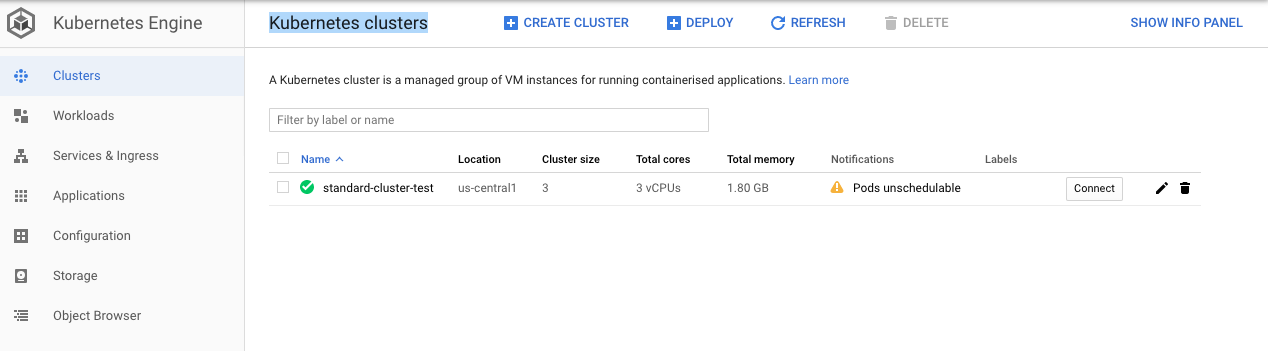
On the “Kubernetes clusters” page , click on the “Name” as a link option to select the cluster.
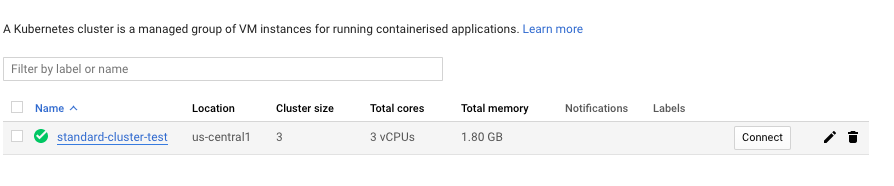
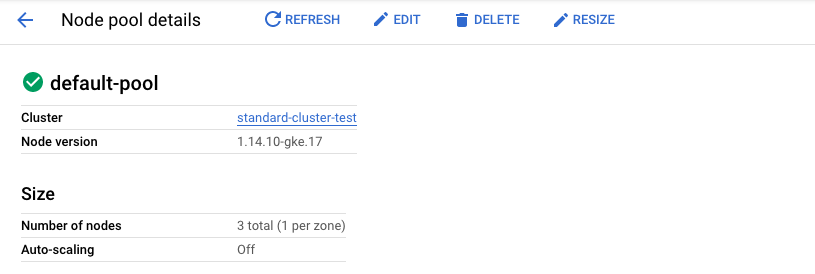
On the selected “Clusters” page, scroll down and select the “Node pools” by clicking on the “Name” as a link.

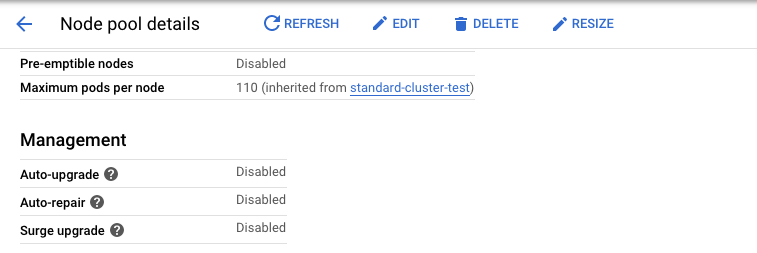
On the “Node pool details” page, scroll down the page, check “Auto-repair” option under the “Management” and if it’s showing “Disabled” then the Kubernetes engine cannot perform health checks on all nodes.
Repeat steps number 2 - 5 to verify other clusters in the account.
Navigate to the “Kubernetes Engine” option under the “Compute”, choose the “Clusters” and select the “Node pools” option.
On the “Node pool details” page, click on the “Edit” button at the top.
On the “Edit node pool” page, scroll down and click on the checkbox next to the “Enable auto-repair” under the “Management.”
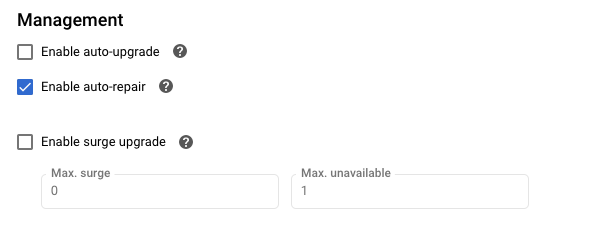
Click on the “Save” button to make the changes.

Repeat steps number 7 - 10 to ensure that automatic node repair is enabled on all node pools in Kubernetes clusters.