Instance Monitoring Enabled
Ensures monitoring is enabled for instances.
Enabling instance monitoring allows for metrics to be collected on the instance. Following security best practices.
Recommended Actions
Follow the appropriate remediation steps below to resolve the issue.
Log in to the Oracle Cloud Platform Console.
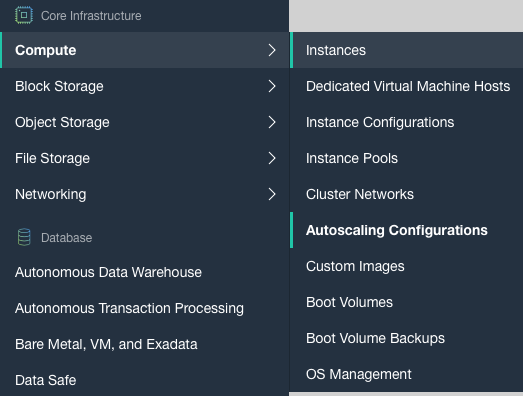
Scroll down the left navigation panel and choose the “Instances” under the “Compute.”
On the “Instance” page, select the “Instance” in which monitoring needs to be enabled and click on the “Name” as a link to access the configuration settings.

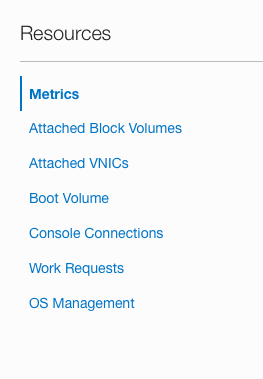
On the “Instances page”, scroll down and click on the “Boot Voulmes” under the “Resources.”
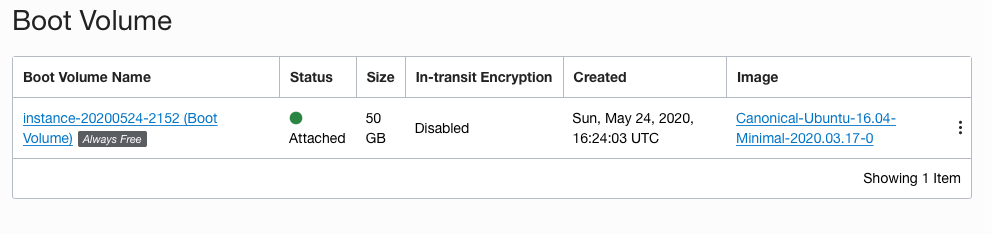
On the “Boot Volume Page”, click on the “Name” as a link to access the “Boot Volume Details” page.
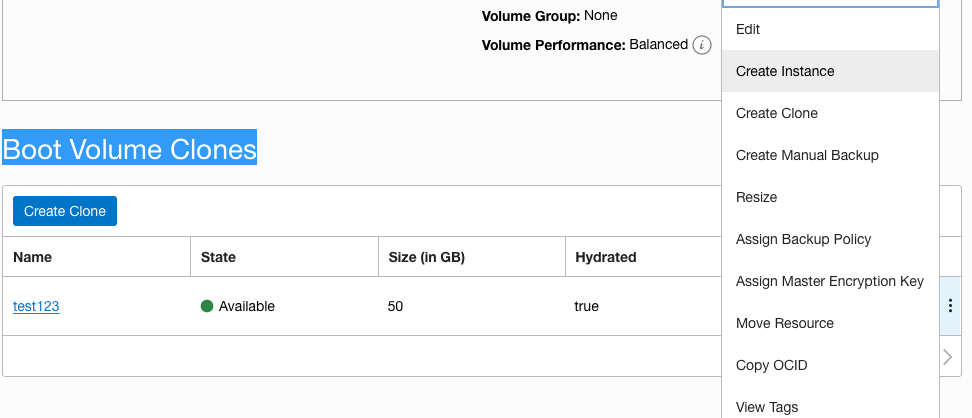
On the “Boot Volume Details” page, scroll down and click on the “Boot Volume Clones” under the “Resources.”
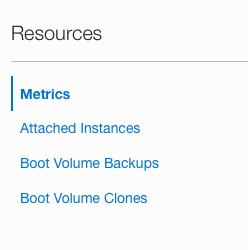
On the “Boot Volume Clones” tab, click on the 3dots at the extreme right and click on the “Create Instance” option.
On the “Create Compute Instance” page, scroll down and click on the “Show Advanced Options.”

On the “Advanced Options” tab, and in the “Management” section, click on the checkbox next to “ENABLE MONITORING” under the “Oracle Cloud Agent” and click on the “Create” button to finish the process.
Repeat steps number 2 - 10 to enable instance monitoring.