Default Security Group
Ensure the default security groups block all traffic by default
The default security group is often used for resources launched without a defined security group. For this reason, the default rules should be to block all traffic to prevent an accidental exposure.
Recommended Actions
Follow the appropriate remediation steps below to resolve the issue.
Log in to the AWS Management Console.
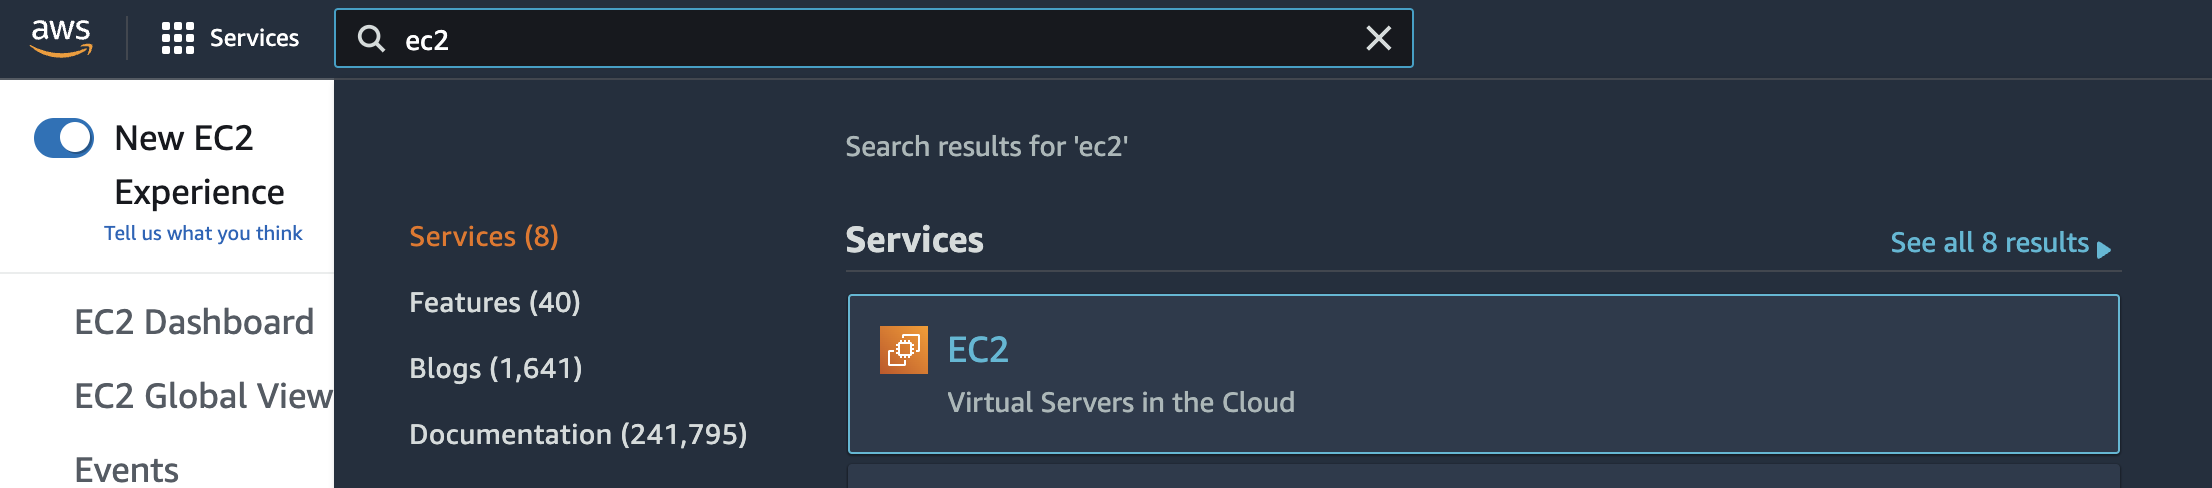
Select the “Services” option and search for EC2.
Scroll down the left navigation panel and choose “Instances”.
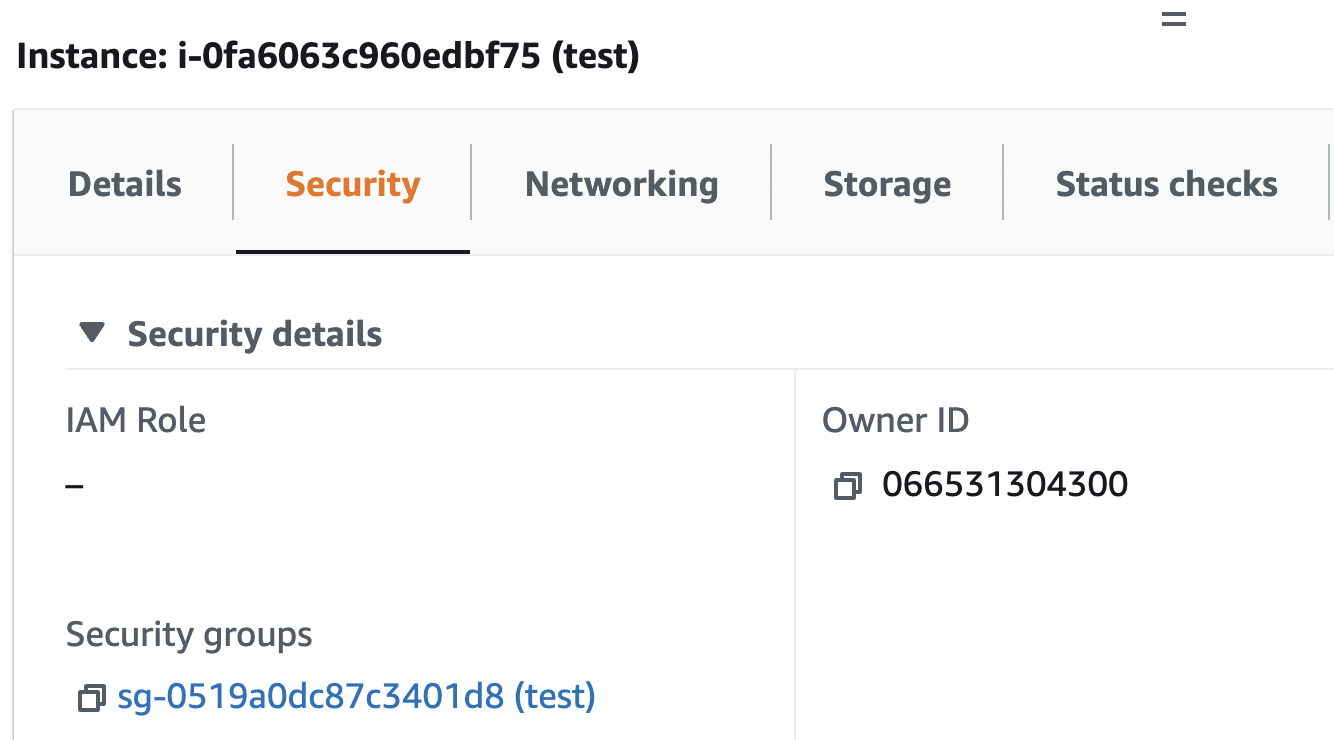
Select the “Instance” that needs to be verified and click on its name from the “Name” column.

Scroll down the page and under “Security” check for “Security Groups”. If the “Security Groups” is set to “default” then the EC2 network configuration is not following AWS security best practices.
Repeat steps number 2 - 5 to verify other “EC2 Instances”.
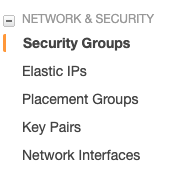
Scroll down the left navigation panel and choose “Security Groups” under “Network & Security”.
Click on the “Create security group” to create a new group as per our “EC2 Instance” requirements.

Provide a name to the “Security Group” and select the “Inbound” and “Outbound” traffic rules as per the requirements.
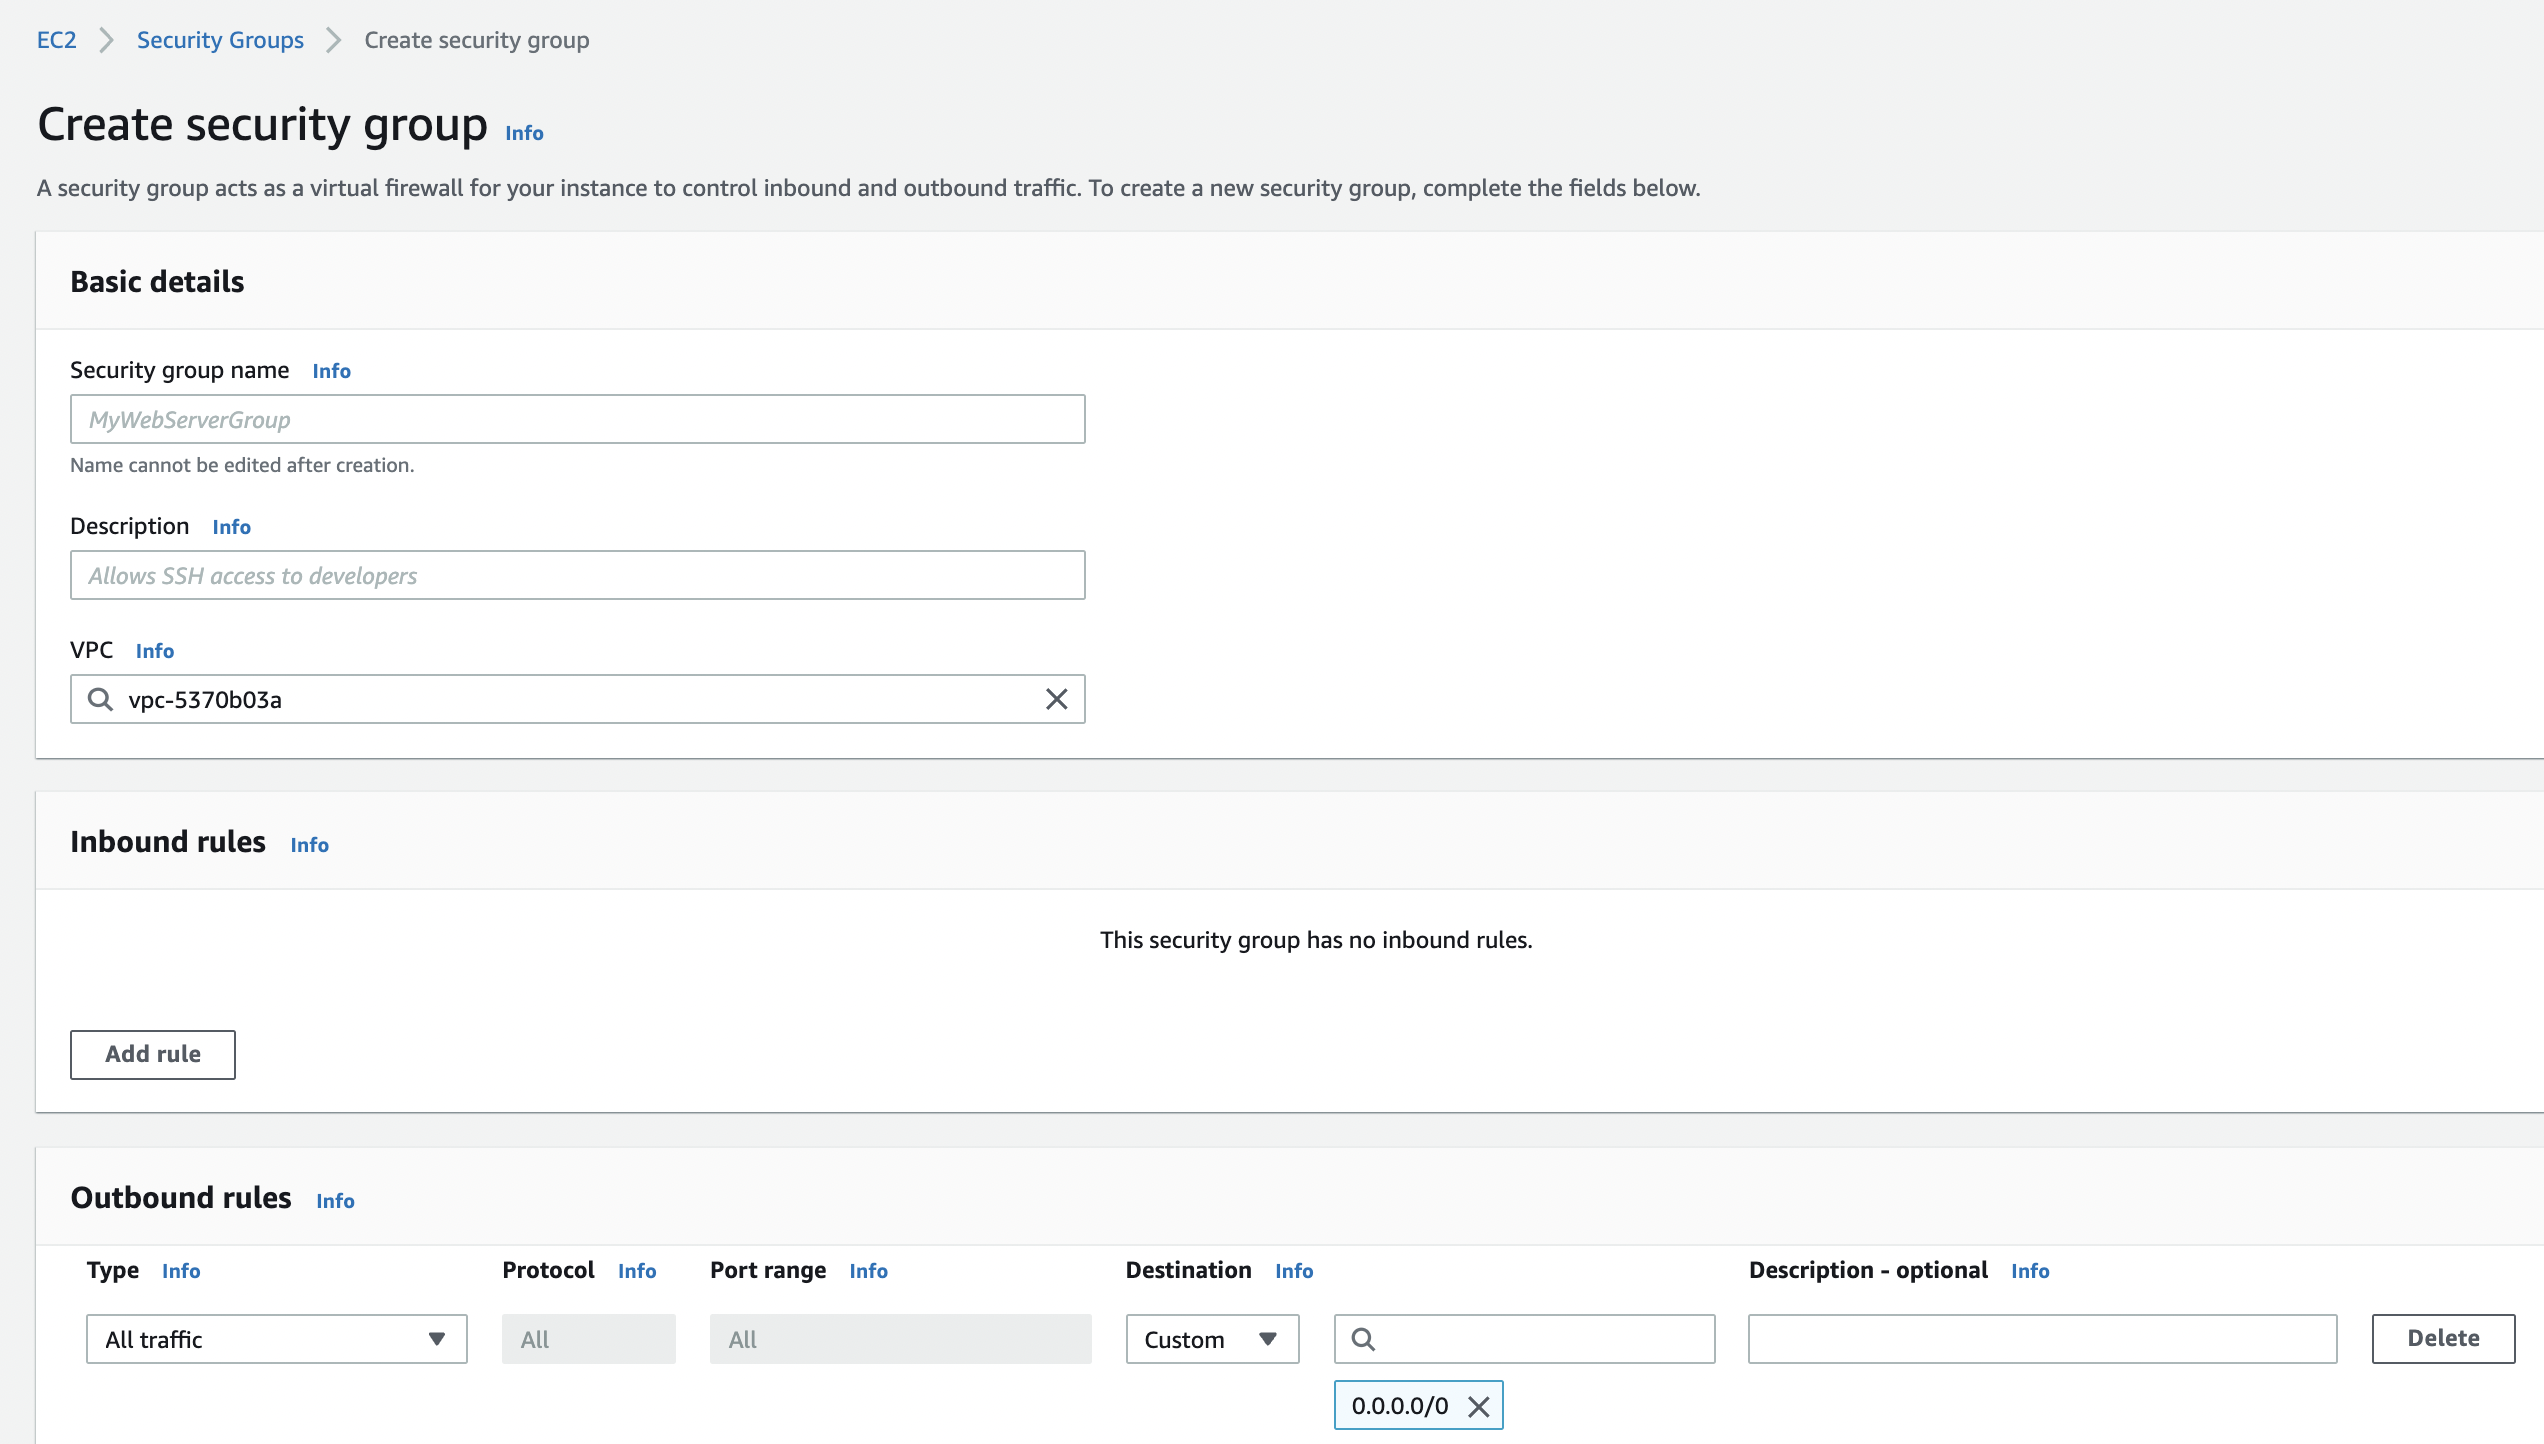
Click on the “Create security group” button at the bottom of the “Create Security Group” page to create the new security group.

Scroll the left navigation panel and choose “Instances”.
Select the “EC2 Instance” whose “Security Group” needs to be updated.

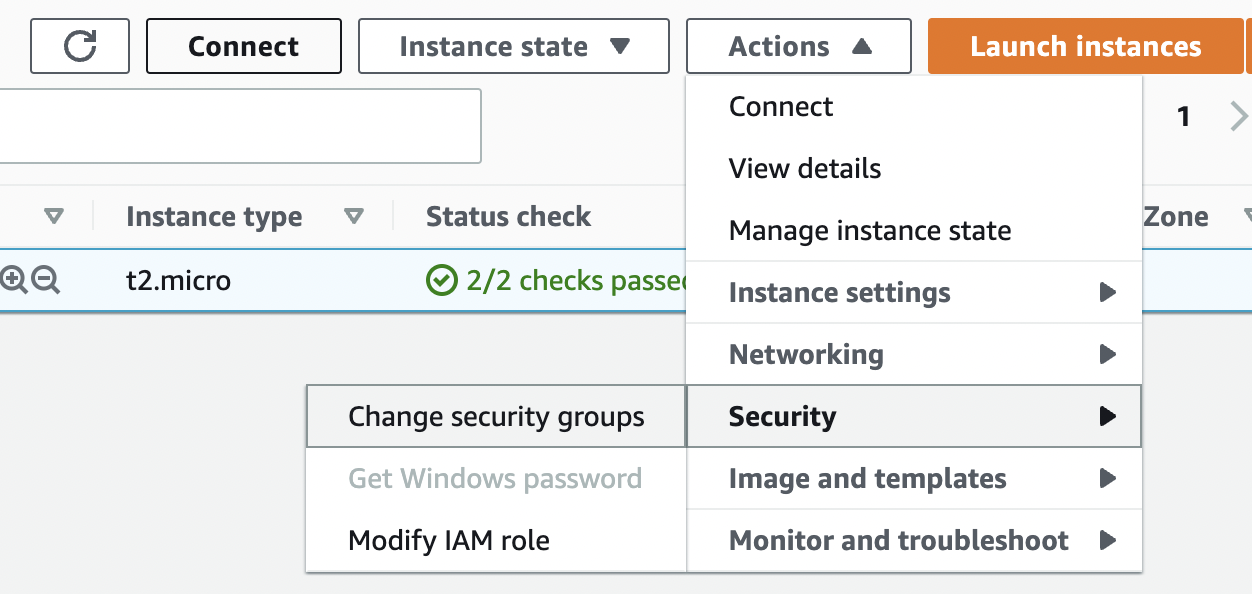
Click on the “Actions” button at the top and click on “Security” and choose the “Change security group” option.
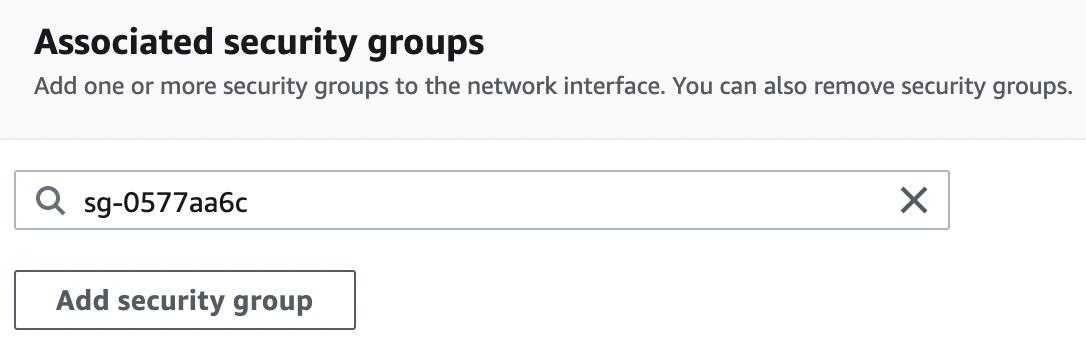
Click on the search box under “Associated security groups” section and choose the newly created security group from the dropdown.
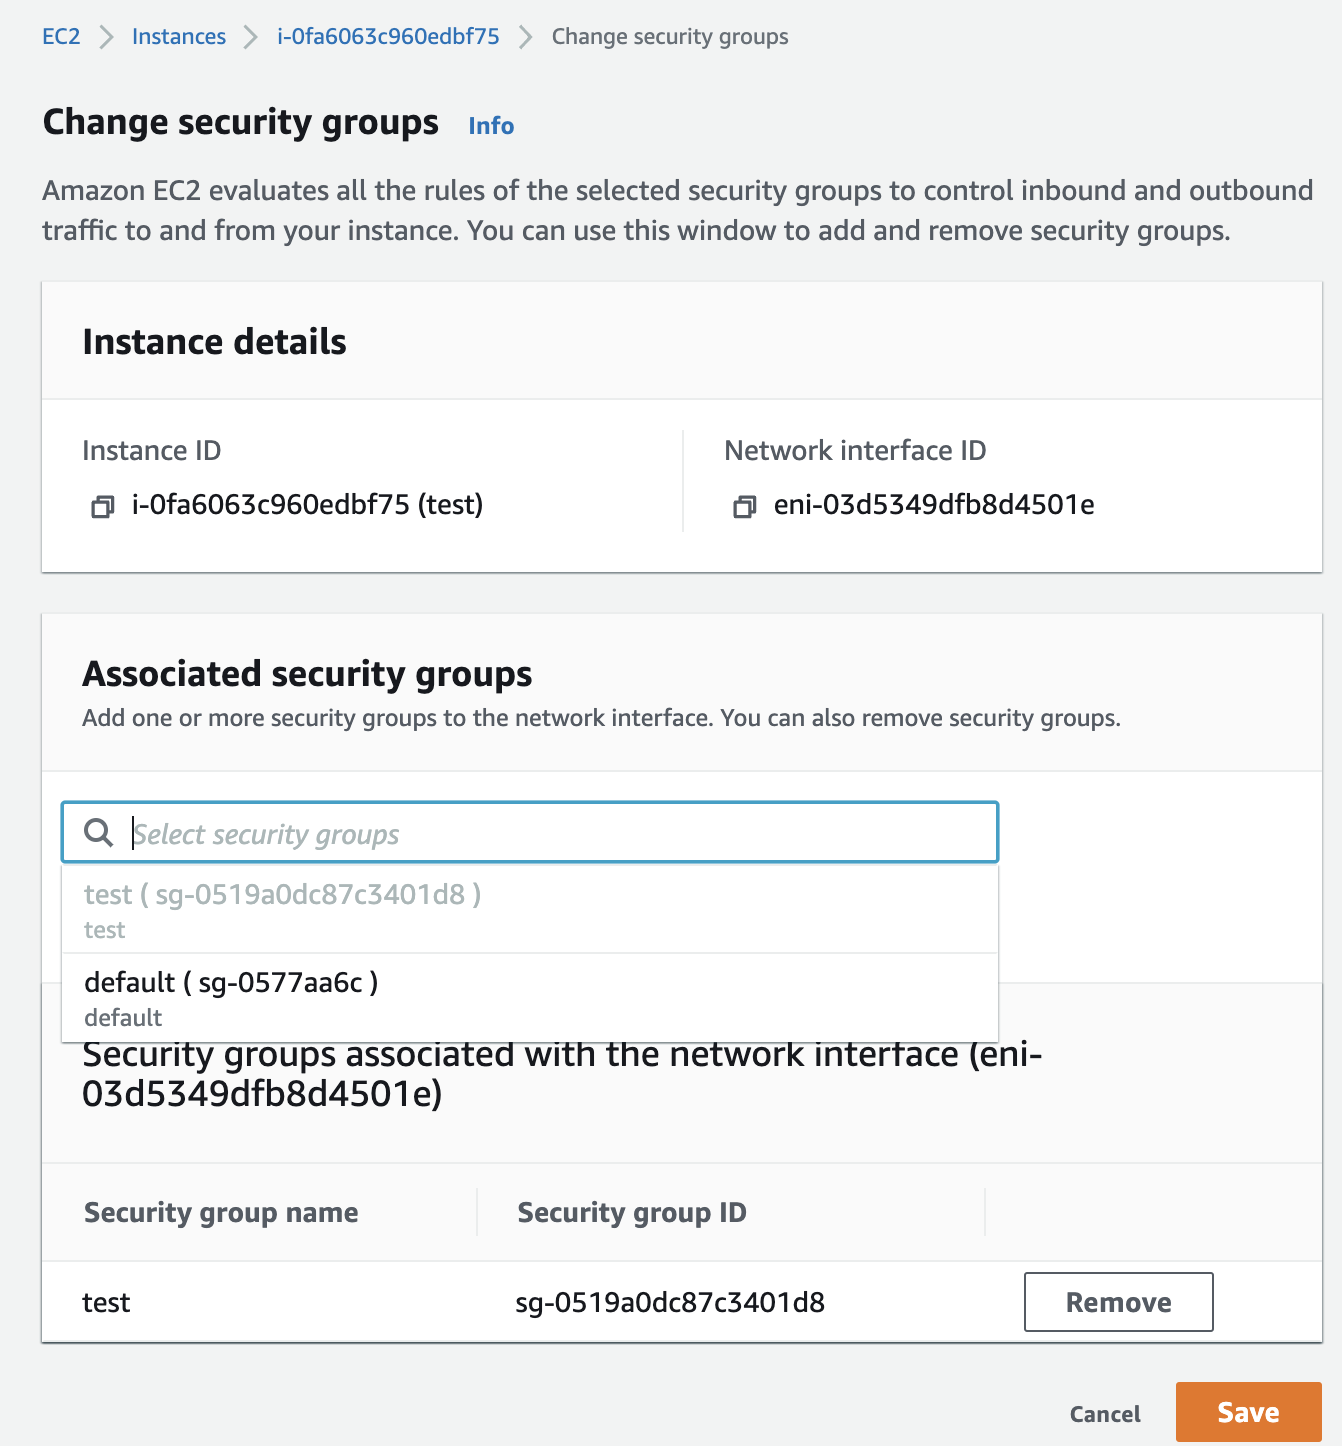
Click on “Add security group” to the selected “EC2 Instance”.
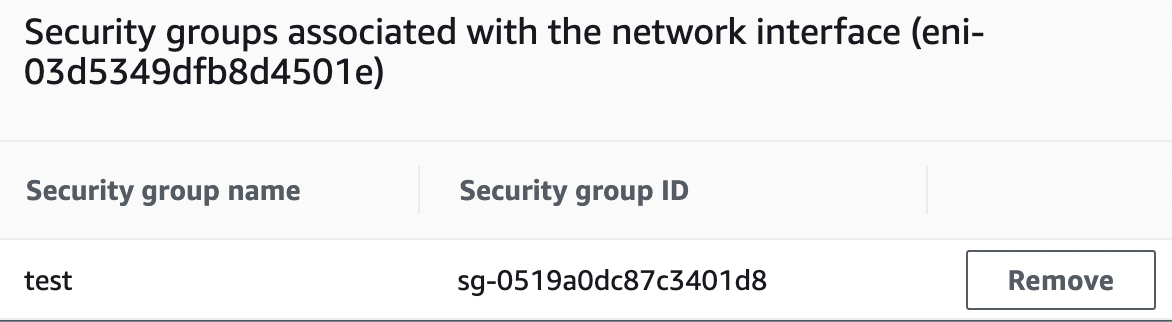
Remove any other security group as needed by clicking on “Remove” button under “Security groups associated with the network interface”.
Repeat steps number 8 - 16 to update the “Security Group” as per the requirements.