Encrypted AMI
Ensures EBS-backed AMIs are configured to use encryption
AMIs with unencrypted data volumes can be used to launch unencrypted instances that place data at risk.
Recommended Actions
Follow the appropriate remediation steps below to resolve the issue.
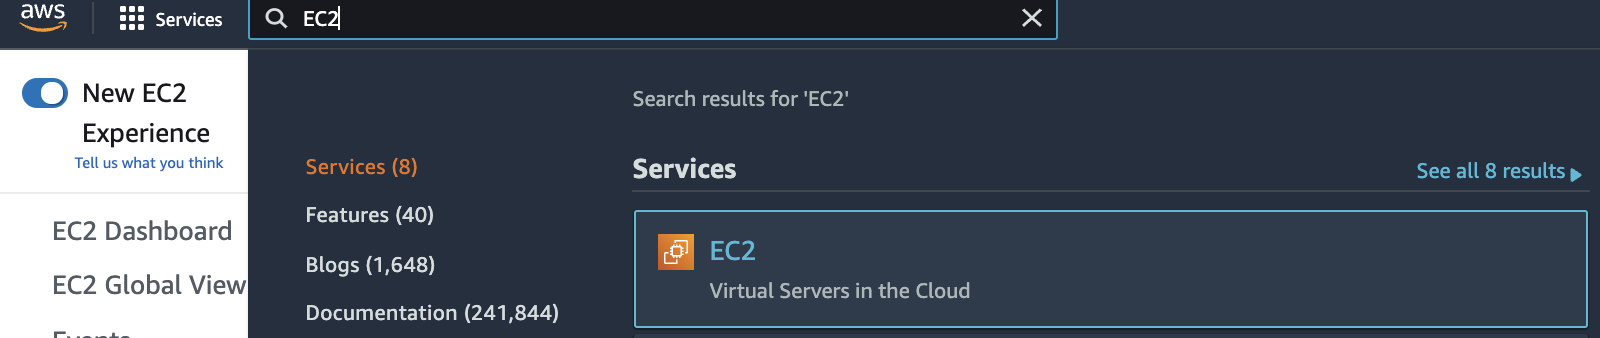
Log in to the AWS Management Console.
Select the “Services” option and search for EC2.
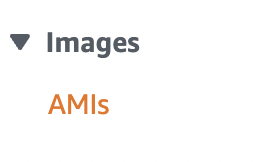
Scroll down the left navigation panel and choose “AMIs” under “Images”.
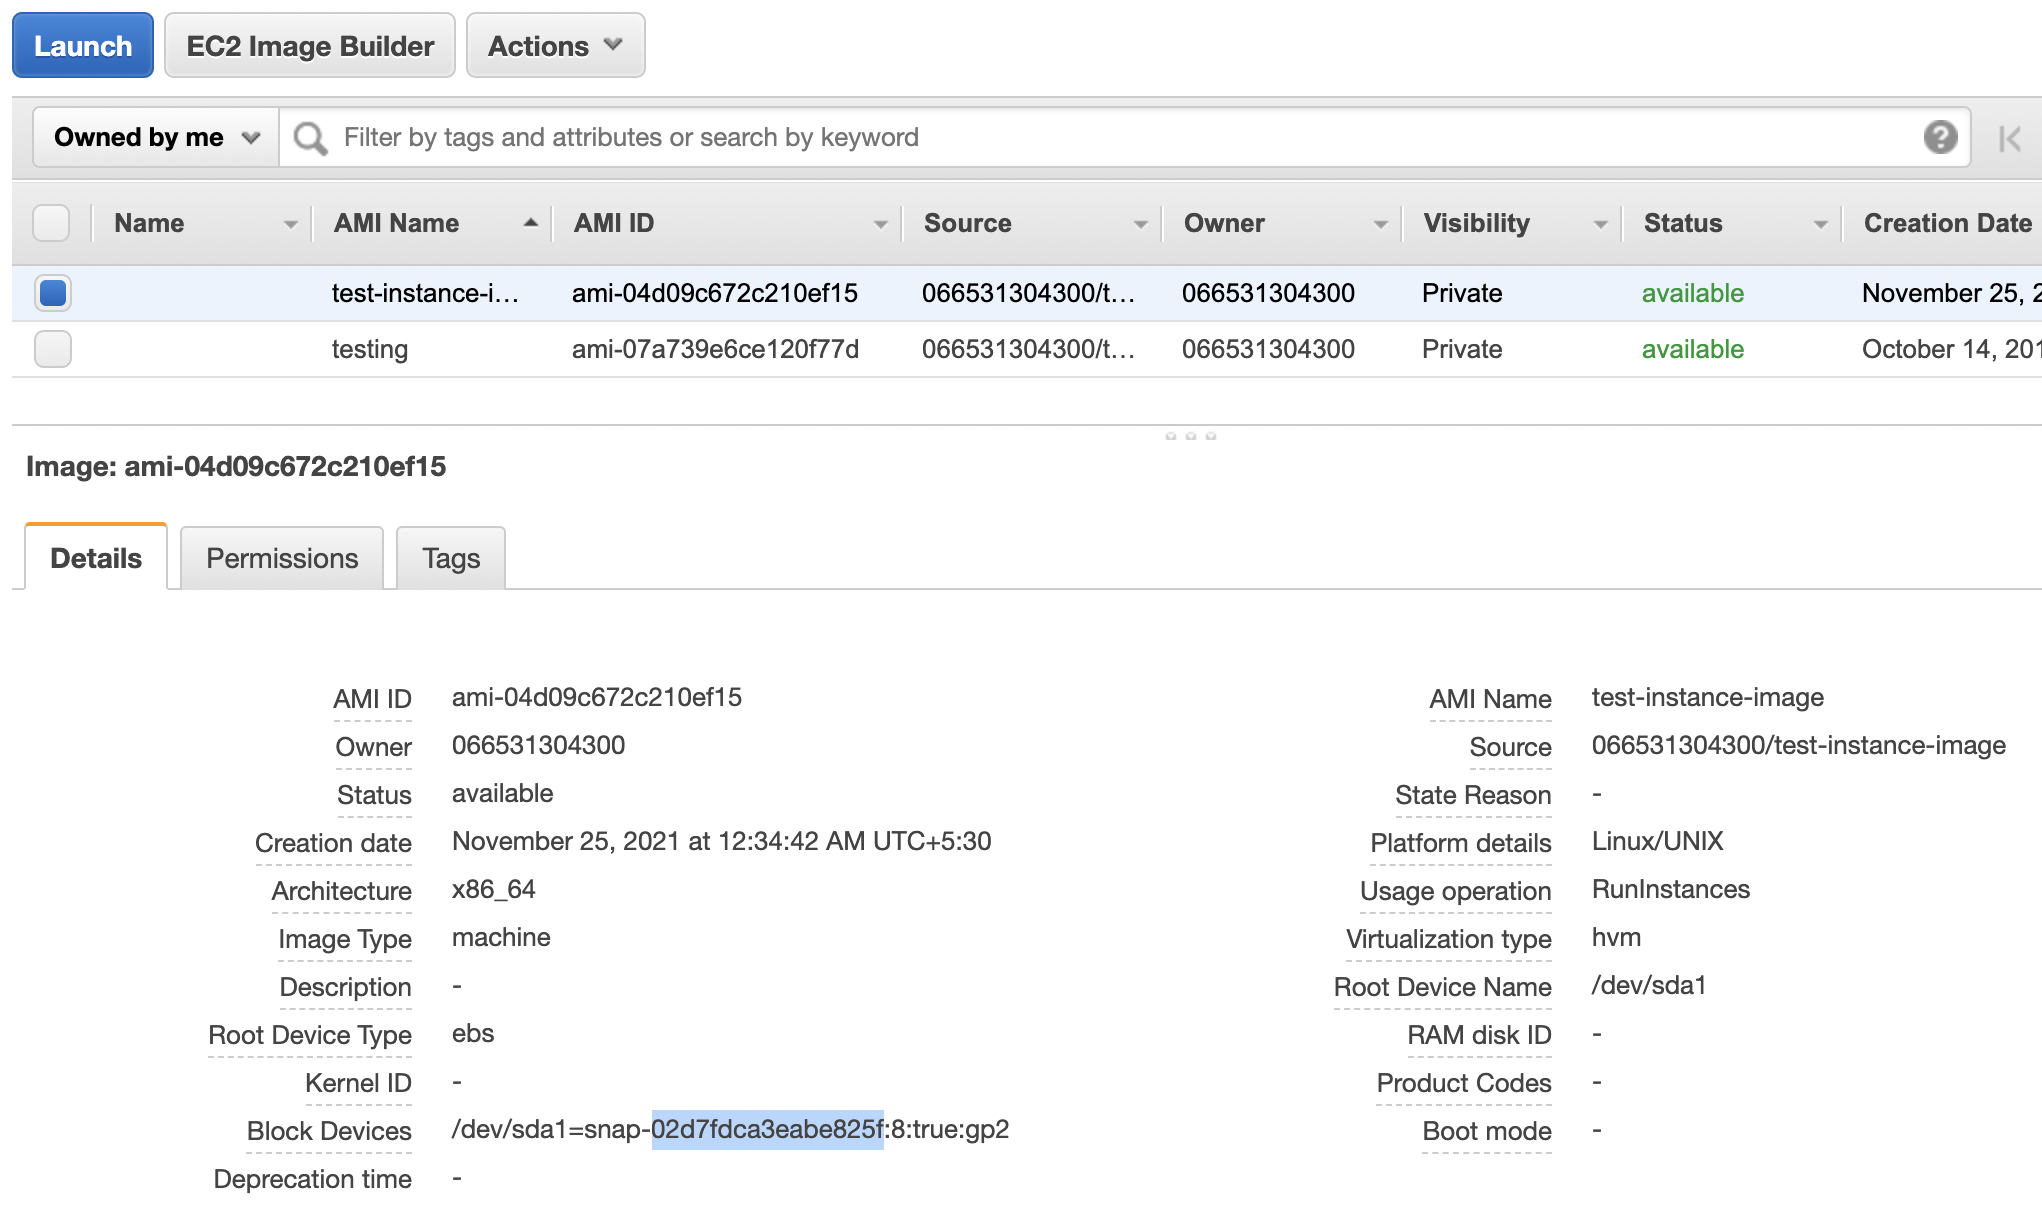
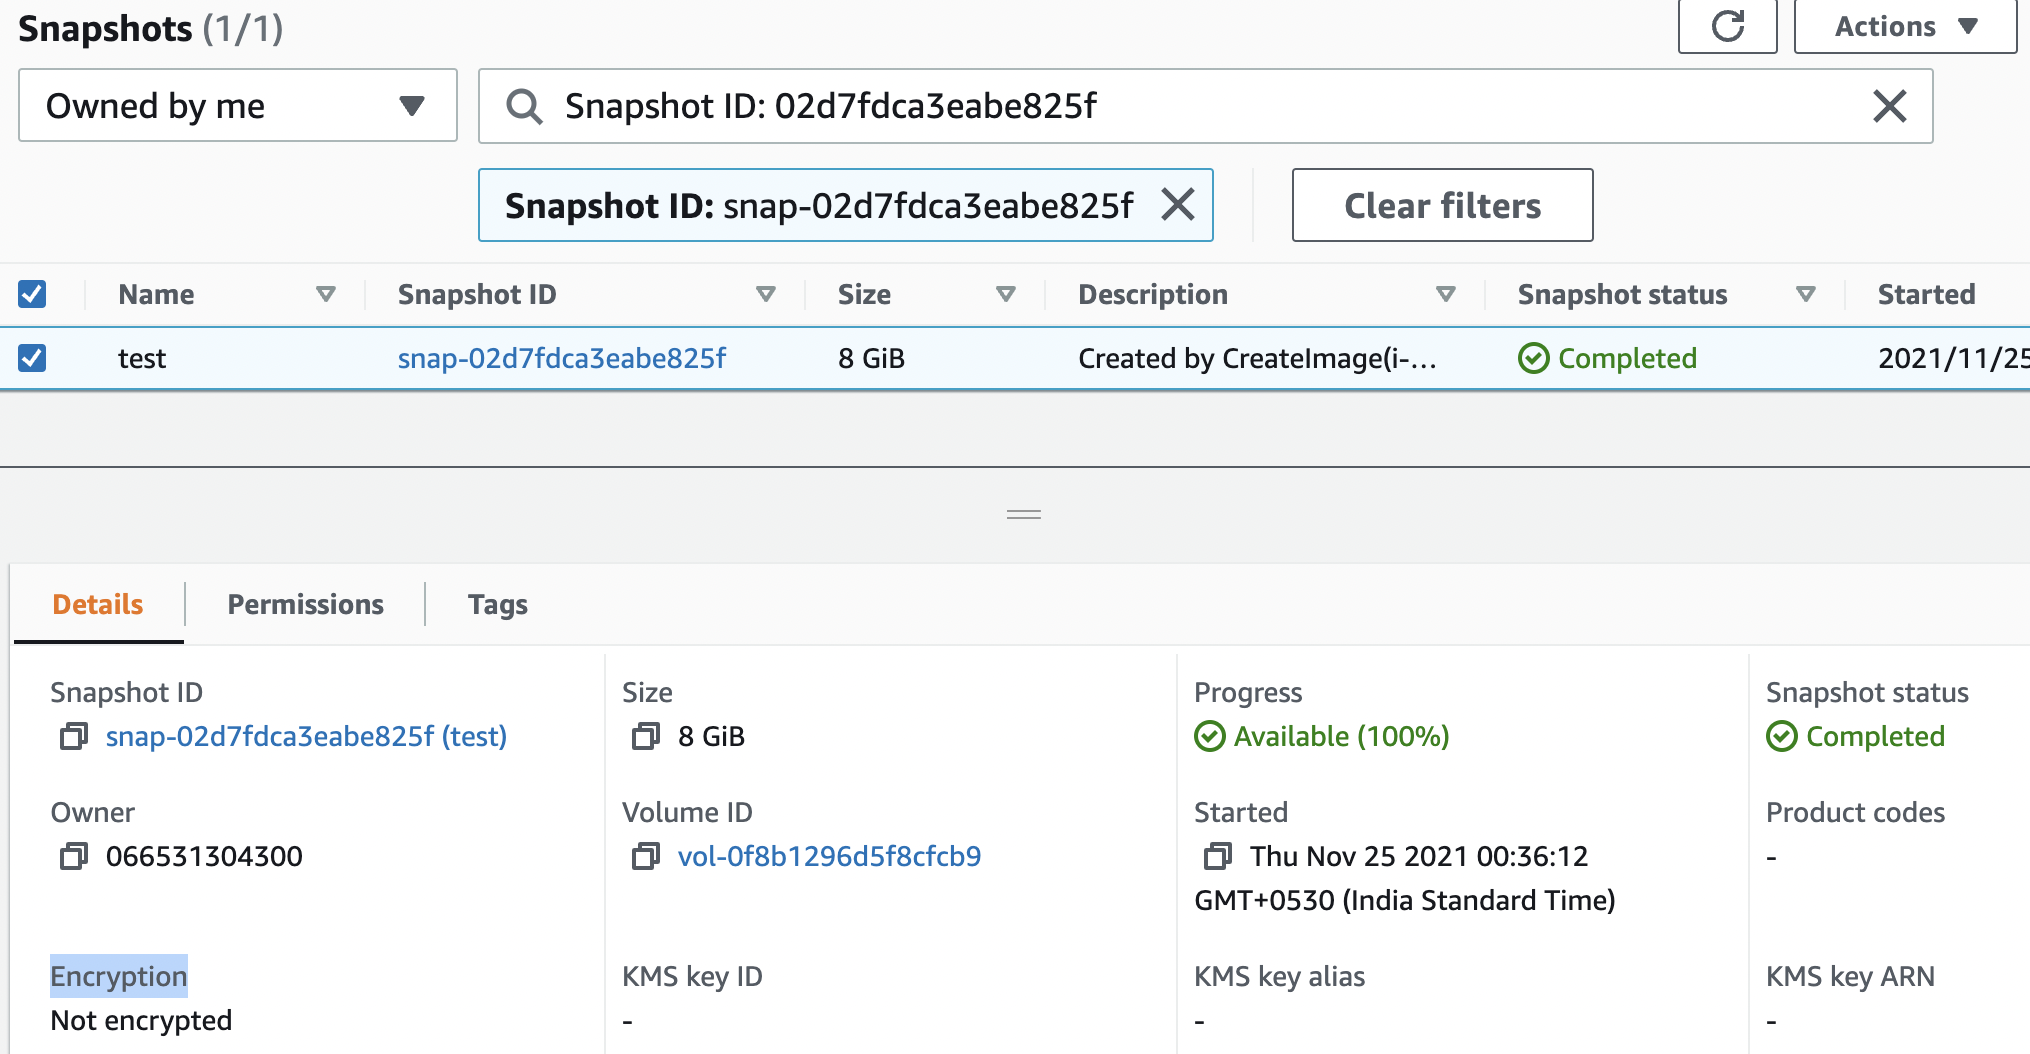
Select the “AMI” that needs to be verified and under “Details” tab copy the “Snapshot ID” from the “Block Devices”.
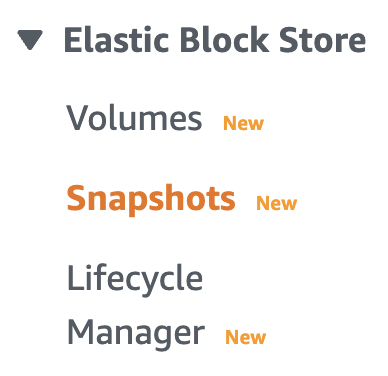
Scroll down the left navigation panel and choose “Snapshots” under “Elastic Block Store”.
Click inside the “Filter by tags and attributes or search by keyword” and from the dropdown menu choose “Snapshot ID” and paste the “Snapshot ID”.

Scroll down the “Details” tab and check “Encryption” value. If the “Encryption” value is set to “Not Encrypted” then the selected “AMI” is not encrypted.
Repeat steps number 2 - 7 to verify other AMIs.
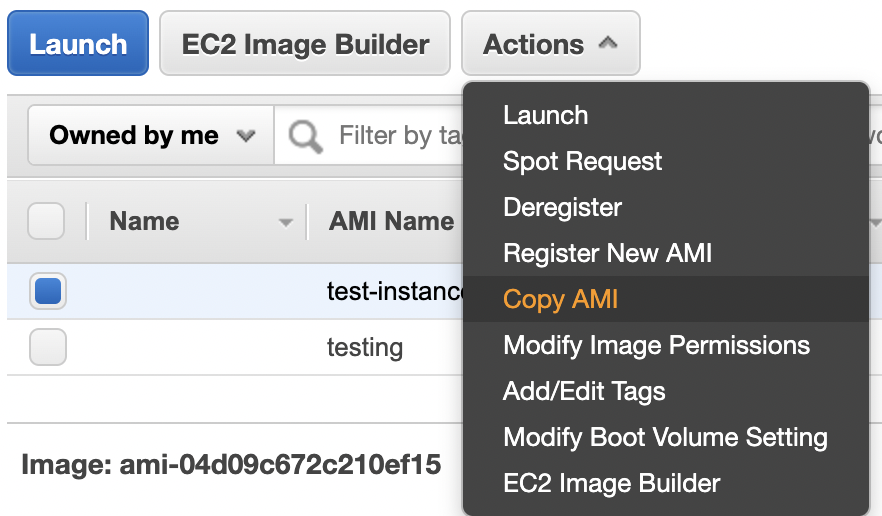
Scroll down the left navigation panel and choose “AMIs” and select the “AMI” that needs to be encrypted.

Click on the “Actions” button at the top and click on the “Copy AMI” option.
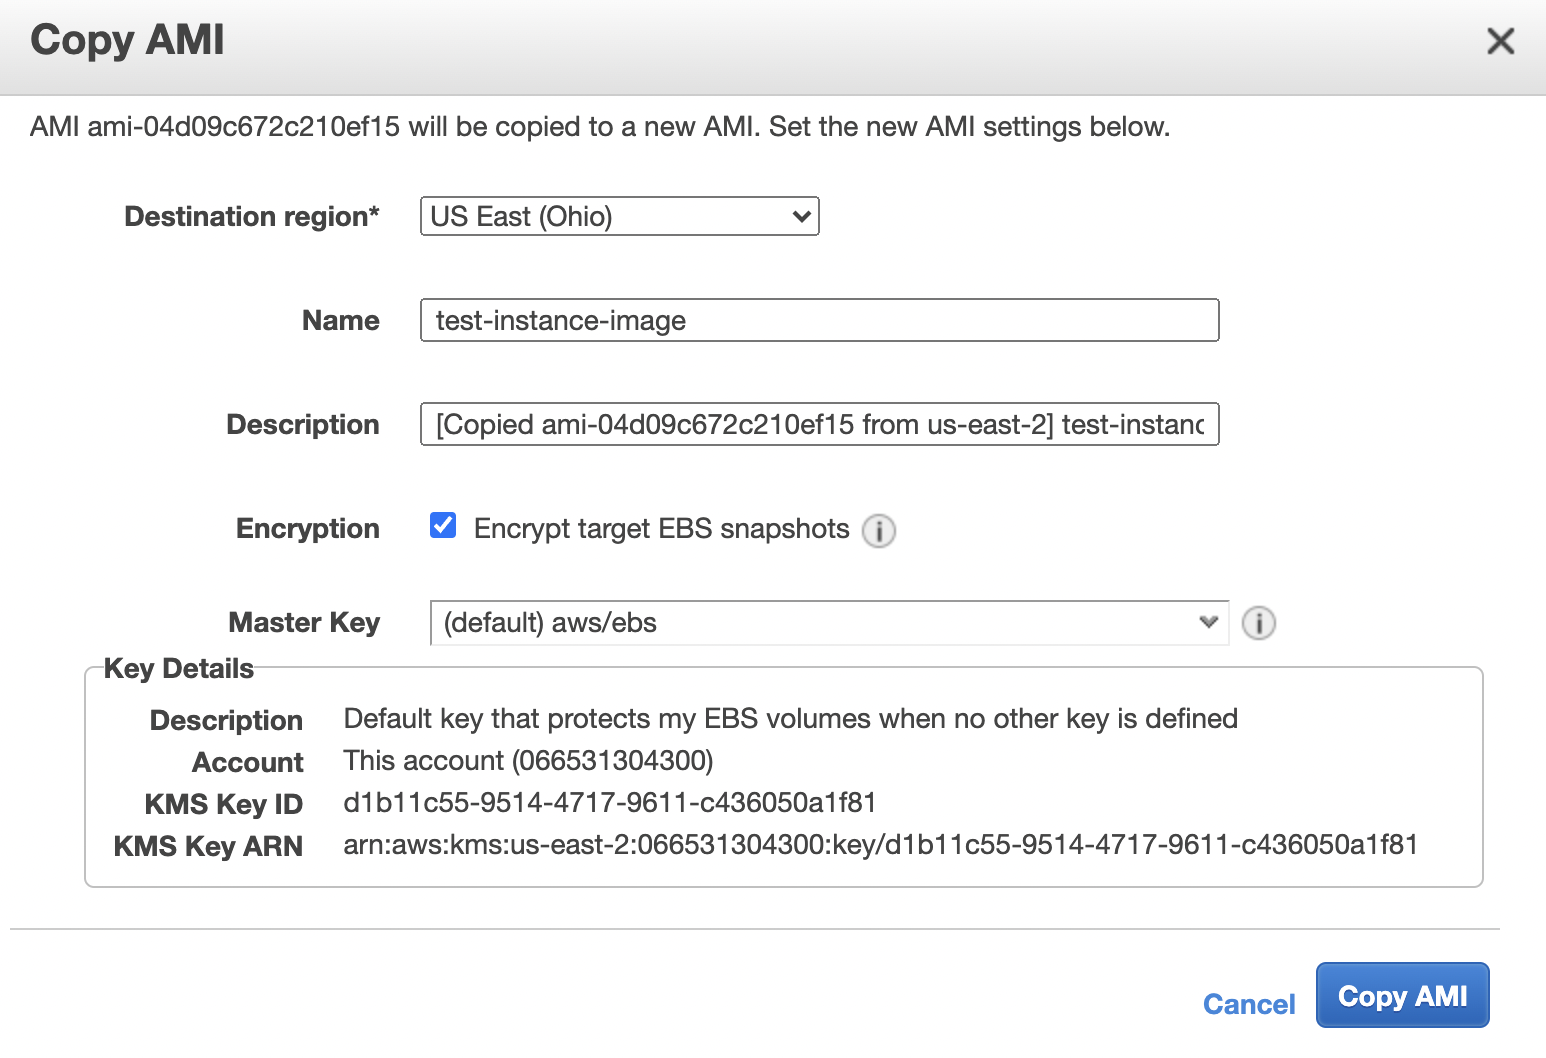
In the “Copy AMI”, dialog box select the “Destination region” from the dropdown menu and click on the “Encryption” checkbox to “Encrypt target EBS snapshots” and choose the “Master Key” from the dropdown and click on the “Copy AMI” button.
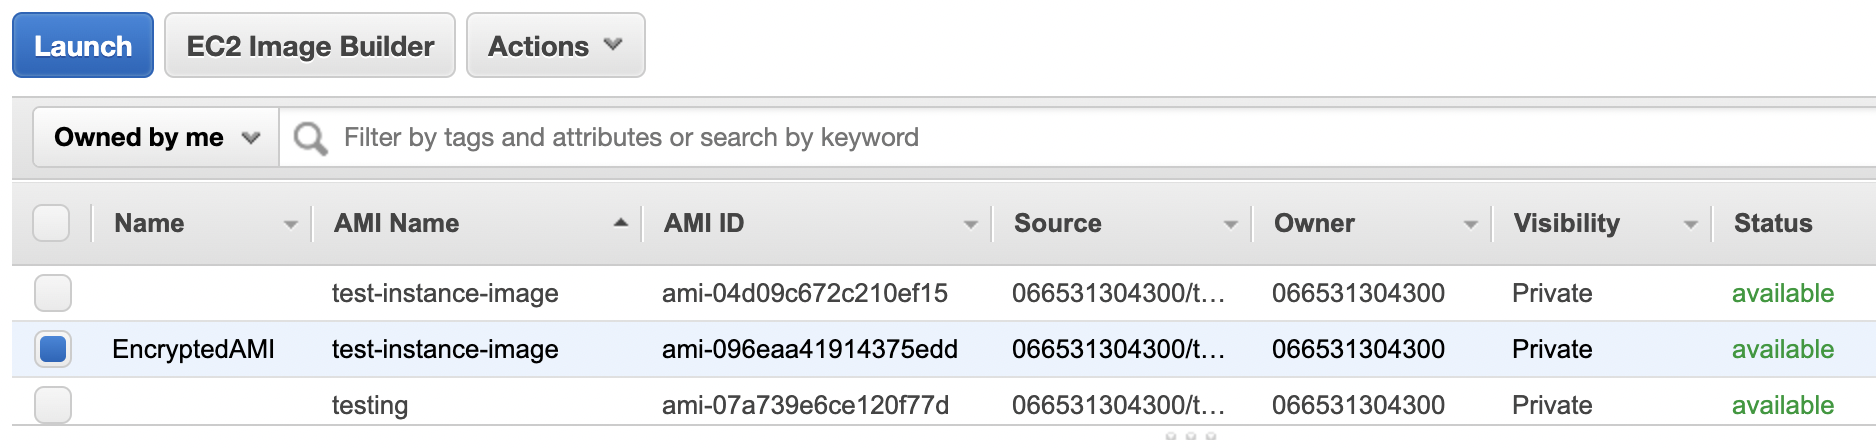
Select the new “Encrypted AMI” and click on the “Launch” button to create a new EC2 instance with encrypted “EBS volume”.
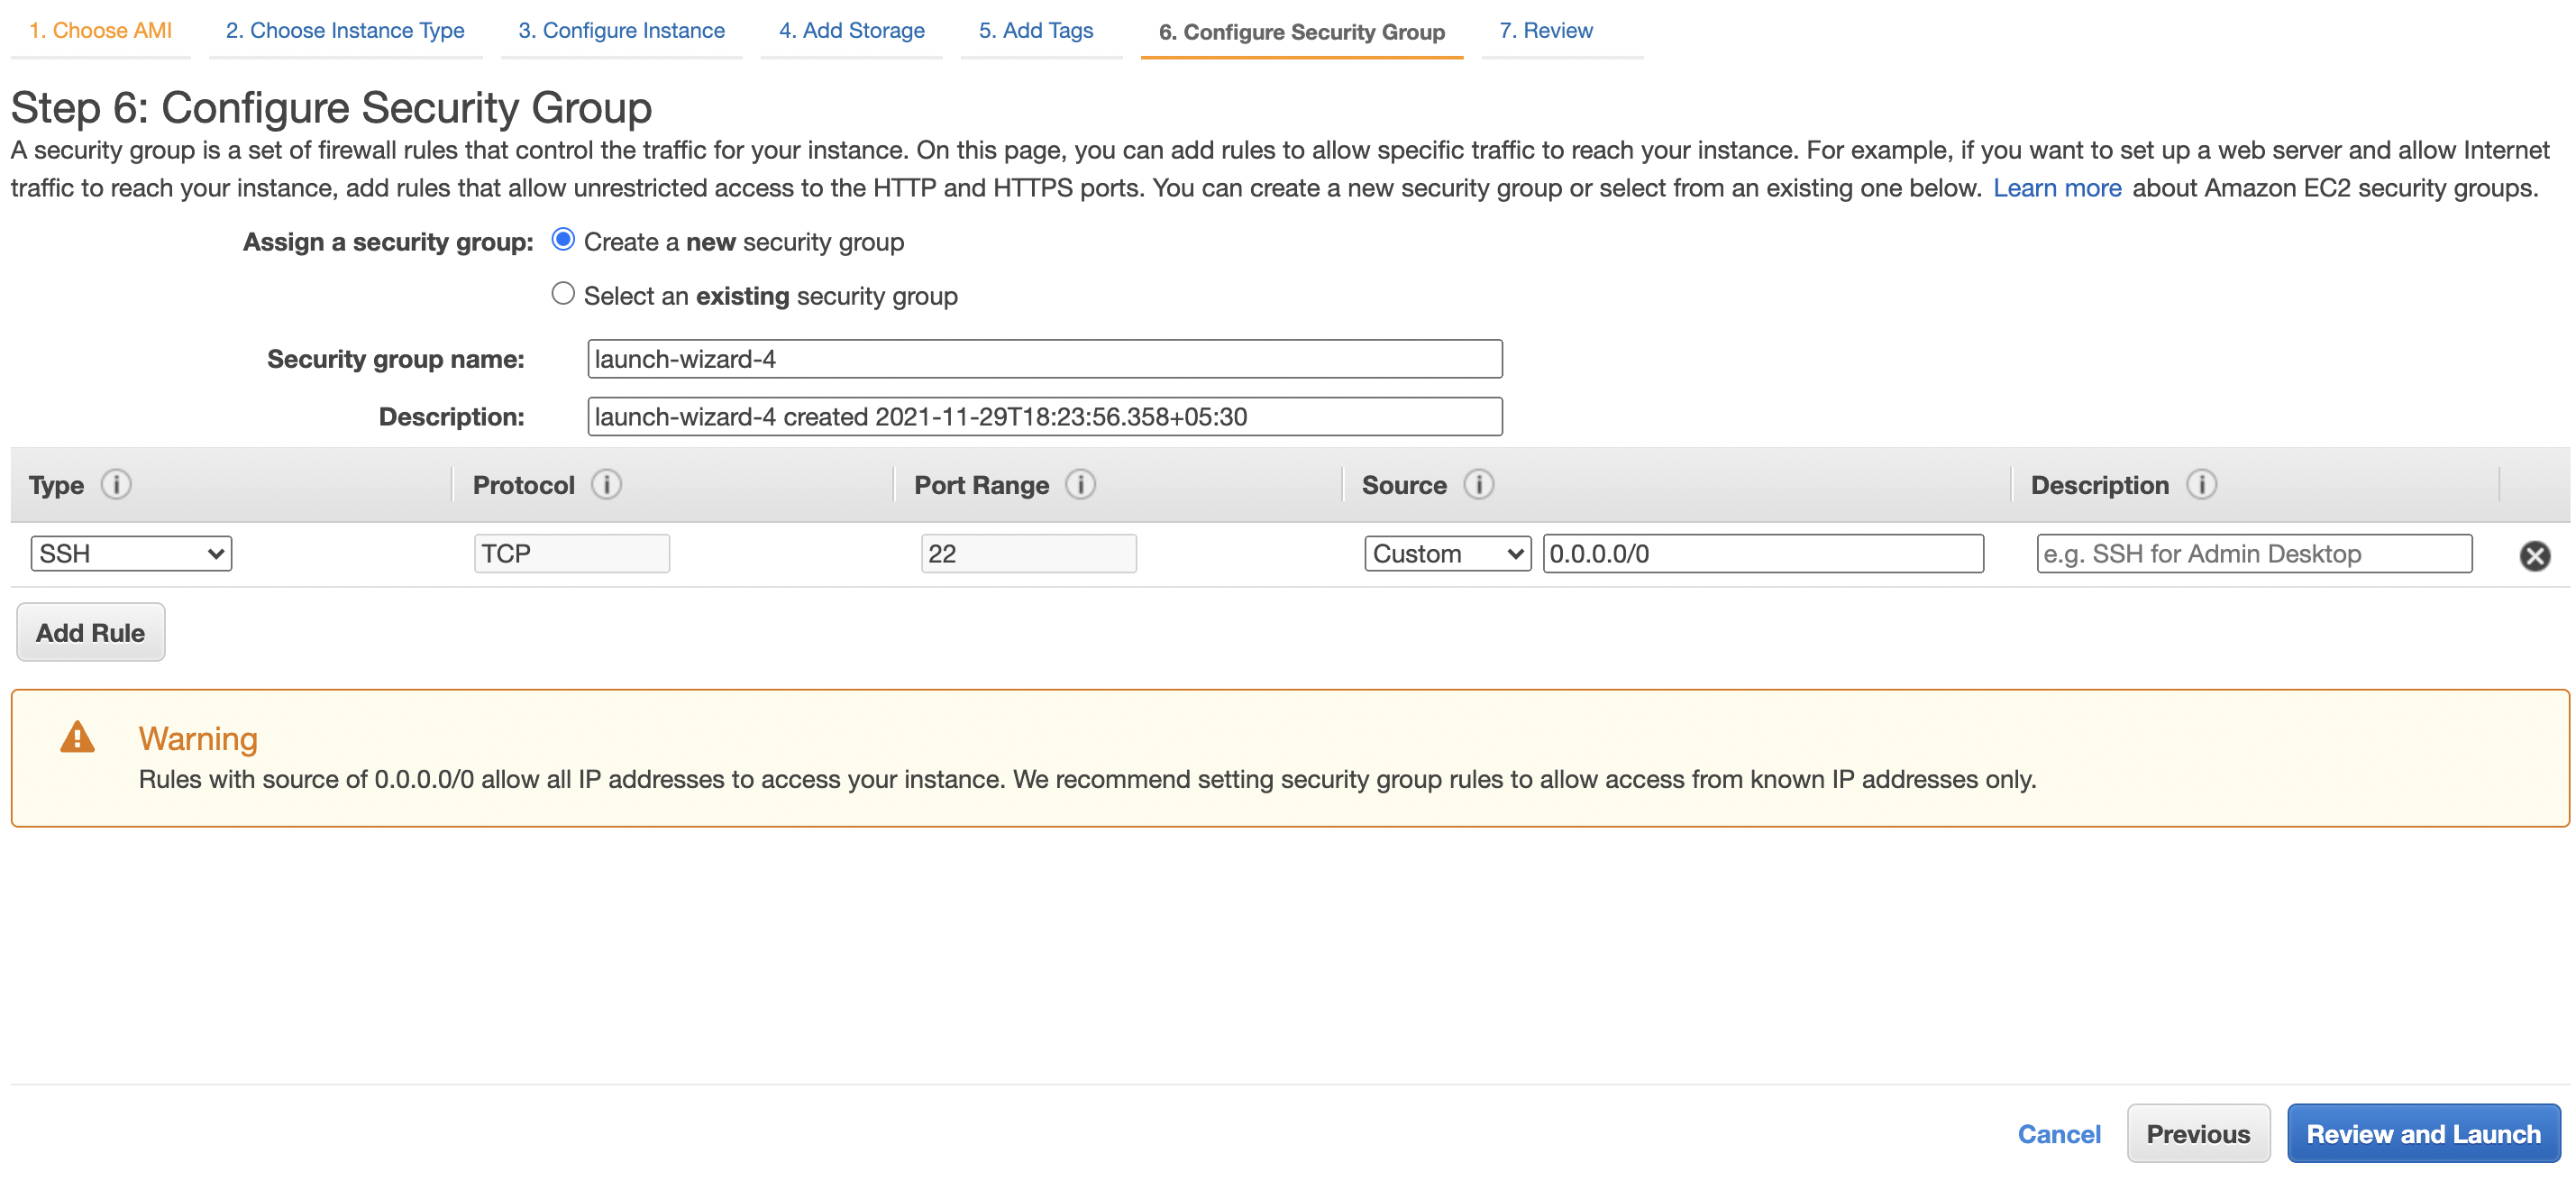
Configure the “Instance Type”, “Configure Instance Details”, “Add Storage”, “Configure Security Group” as per the requirements and click on the “Review and Launch” button to create a new “EC2 Instance” backed by encrypted “EBS Volume”.
Repeat steps number 9 - 13 to create an “EC2 Instance” from “Encrypted AMI”.