ELB Logging Enabled
Ensures load balancers have request logging enabled.
Logging requests to ELB endpoints is a helpful way
Recommended Actions
Follow the appropriate remediation steps below to resolve the issue.
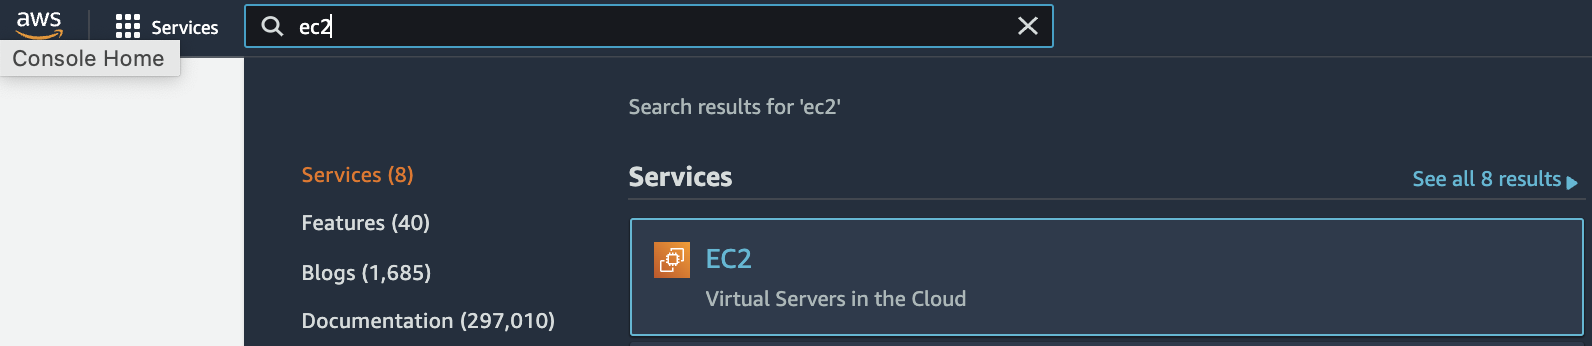
Log in to the AWS Management Console.
Select the “Services” option and search for EC2.
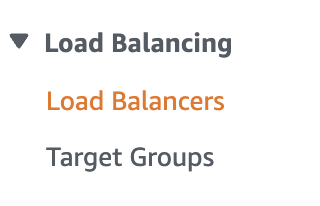
In the “EC2 Dashboard” scroll down and look for “Load Balancing” and click on “Load Balancers” to get into “Load Balancers” dashboard.
Select the “Load Balancer” which needs to be verified.

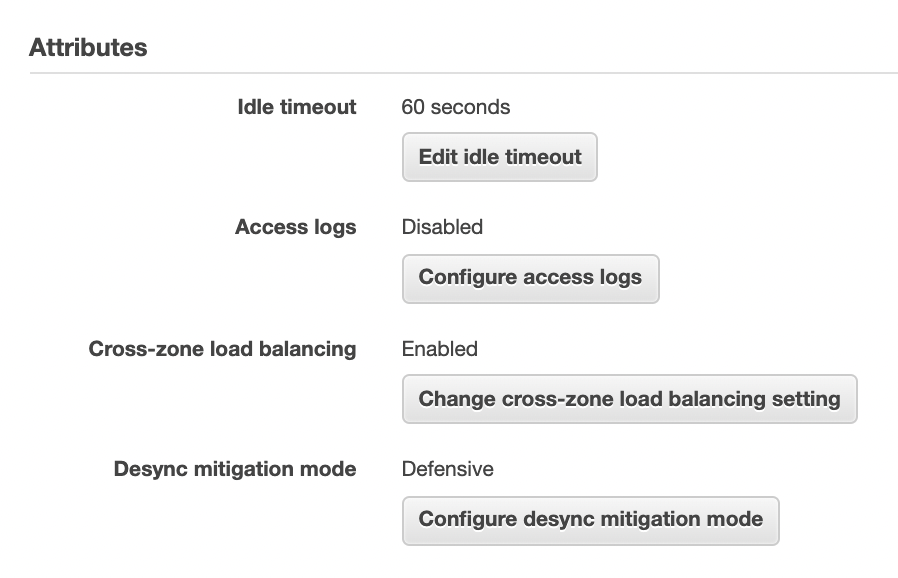
Select the “Description” tab from the bottom panel and scroll down to “Attributes” option.

Check the “Access logs” and if it’s “Disabled” than the “Access logs” feature is not enabled on the selected “Load Balancer”. Access Logs delivers detailed logs of all requests made to “Elastic Load Balancing”.
Click on “Configure access logs” button and select “Enable access logs” checkbox in the pop up. Specify the S3 location and prefix for the S3 bucket to store the log files and click on “Create this location for me” checkbox so AWS can create a new bucket. If you don’t click on “Create this location for me” checkbox, provide the name of the existing bucket for the selected “Load Balancer”. Access Logs deliver detailed logs of all requests made to “Elastic Load Balancing”. Click on the “Save” button to make the necessary changes.
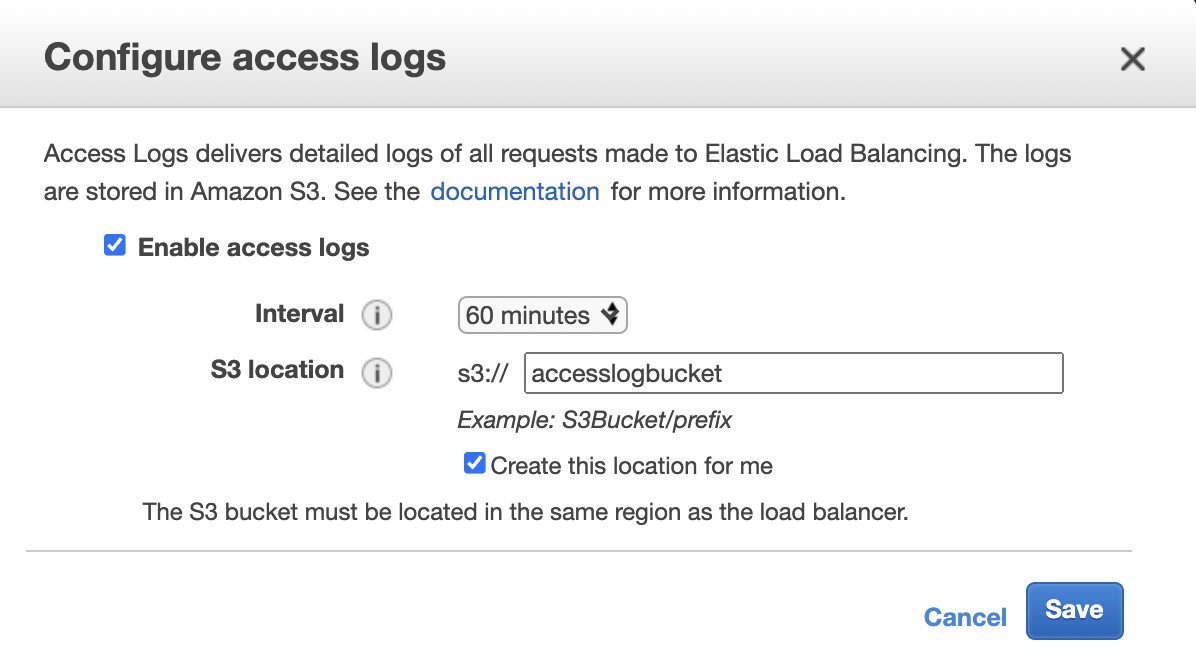
S3 bucket and Load Balancer needs to exist in the same zone.
Selected “Load Balancer” has request logging enabled now.