A database resource is marked as publicly accessible.
Database resources should not publicly available. You should limit all access to the minimum that is required for your application to function.
Impact
The database instance is publicly accessible
Recommended Actions
Follow the appropriate remediation steps below to resolve the issue.
Set the database to not be publicly accessible
|
|
-
Log in to the AWS Management Console.
-
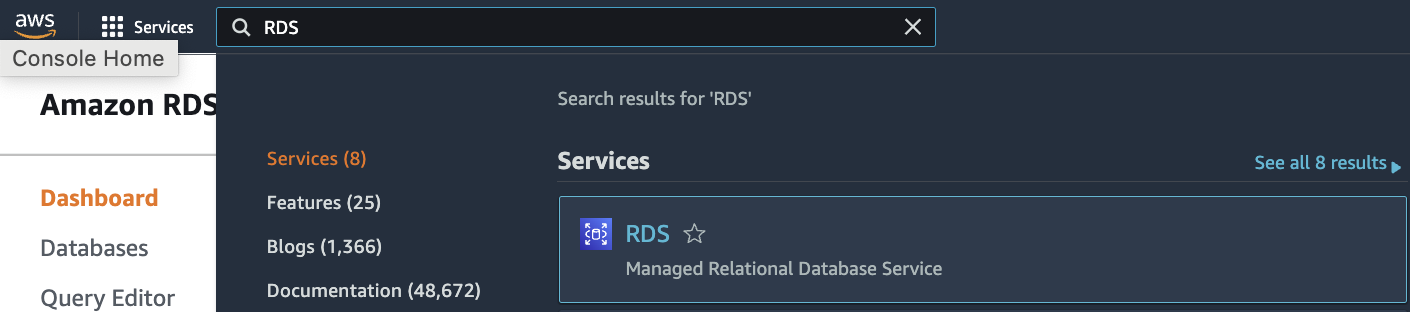
Select the “Services” option and search for RDS.
-
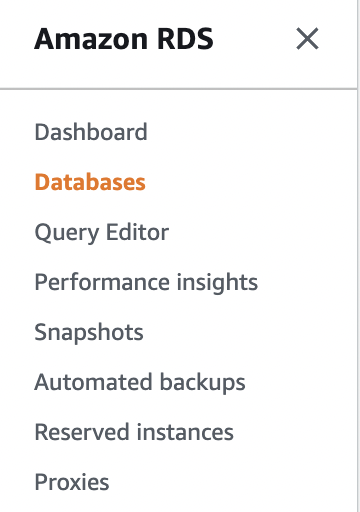
Scroll down the left navigation panel and choose “Databases”.
-
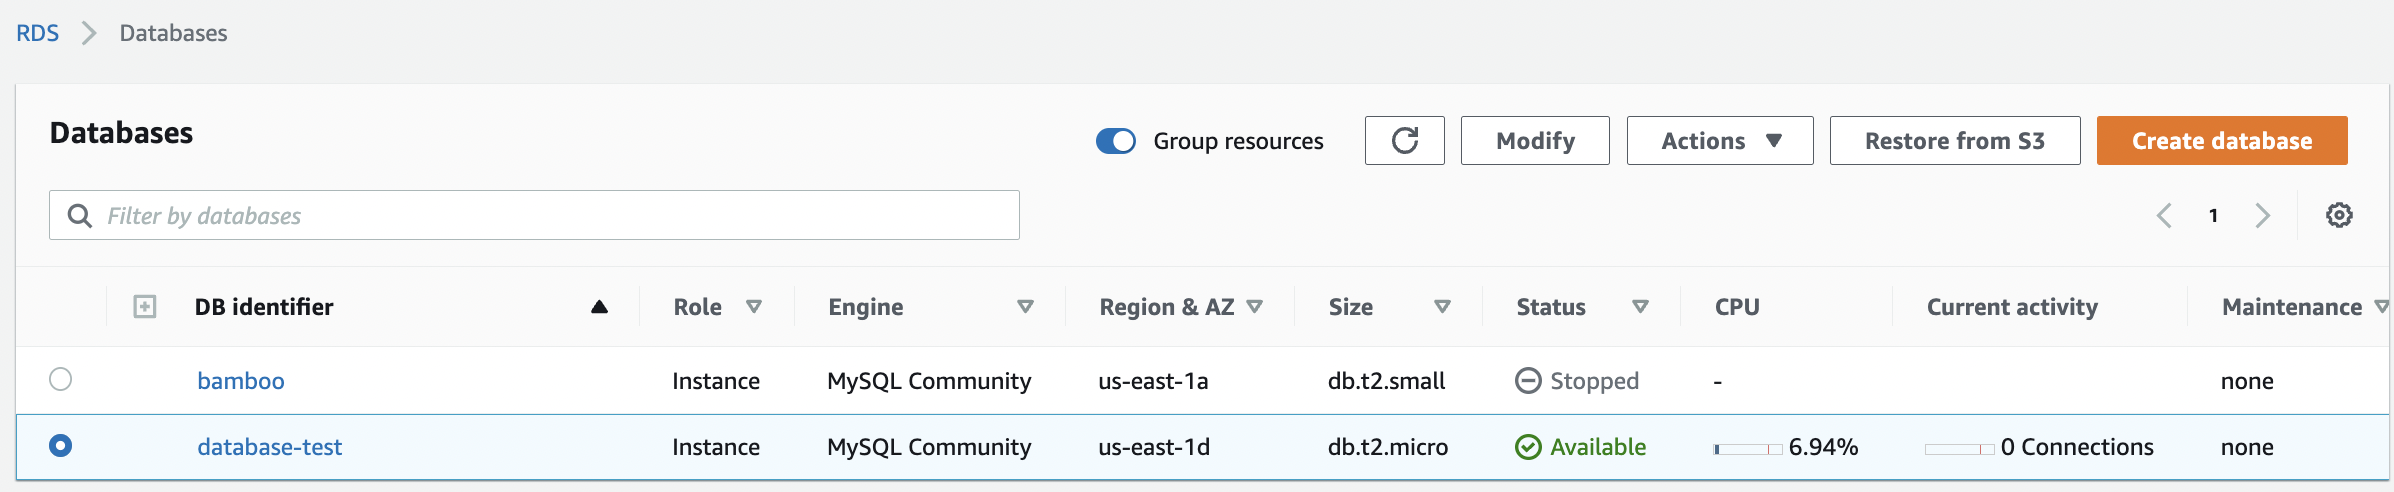
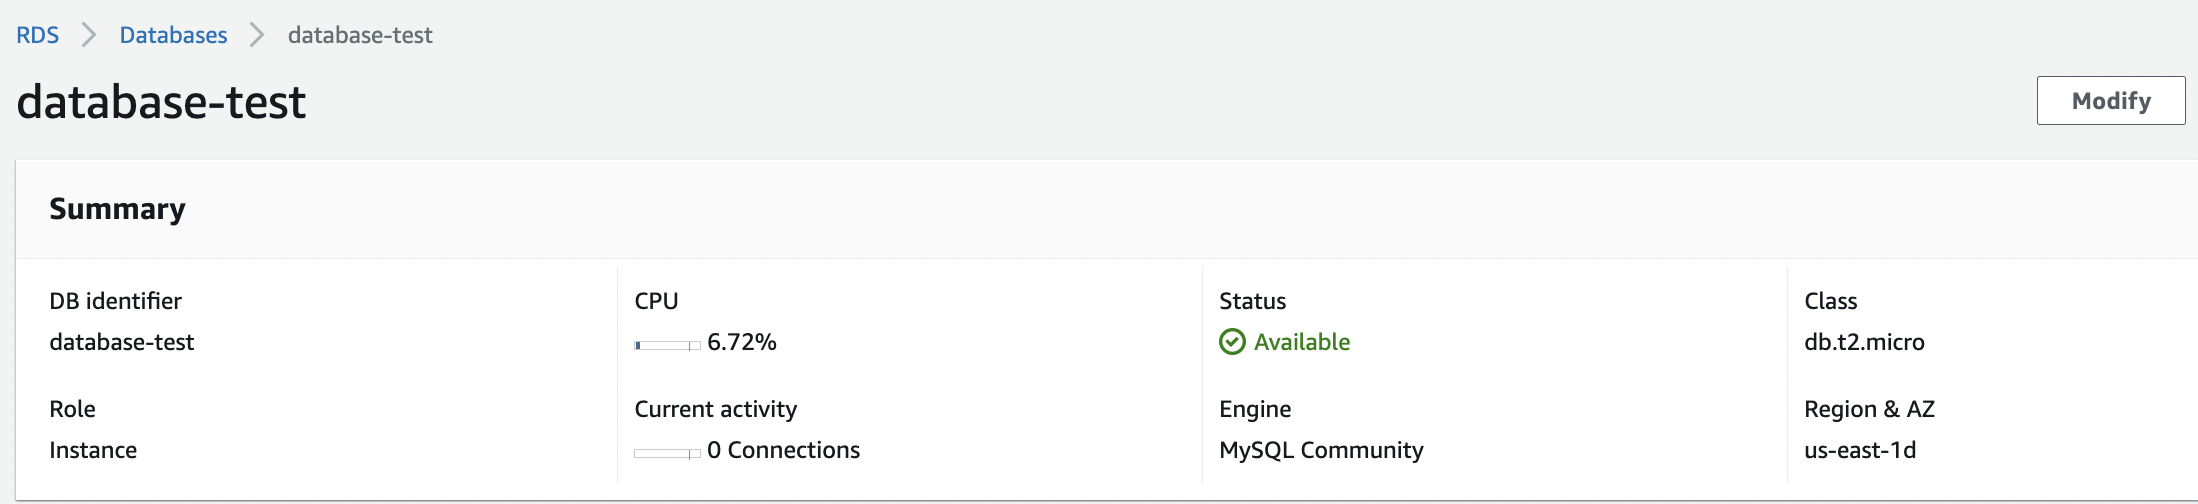
Select the “Database” that needs to be verified and click on the selected “Database” from the “DB identifier” column to access the database.
-
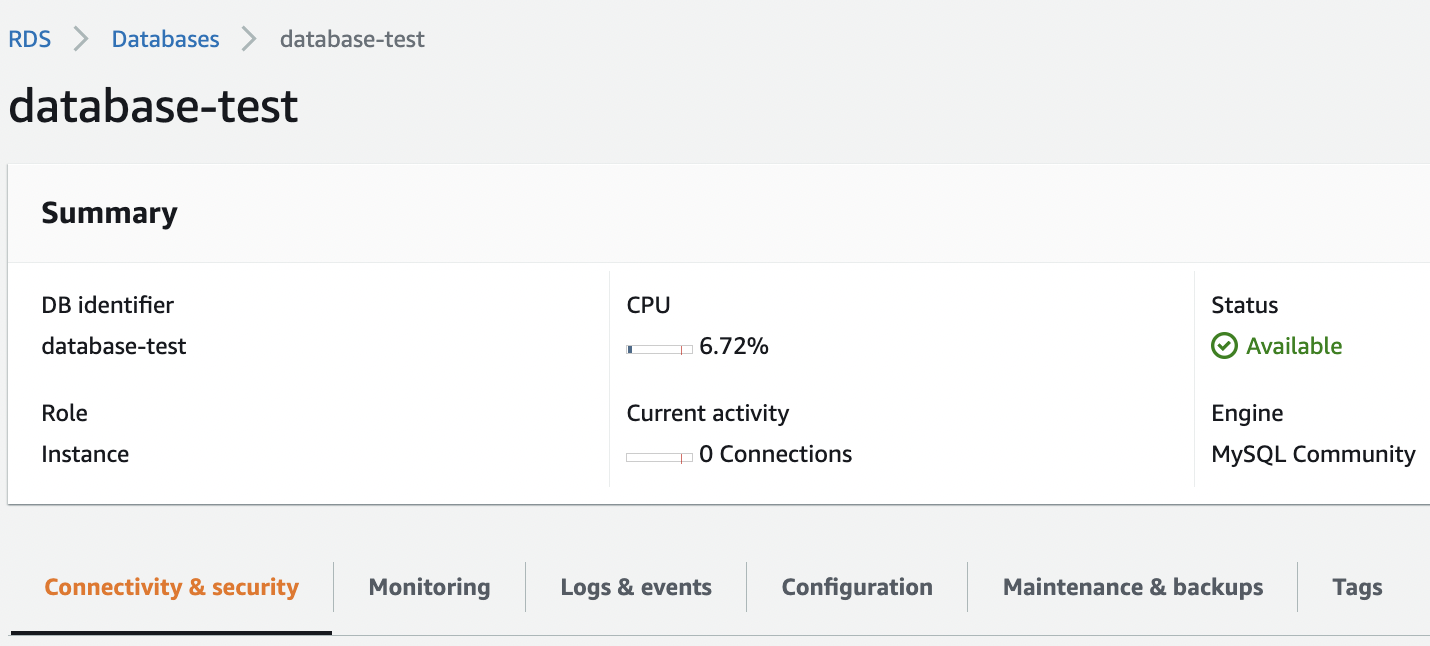
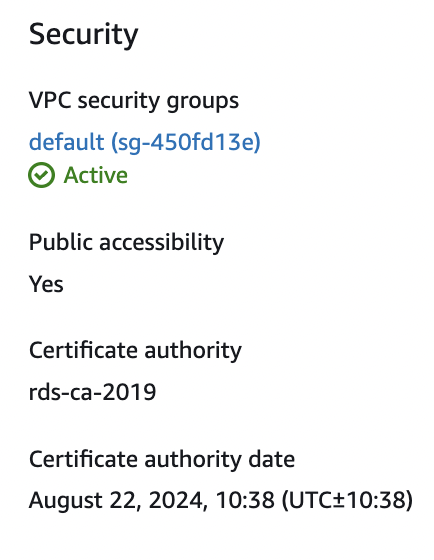
Click on the “Connectivity & Security” under the selected database configuration page.
-
Scroll down the “Connectivity & Security” tab and check the “Security” section. Check the “Public Accessibility” and if it’s “Yes” then selected database can launched into the public cloud .
-
Select the “Database” on which “Public Accessibility” needs to be disabled. Click the “Modify” button at the top to make the necessary changes.
-
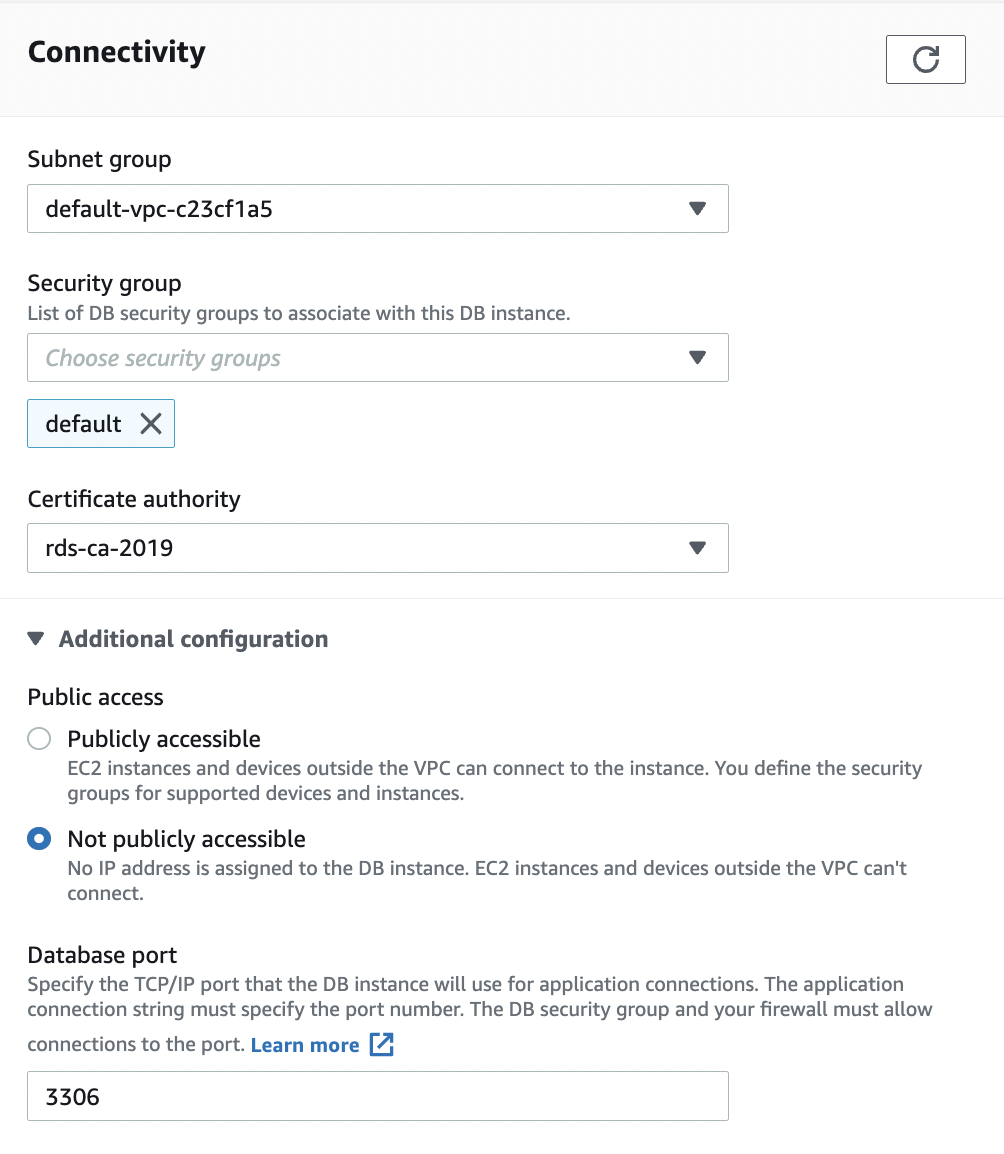
Scroll down the “Modify DB Instance” page and check for “Public Access” under “Additional configuration” of “Connectivity”.

-
On the “Public Access” section under “Connectivity” select the “Not publicly accessible” option.
-
Scroll down the “Modify DB Instance” page and click on “Continue” button.

-
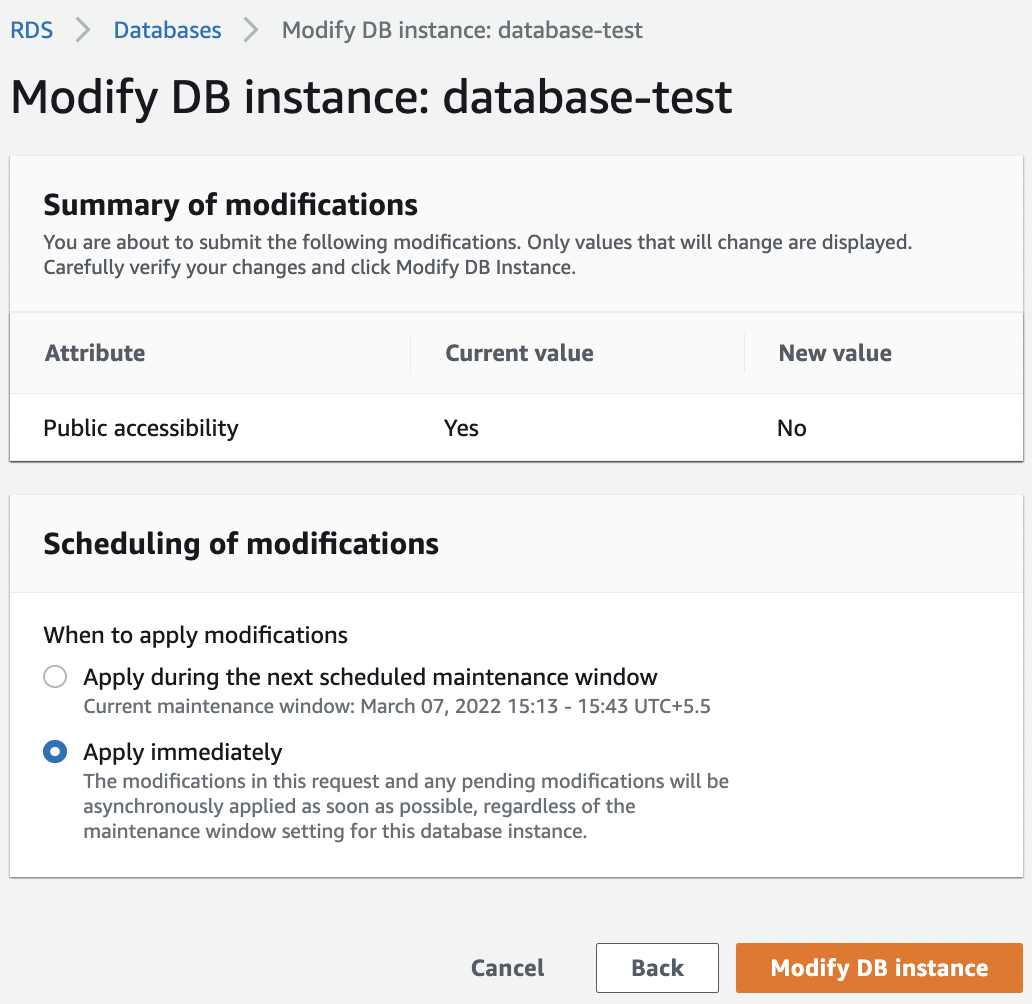
On the “Scheduling of modifications” choose “Apply immediately” so that it will make the above changes as soon as possible, and then click on the “Modify DB Instance” button.
-
Repeat steps number 7 - 11 to remove the public access from all other RDS instances .