Notebook Data Encrypted
Ensure Notebook data is encrypted
An optional encryption key can be supplied during Notebook Instance creation.
Recommended Actions
Follow the appropriate remediation steps below to resolve the issue.
-
Log into the AWS Management Console.
-
Select the “Services” option and search for Sagemaker.

-
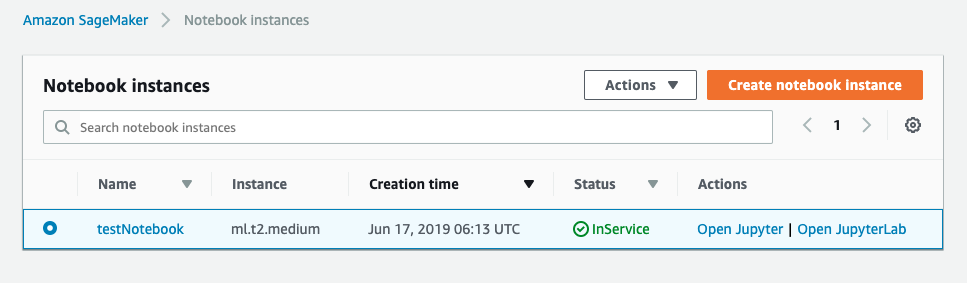
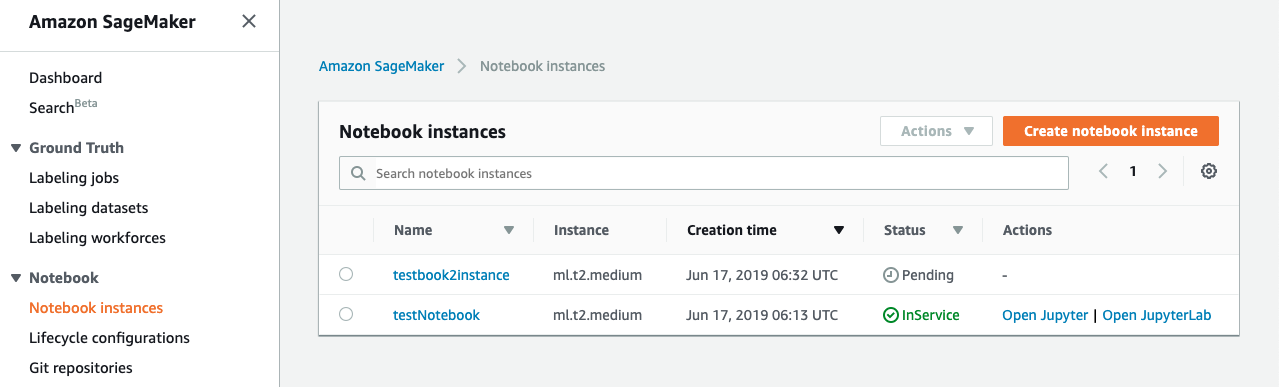
Scroll down the left navigation panel and choose the “Notebook instances” under “Notebook” in Amazon Sagemaker.

-
Select the “Notebook instance” that needs to be verified and click on the “Name” to access the selected “Notebook instance” configuration.
-
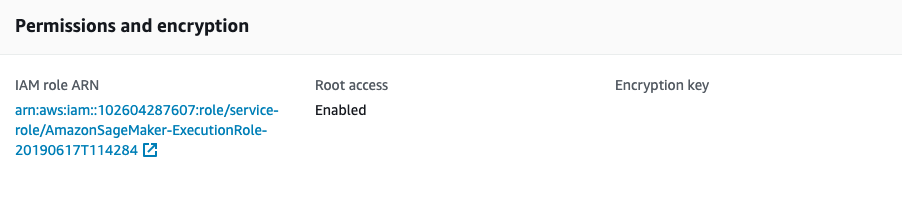
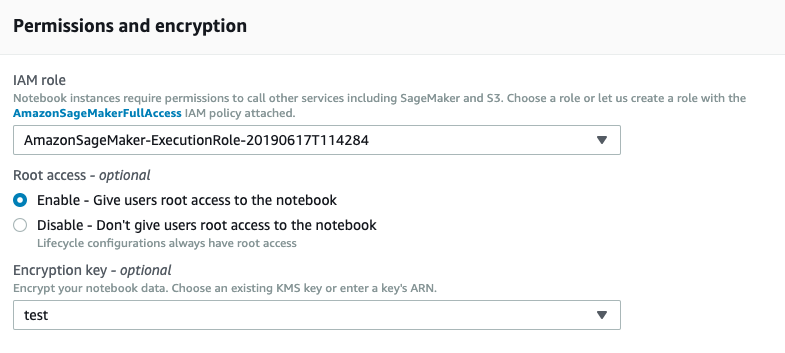
On the selected “Notebook instance” configuration page scroll down and check the “Permissions and encryption” tab. If “Encryption key” is not showing any value than the selected “Notebook instance” data is not encrypted.
-
Repeat step number 2 - 5 to verify other “Notebook instances” in the selected AWS region.
-
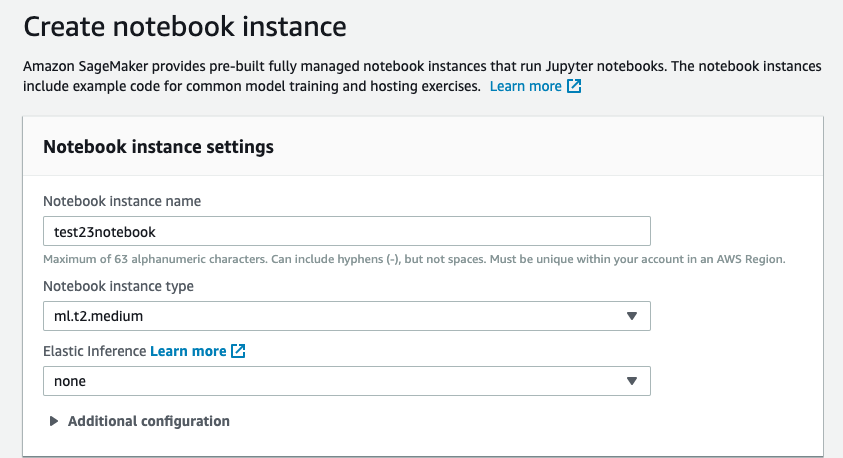
Navigate to “Sagemaker” and select the “Notebook instance” under “Notebook” and click on the “Create notebook instance” to create a new “Notebook instance” with data encrypted.
-
On the “Create notebook instance” page provide a unique name under the “Notebook instance name” and select the “Notebook instance type” as per the requirements.
-
Scroll down the “Create notebook instance” page and on the “Permissions and encryption” tab select the “IAM role” by either creating a new “IAM role” or entering the “Custom IAM role ARN”. Select the “Encryption key” from the dropdown menu.
-
Click on the “Create notebook instance” button at the bottom to create a new “Notebook instance”.

-
Once the new “Notebook instance” status is “InService” copy all the data from old “Notebook instance” to the new instance.

-
Repeat steps number 7 - 11 to create the “Notebook instances” with an exisiting “KMS key”.