Unencrypted SQS queue.
Queues should be encrypted to protect queue contents.
Impact
Recommended Actions
Follow the appropriate remediation steps below to resolve the issue.
Turn on SQS Queue encryption
|
|
-
Log in to the AWS Management Console.
-
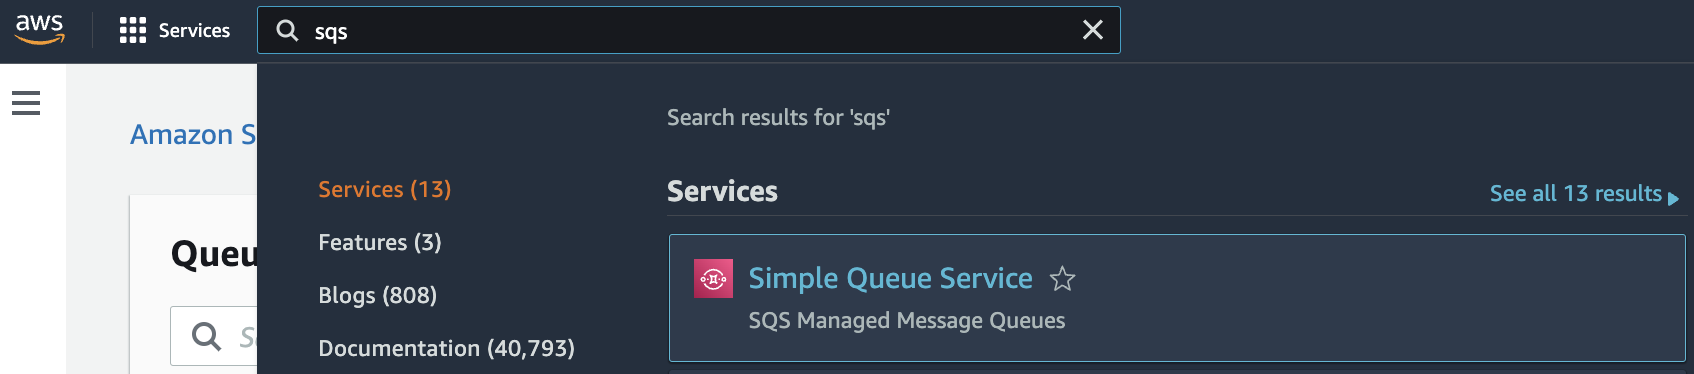
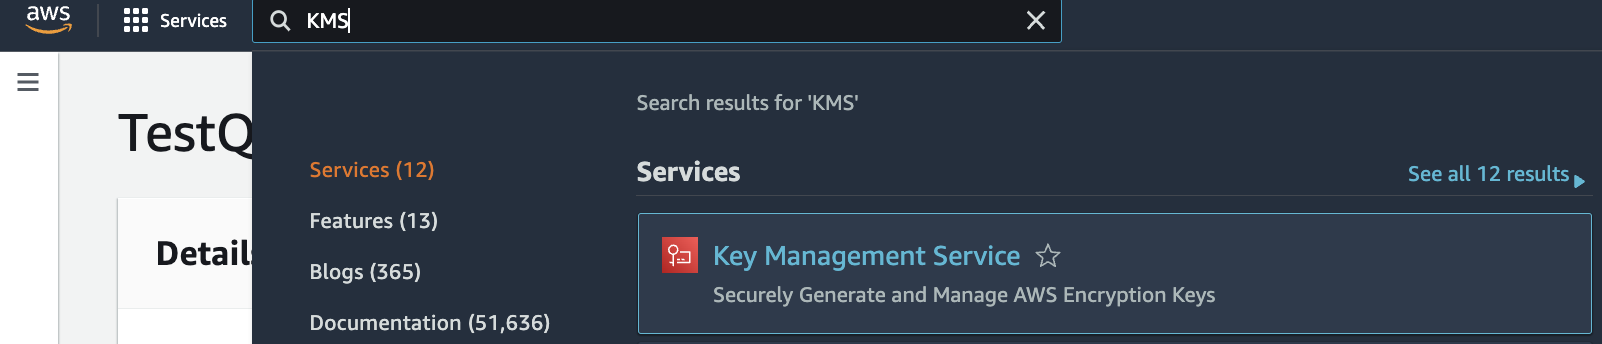
Select the “Services” option and search for SQS.
-
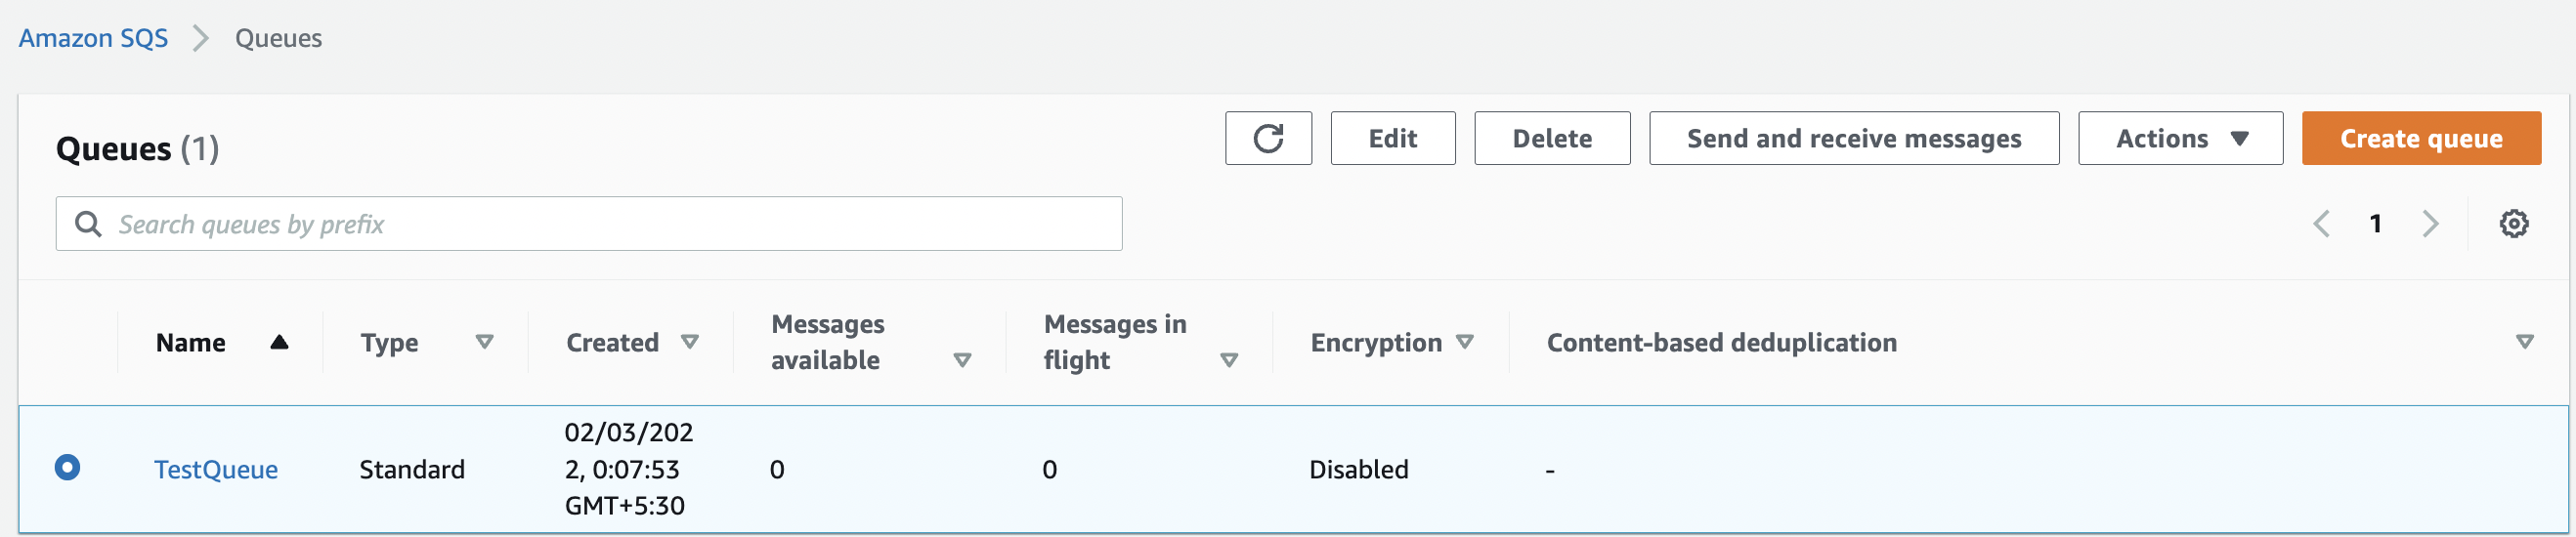
Select the “SQS” queue that needs to be verified and click on its “Name”.
-
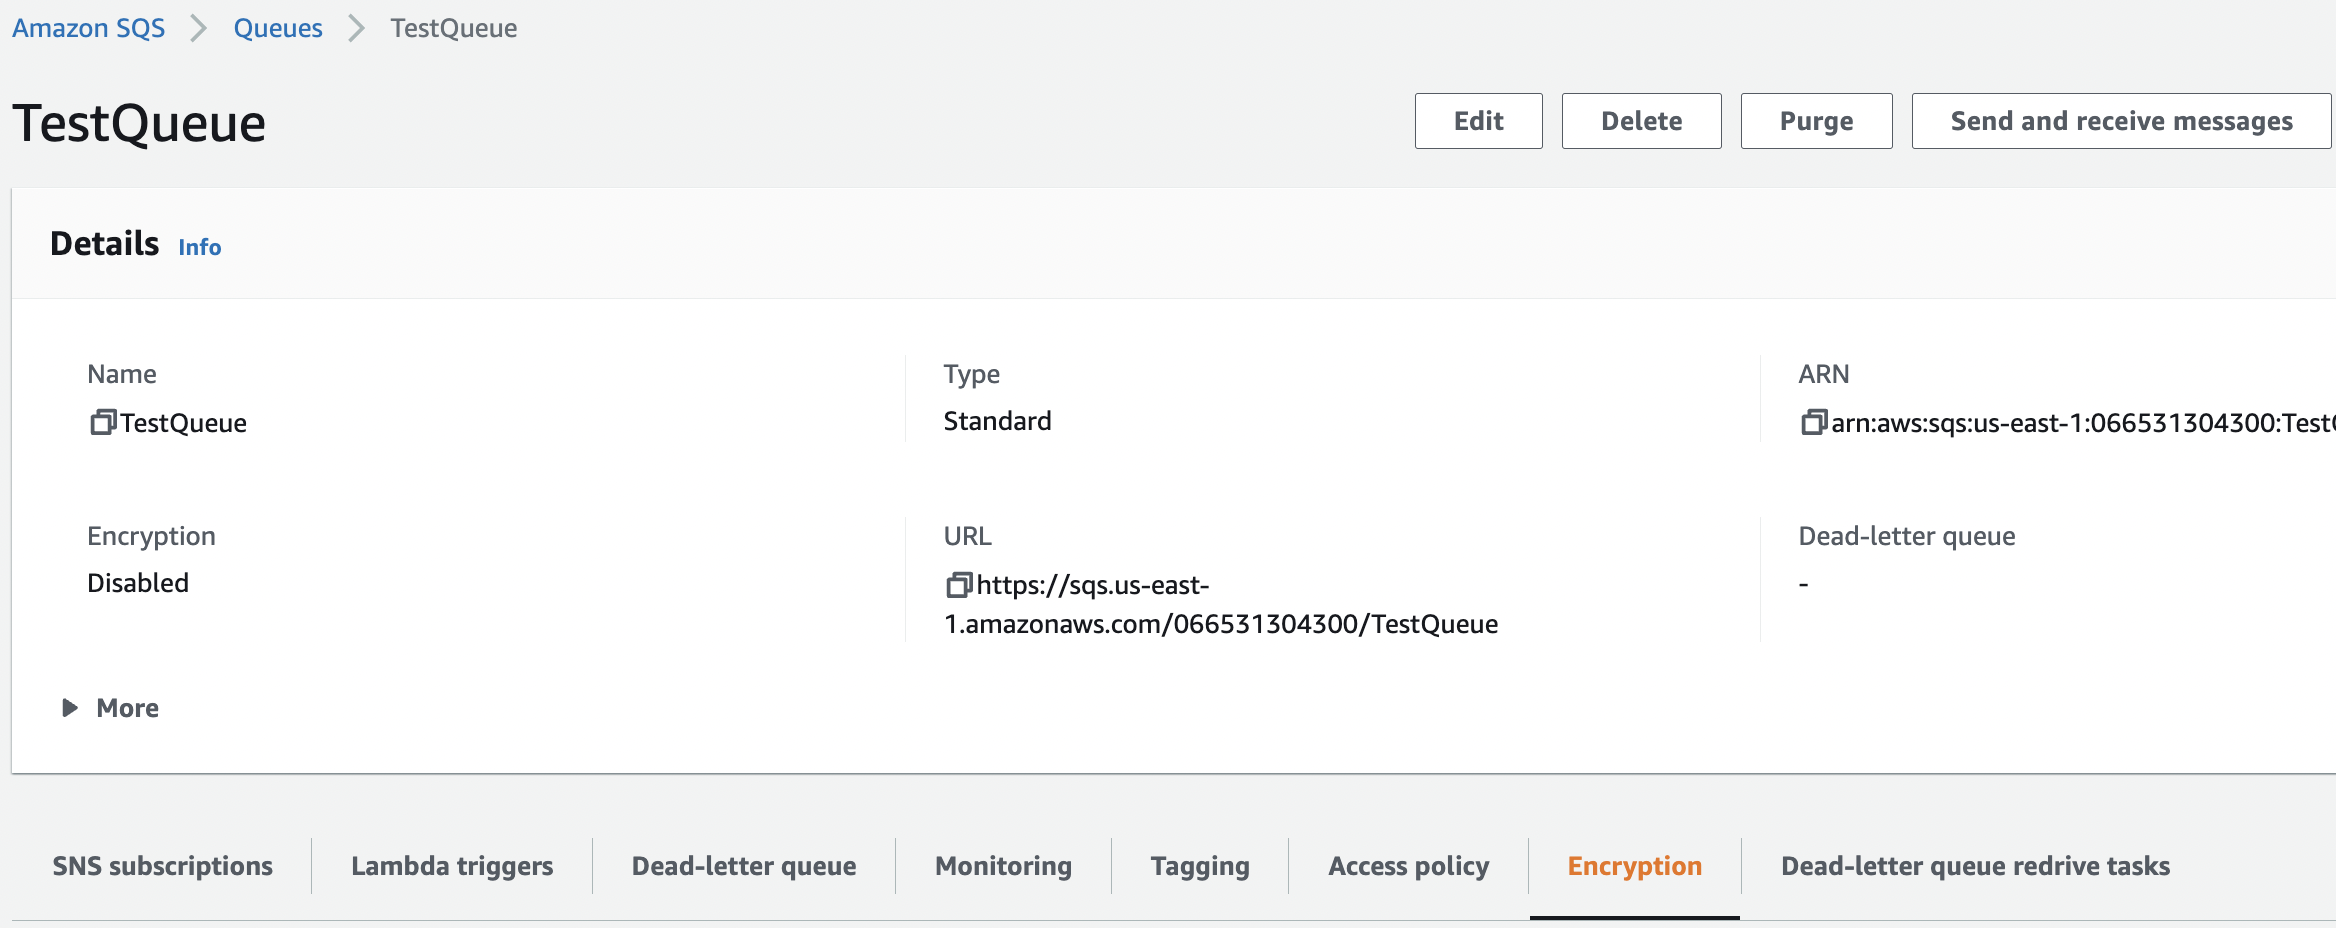
Scroll down the page and click on the “Encryption” tab from the bottom panel.
-
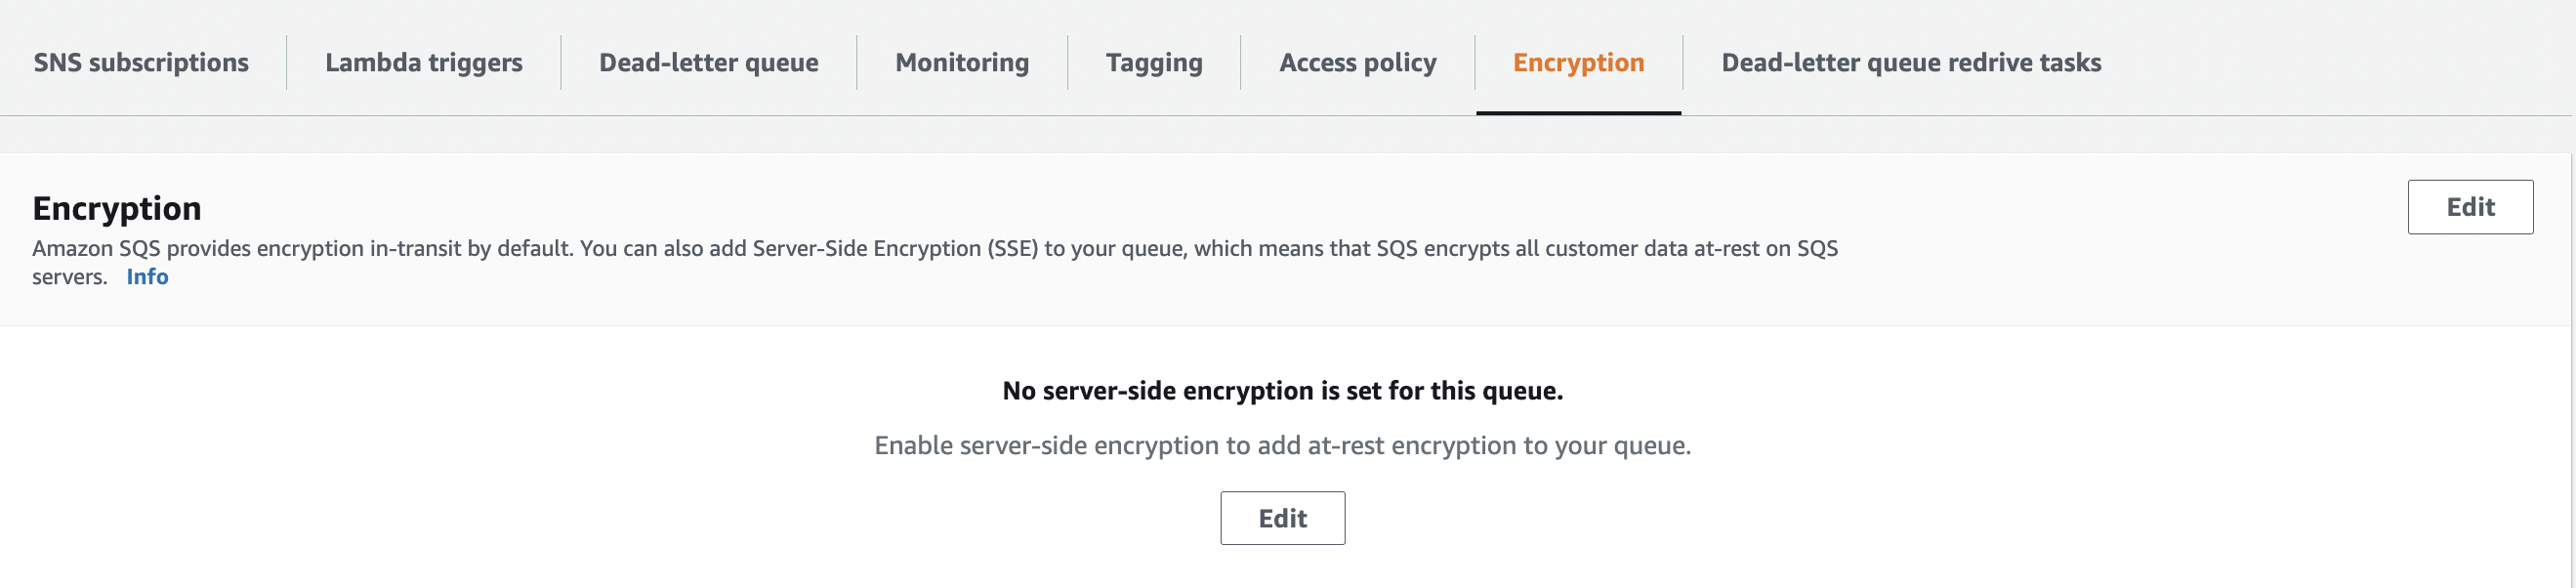
Check the “Server Side Encryption” status for the selected “SQS” queue. If the “Server Side Encryption” is not configured then the following message is displayed “No server-side encryption is set for this queue”. SSE protects the content of messages in Amazon SQS queues using keys managed in the AWS Key Management Service (AWS KMS)".
-
Repeat step number 2 - 5 to verify other “SQS” queue in the selected AWS region.
-
To enable the “SQS” encryption navigate to KMS services to create a “KMS CMK customer-managed key”.
-
Scroll down the left navigation panel and choose “Customer managed keys” under “Key Management Service” and click on the “Create key” button at the top panel.

-
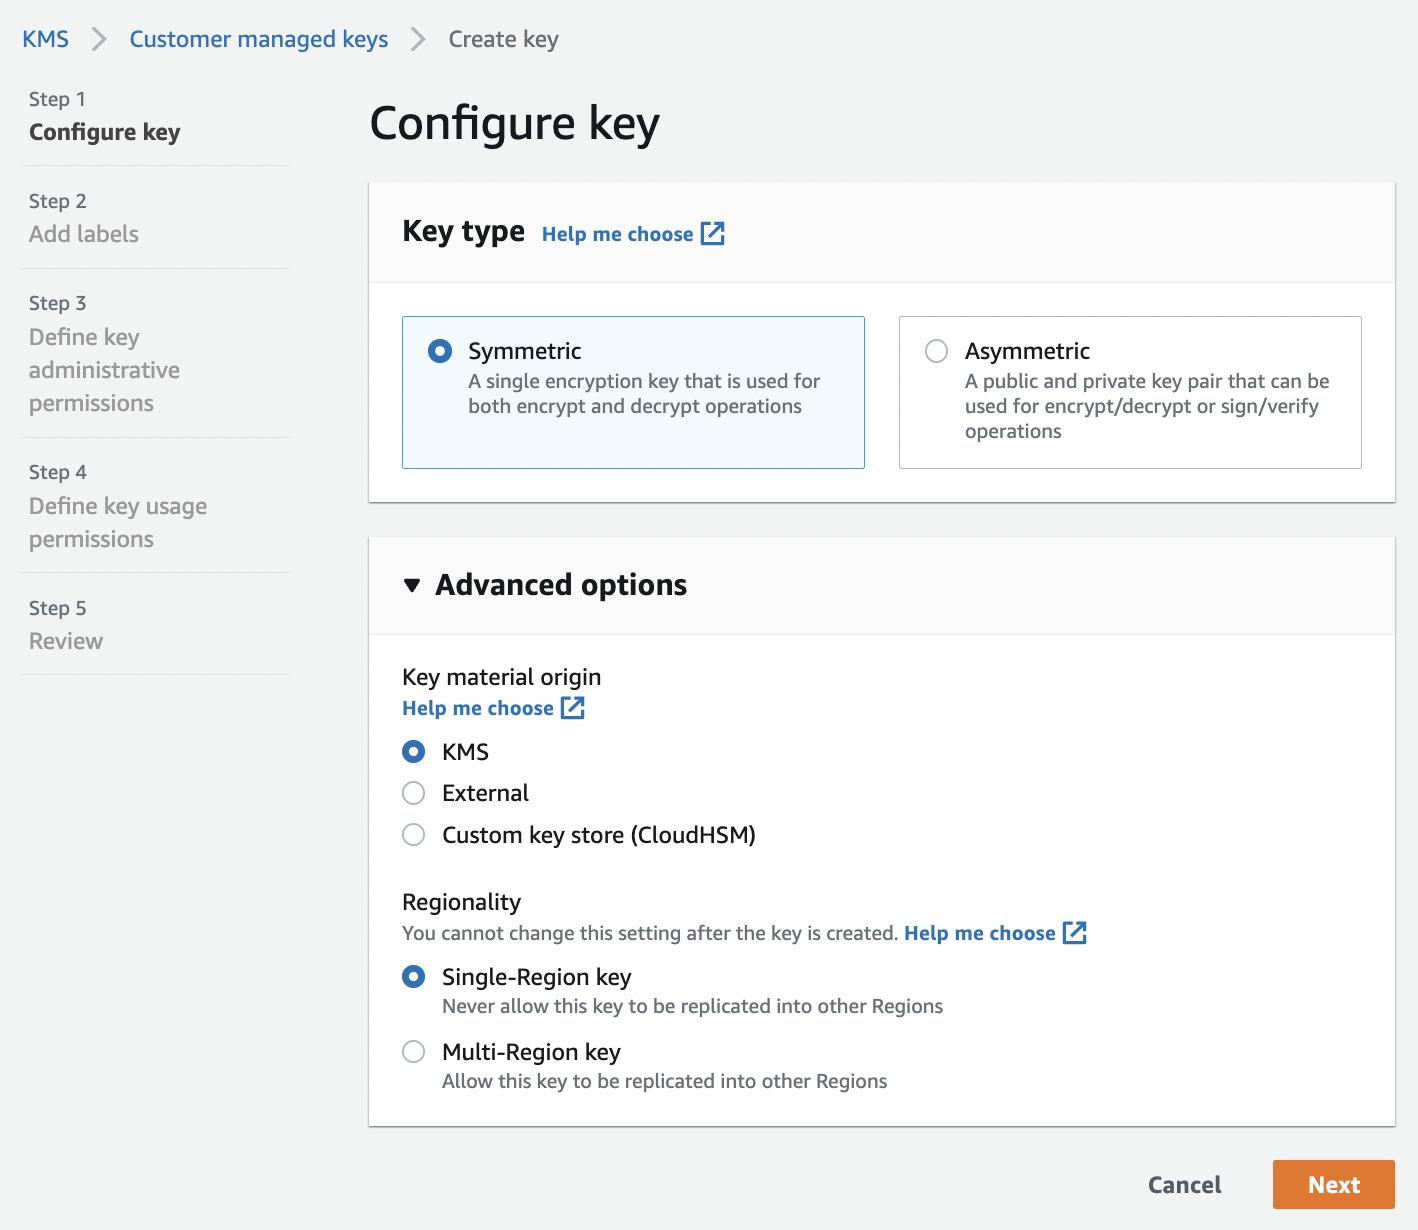
On the “Configure key” page select key type as “Symmetric”. In the advanced options select “Key material origin” as “KMS” and “Regionality” as “Single-Region key” and proceed by clicking “Next” button.
-
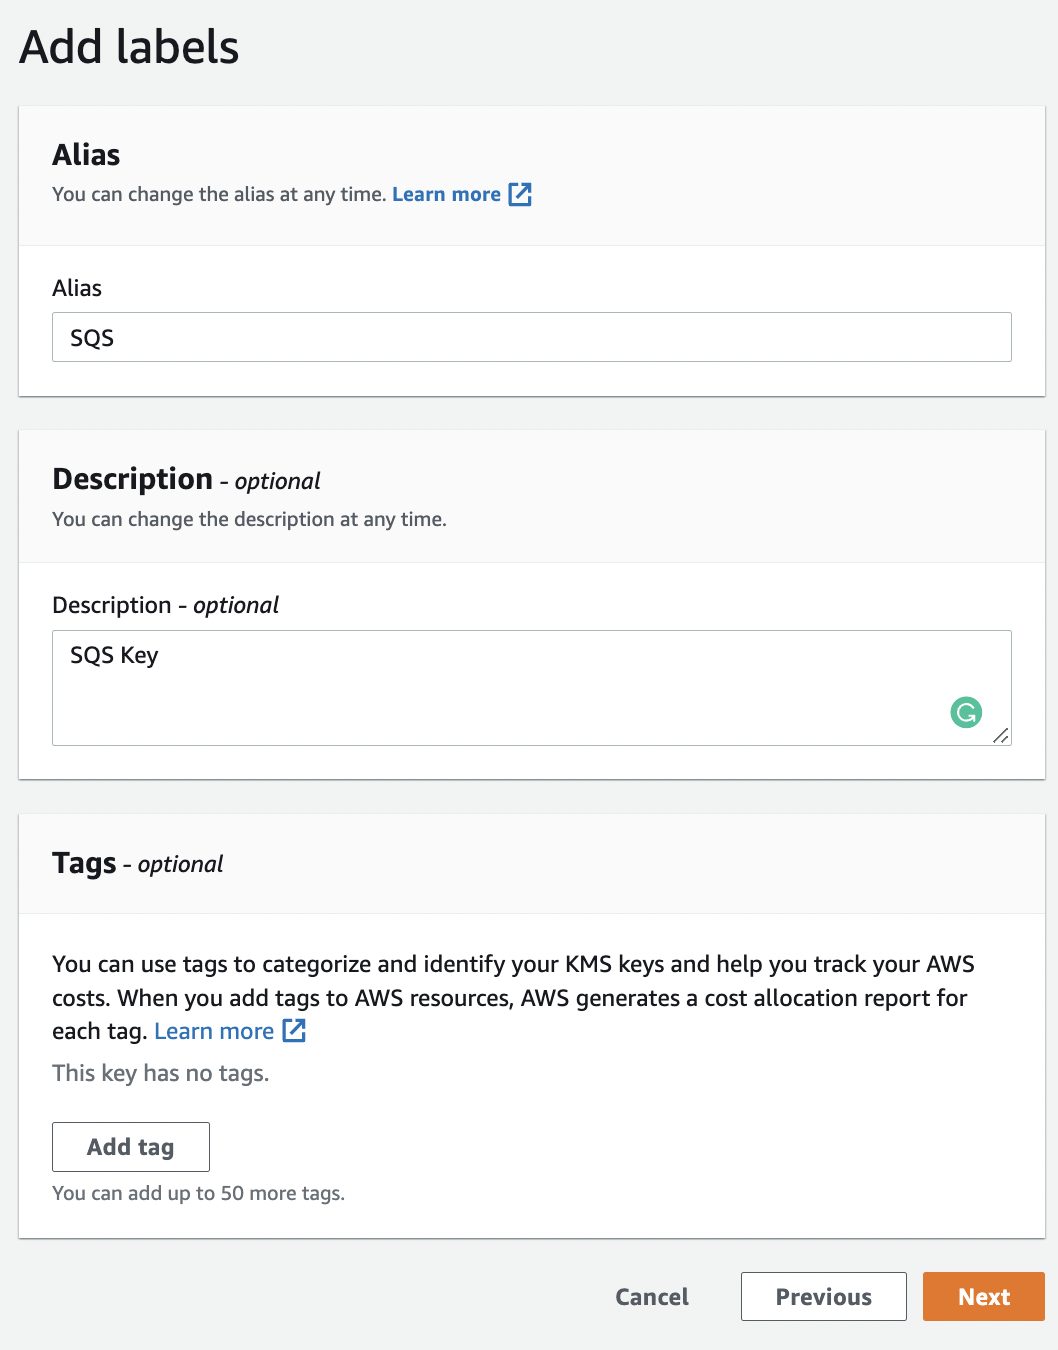
On the “Add labels” page provide the “Alias” and “Description” for the new “KMS key” and click on the “Next” button. You can define unique tags for “Tag key”, “Tag value” under the “Tags” section.
-
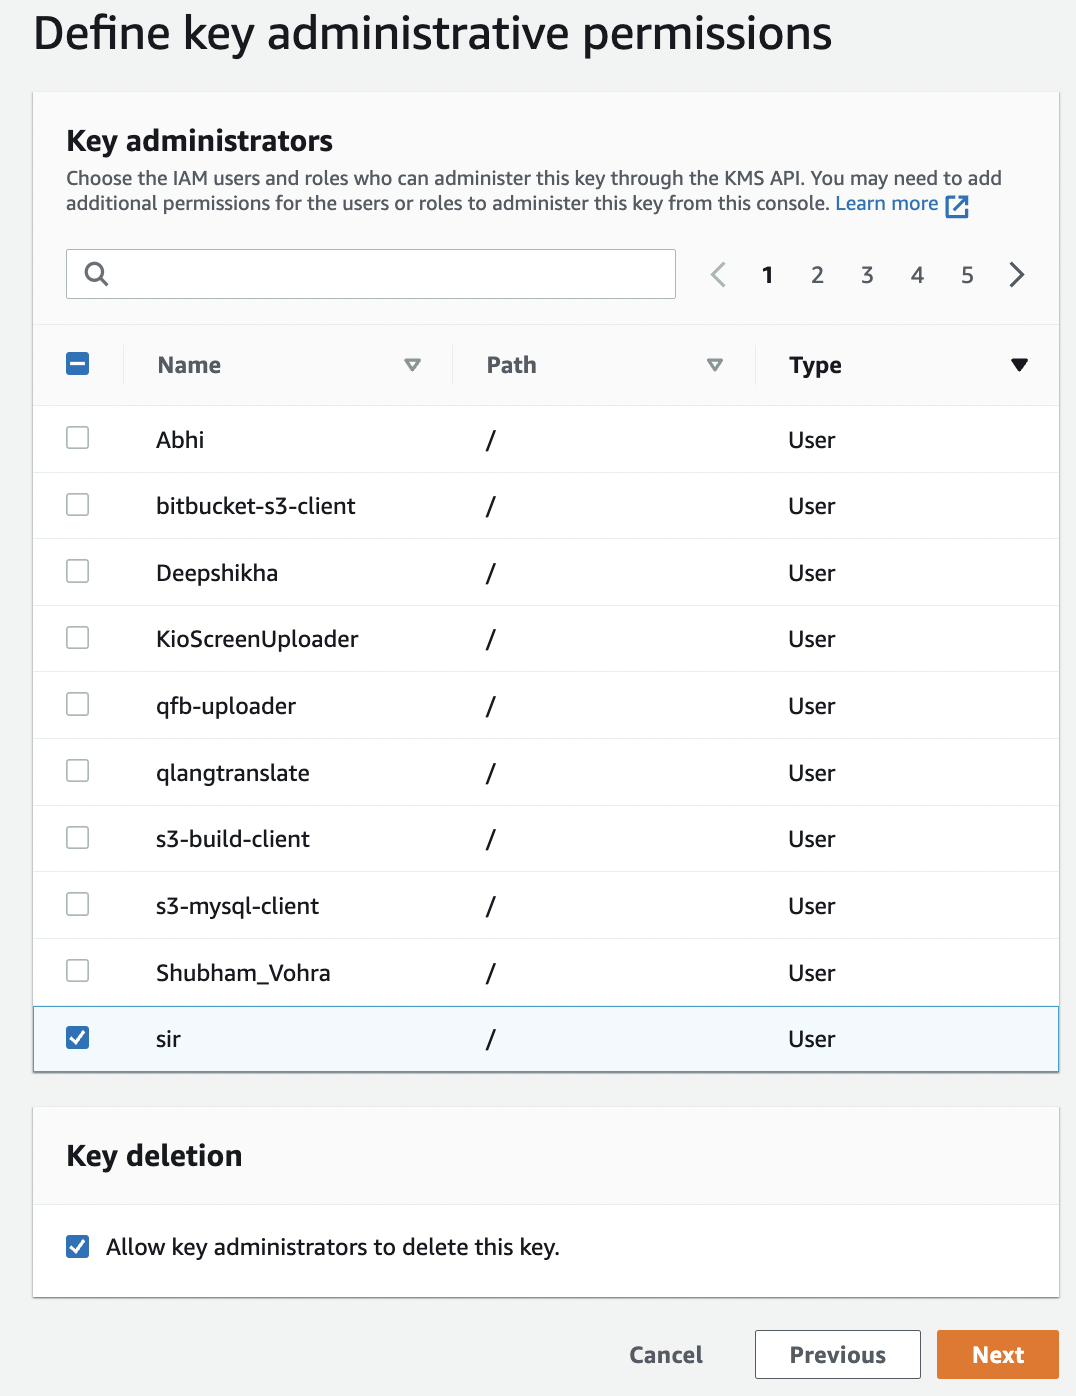
On the “Define key administrative permissions” page select the “IAM users” and roles who can administer the new “KMS key” through the KMS API and click “Next” button.
-
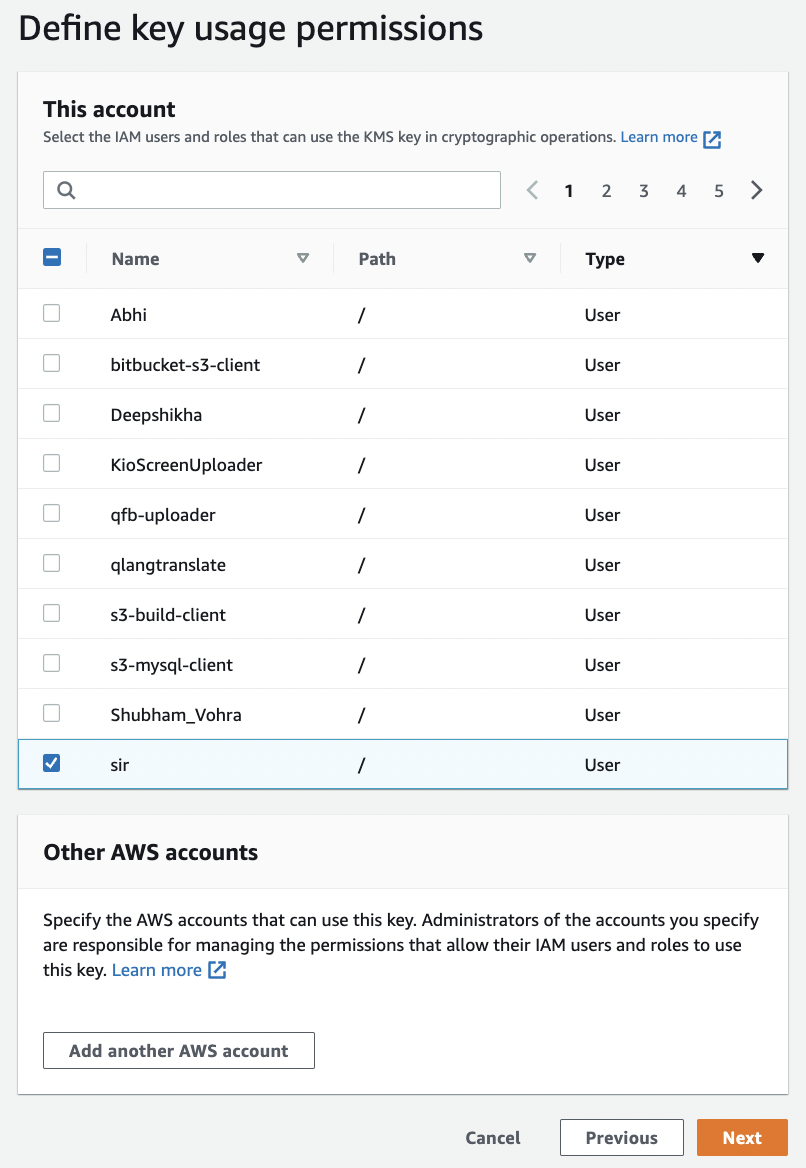
On the “Define key usage permissions” page select the IAM users and roles that can use the CMK to encrypt and decrypt SQS data with the “AWS KMS API” and click on the “Next” button.
-
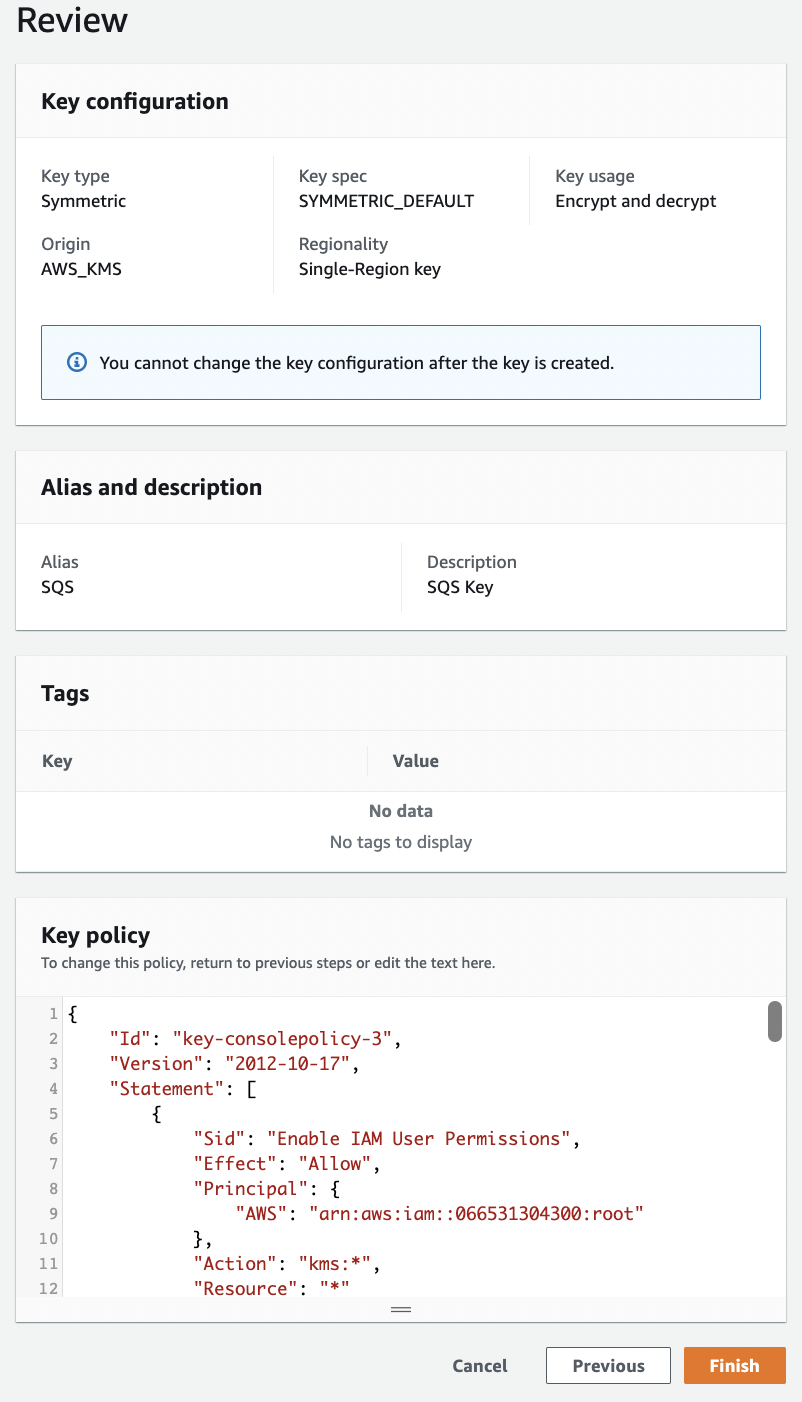
On the “Review” page review the policy and click on the “Finish” button to create a new “KMS key” which can be used to encrypt/decrypt the SQS data.
-
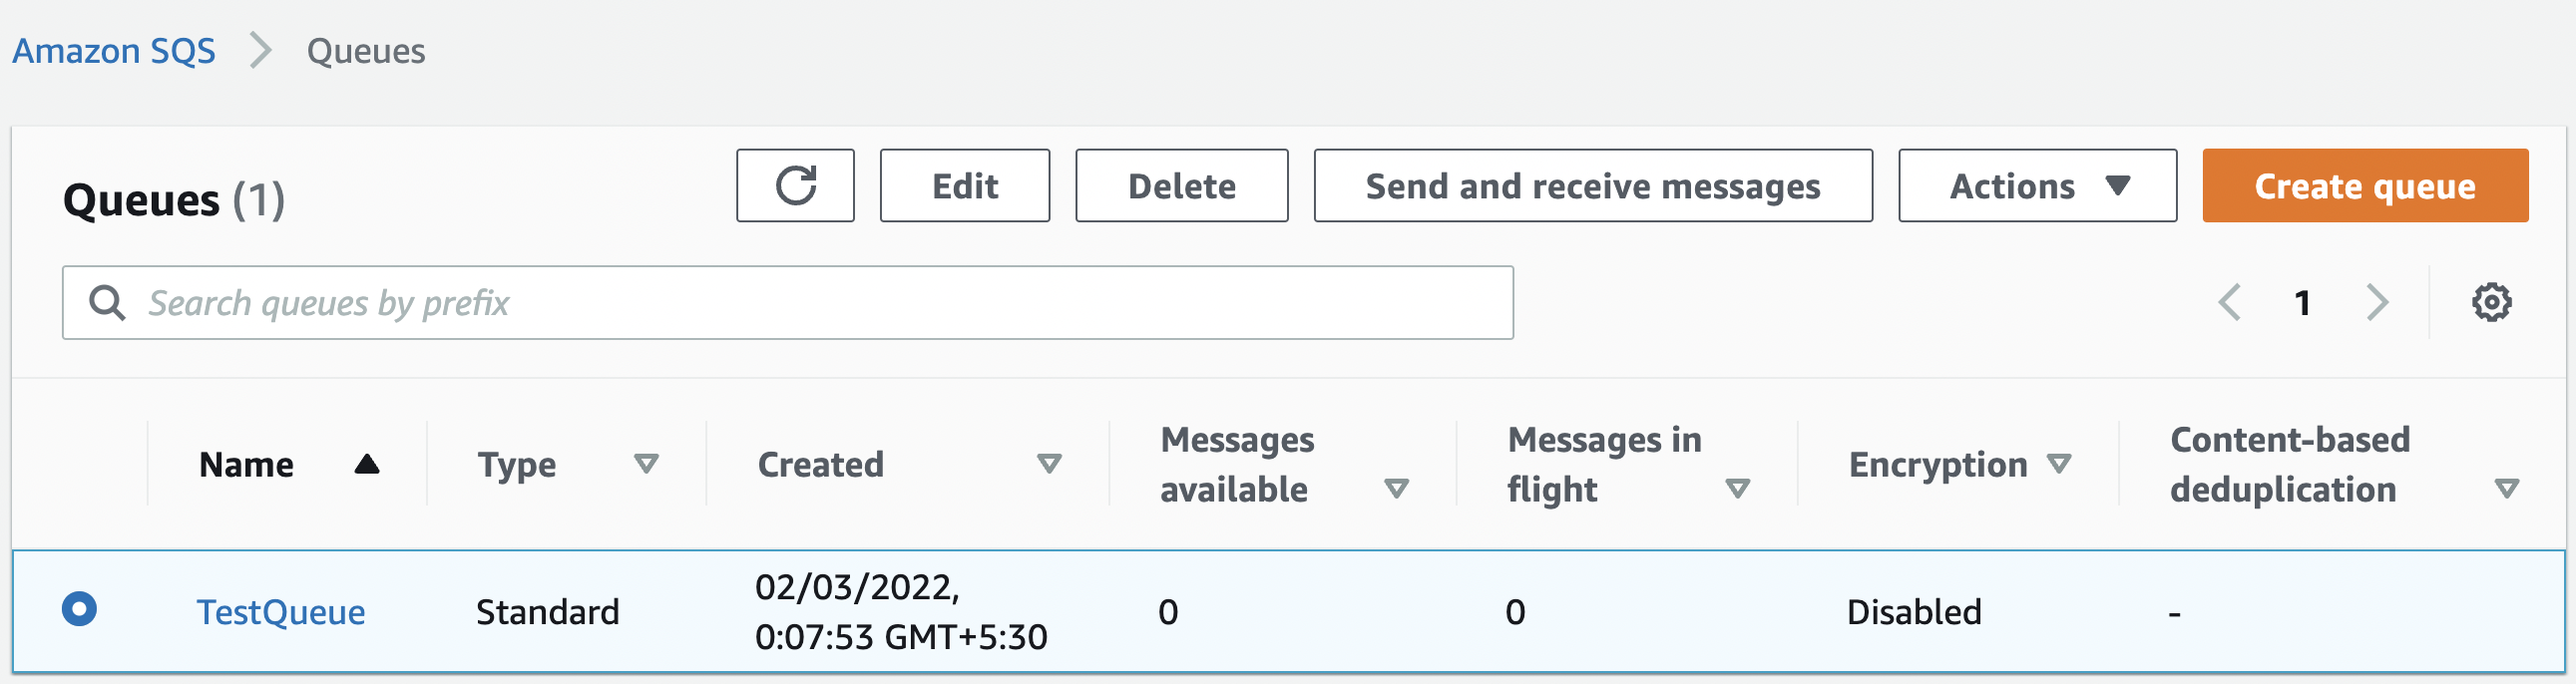
Now “KMS CMK customer-managed key” is created navigate to SQS and select the “SQS” queue which needs to be modified and click the “Edit” button at the top.
-
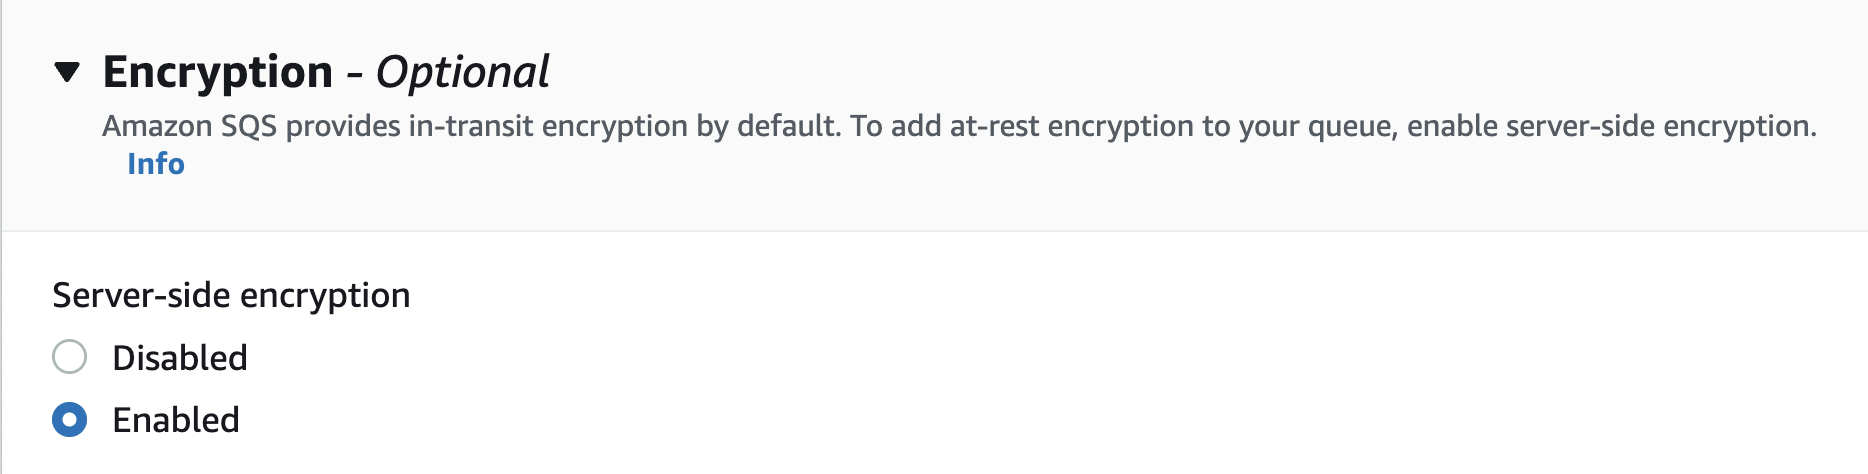
On the “Edit TestQueue” page scroll down to “Encryption” and under the “Server-Side Encryption” select “Enabled”.
-
Under the “Encryption key type” select “AWS Key Management Service key (SSE-KMS)” and from the dropdown under “Customer master key” select the key that you have created for SQS.
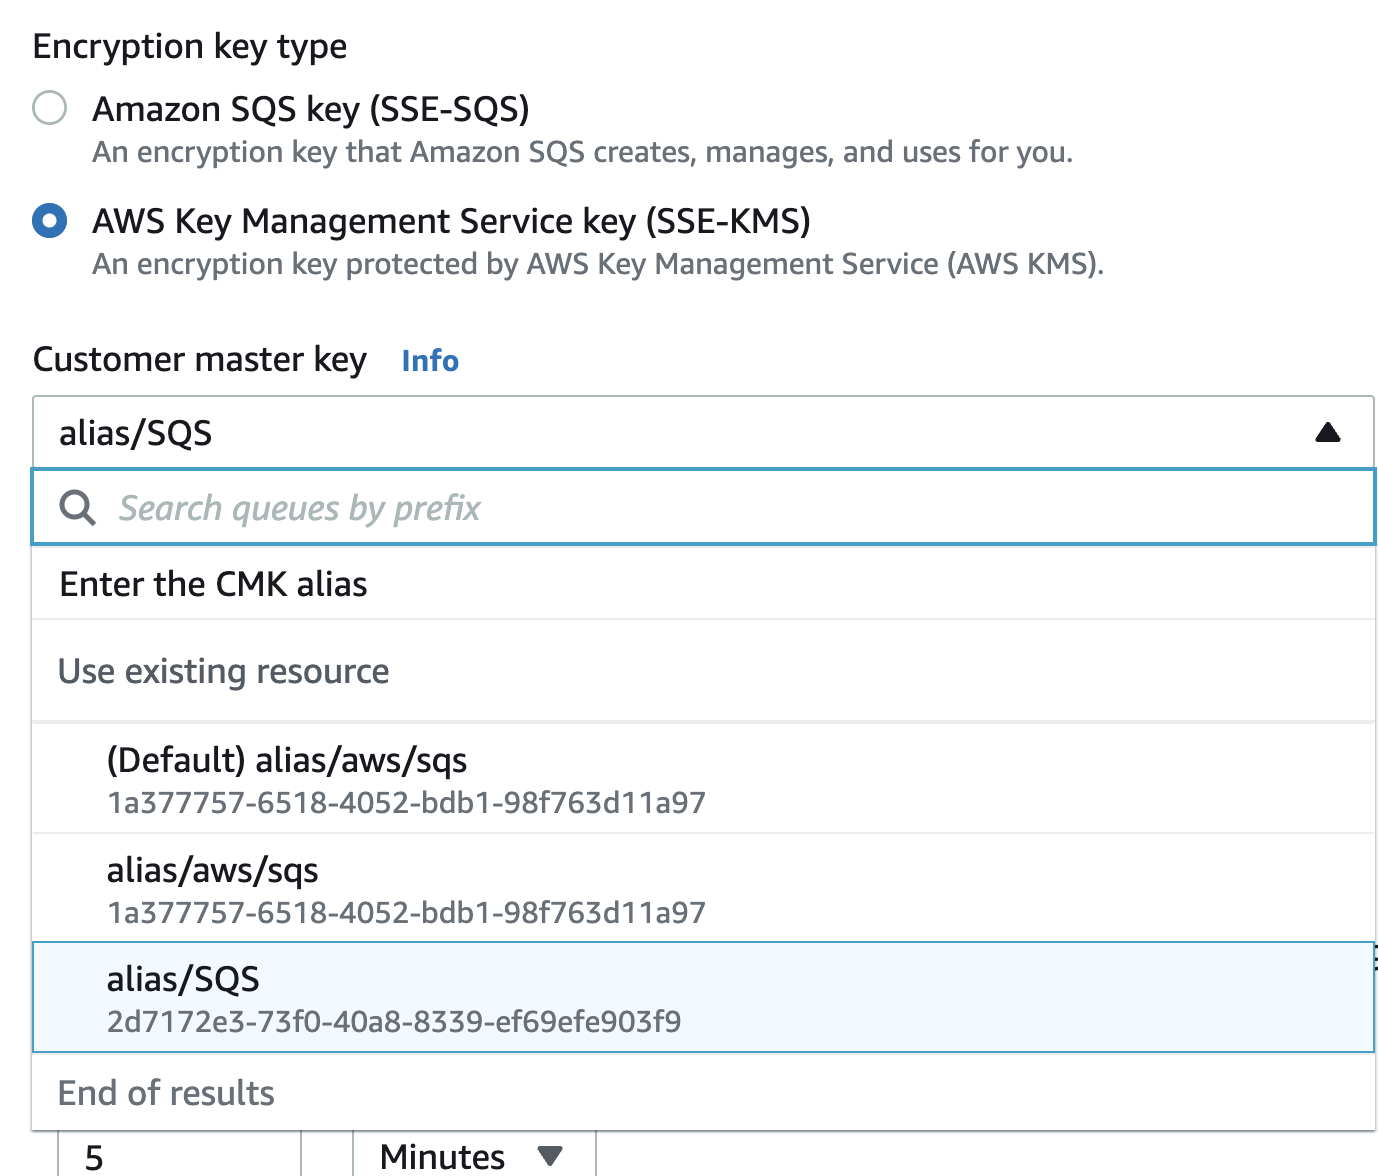
-
Click on the “Save” button to make the necessary changes.

-
Repeat step number 7 - 17 to enable encryption using KMS for all SQS queues.
Turn on SQS Queue encryption
|
|
|
|
|
|