Resources Allowed Locations
Ensures deployed resources and resource groups belong to the list set in the allowed locations for resource groups policy
Setting allowed locations for a service helps ensure the service can only be deployed in expected locations.
Recommended Actions
Follow the appropriate remediation steps below to resolve the issue.
Log into the Microsoft Azure Management Console.
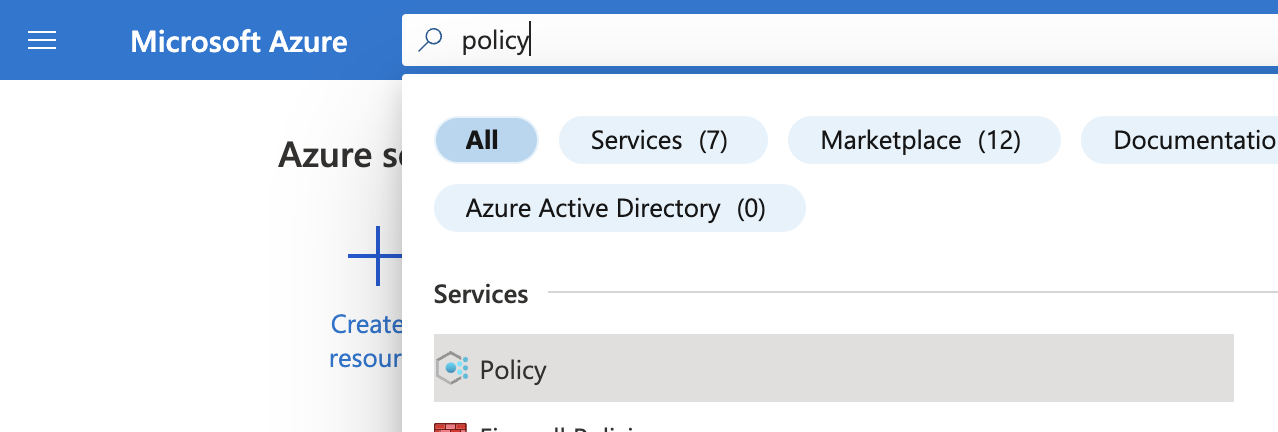
Find the search bar at the top and search for Policy.
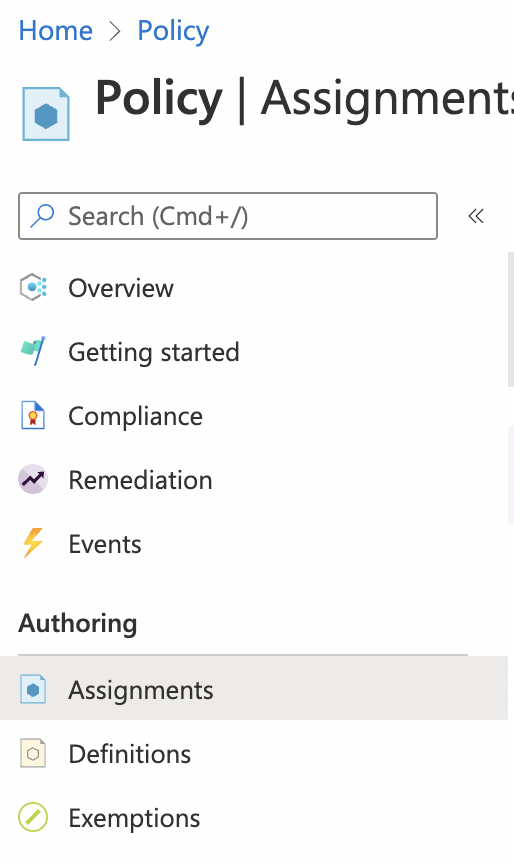
On the “Policy” page, scroll down the left navigation panel and choose “Assignments” under “Authoring”.
On the “Policy - Assignments” page, check the “Policies” listed and if there are no “Policies” for “Resources Allowed Locations” then the selected “Assignment” don’t have any “Resources Allowed Locations” policy.
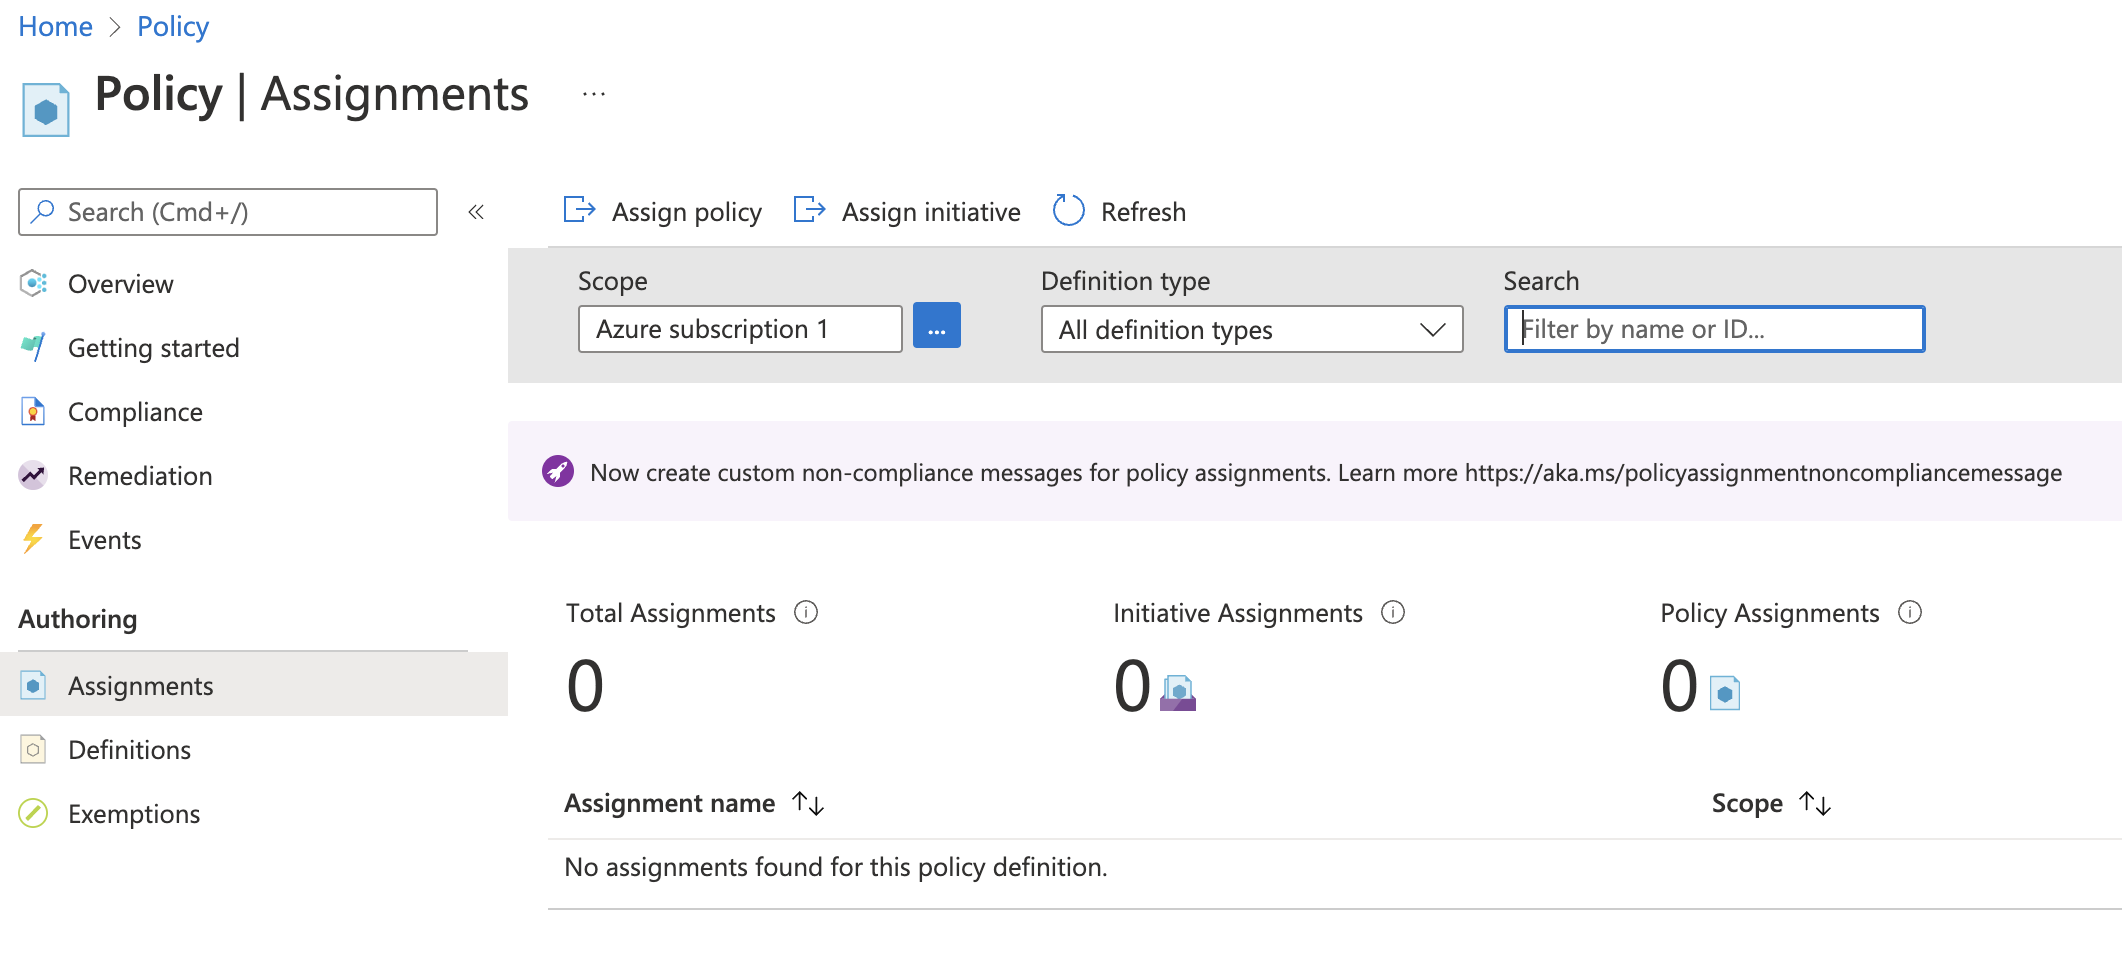
If there is no policy for “Resources Allowed Locations” then click on “Assign policy” at the top to create a new policy.

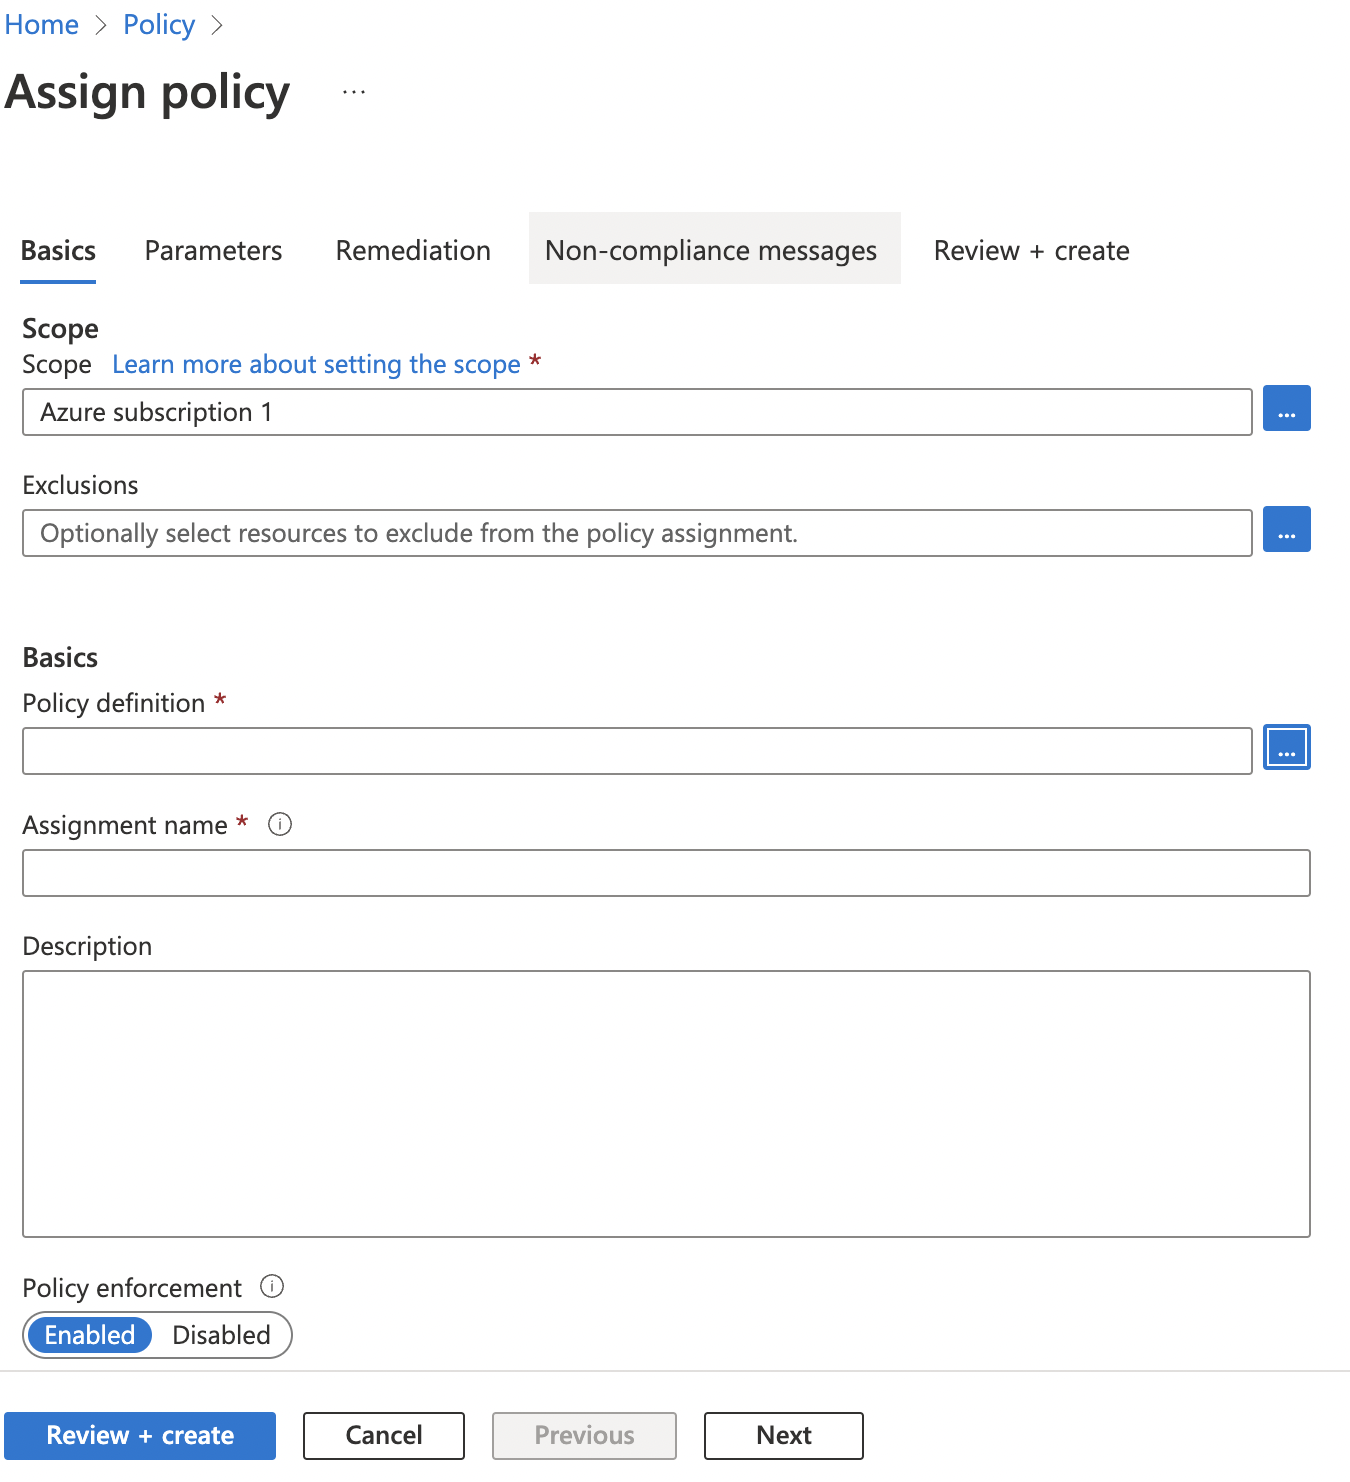
On the “Assign Policy” page, under “Basics” tab, select “Scope” accordingly and click on the “…” dots icon next to “Policy definition”.
On the “Available Definitions” page, click on the “Search” box and search for “Resources Allowed Locations”. Click the Policy Definition found and then click “Select” button at the bottom.

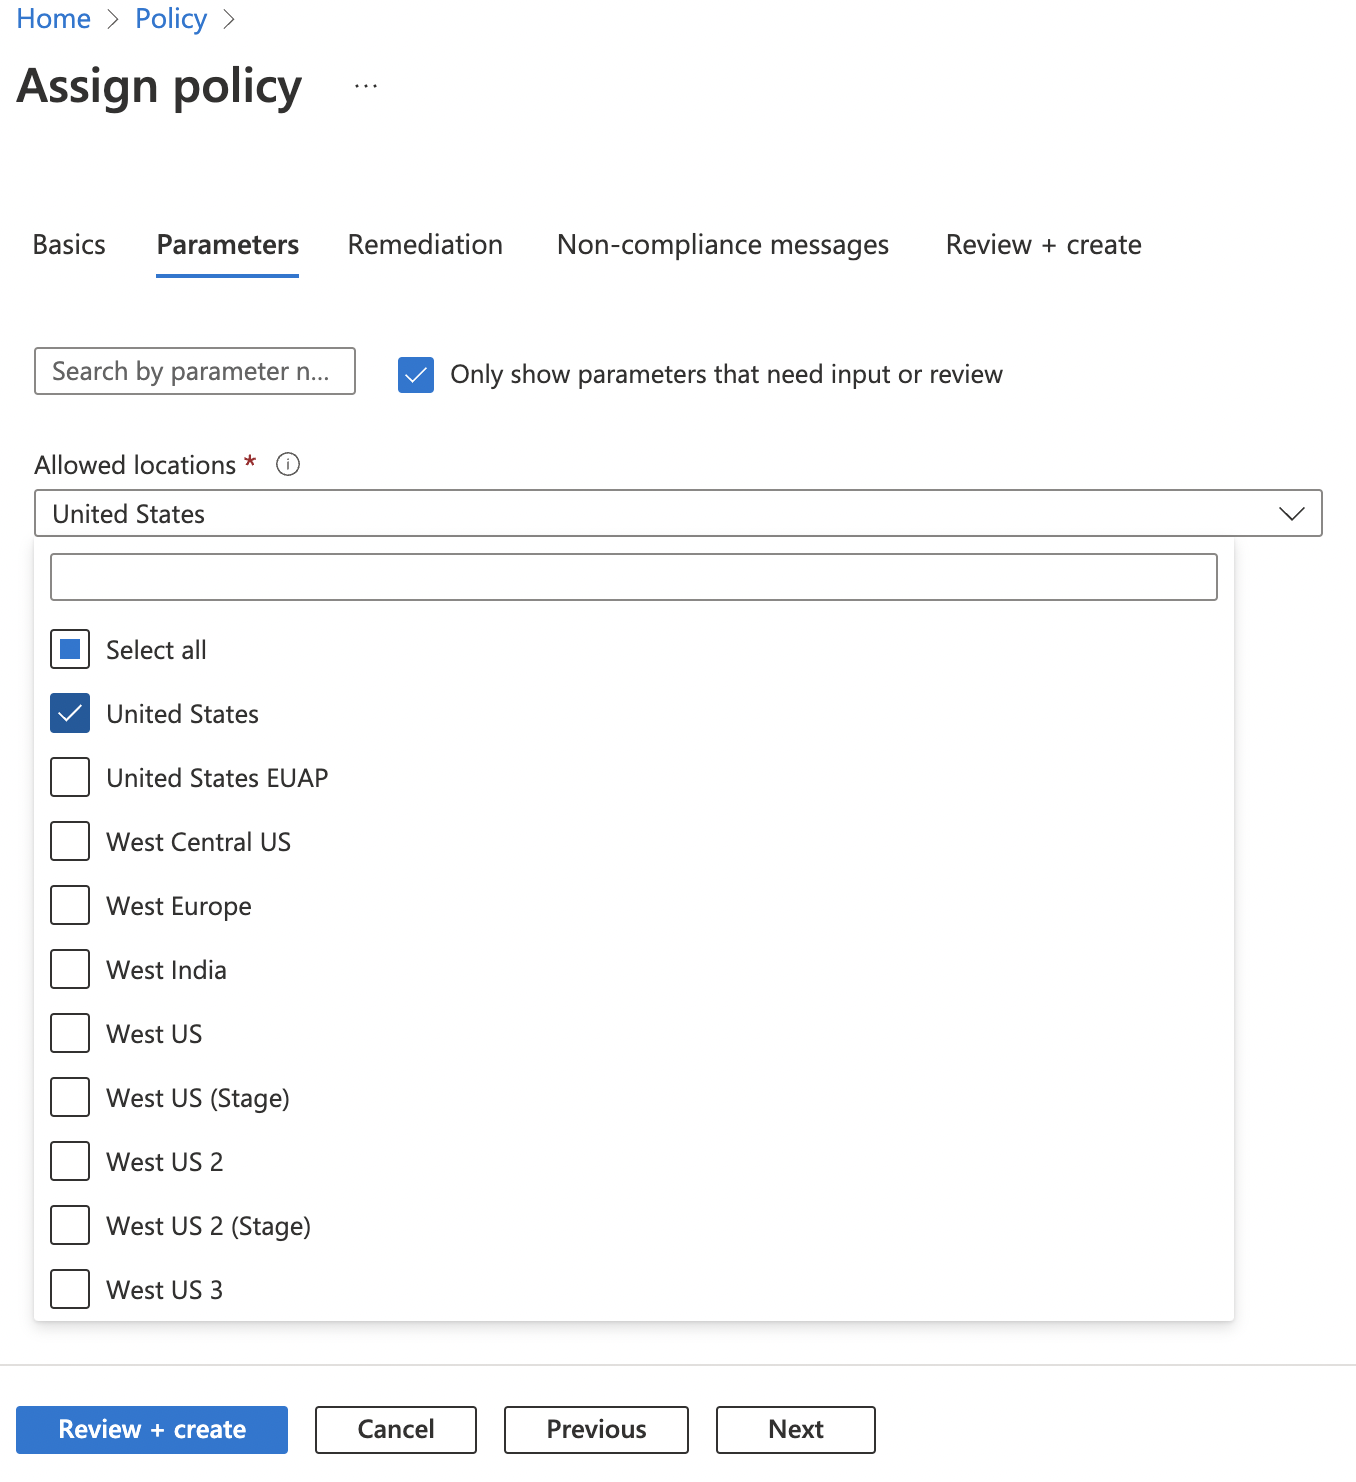
Once back on the “Assign Policy” page, provide a “Description” and click on the “Next” button at the bottom. Now select “Allowed locations” on “Parameters” tab and click “Next” at the bottom.
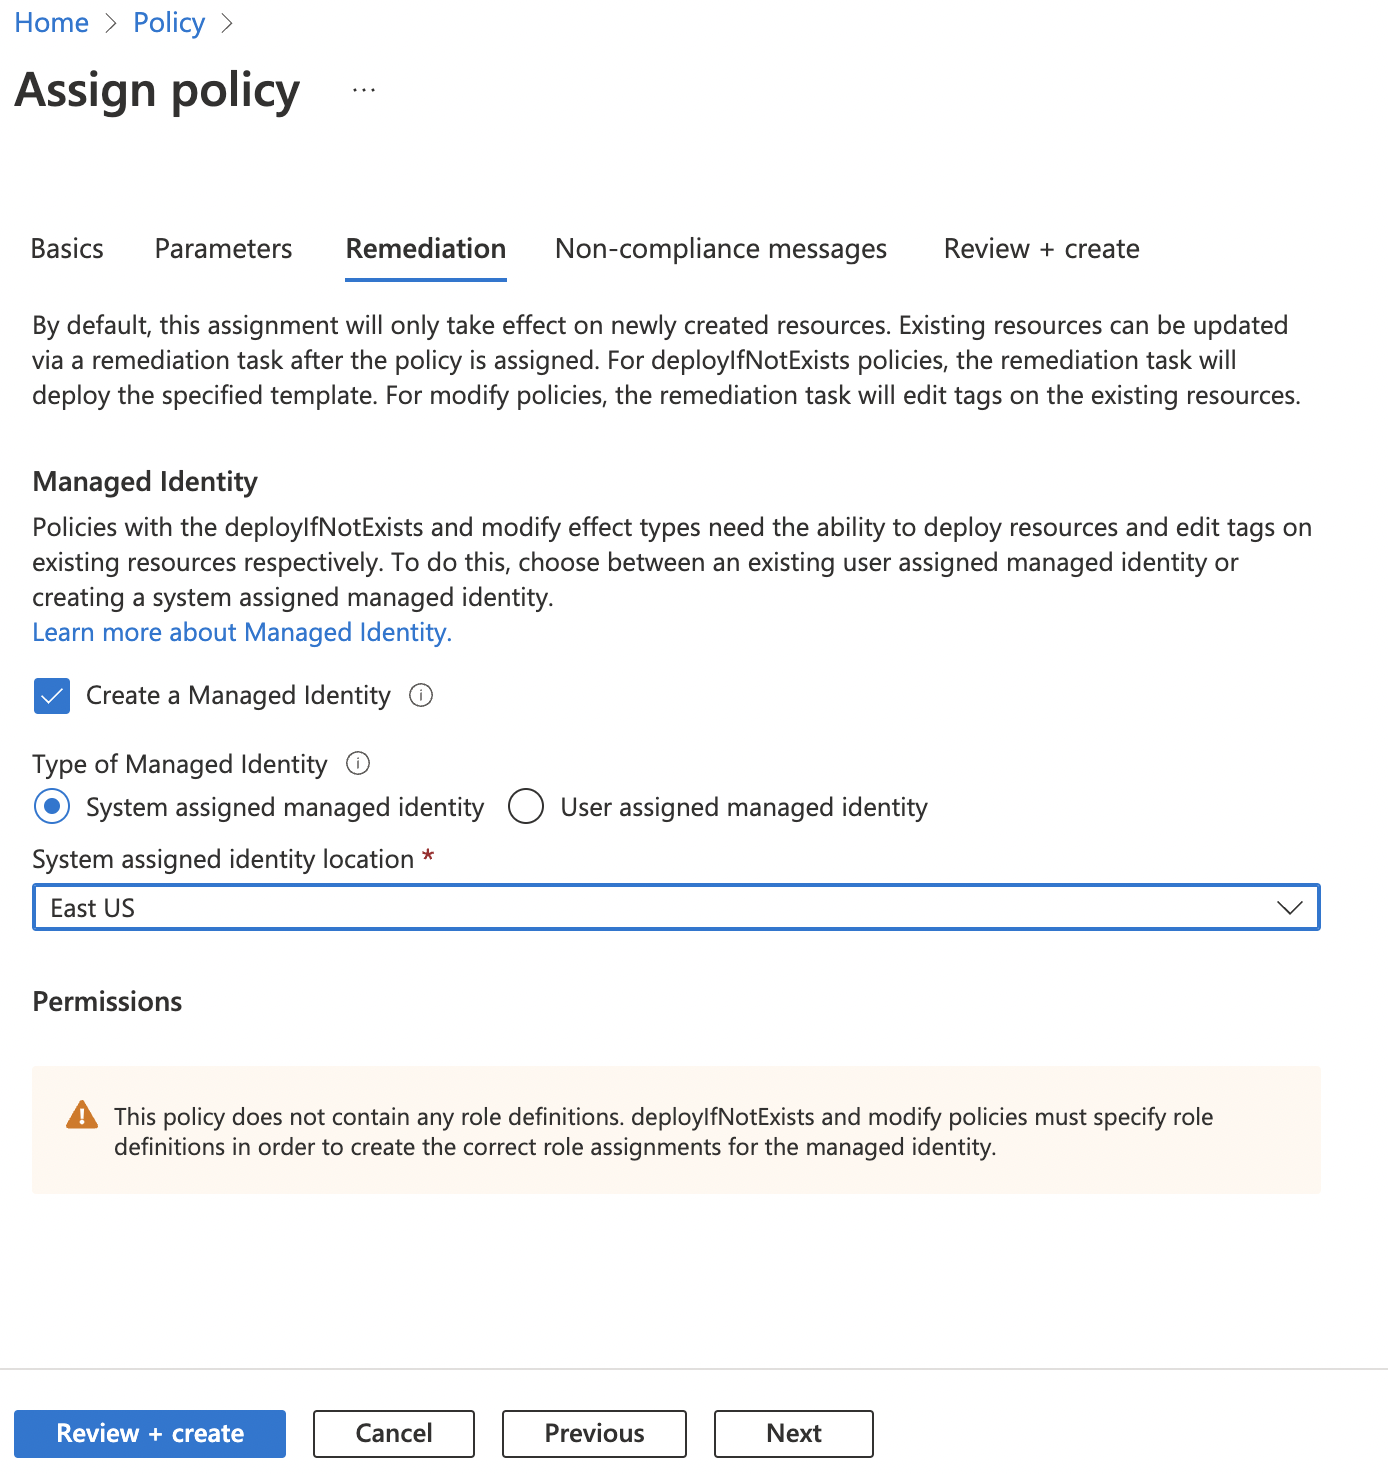
On the “Remediation” tab, click on the checkbox next to “Create a Managed Identity” and select desired “Managed Identity Location”. Click “Review + create” button at the bottom.
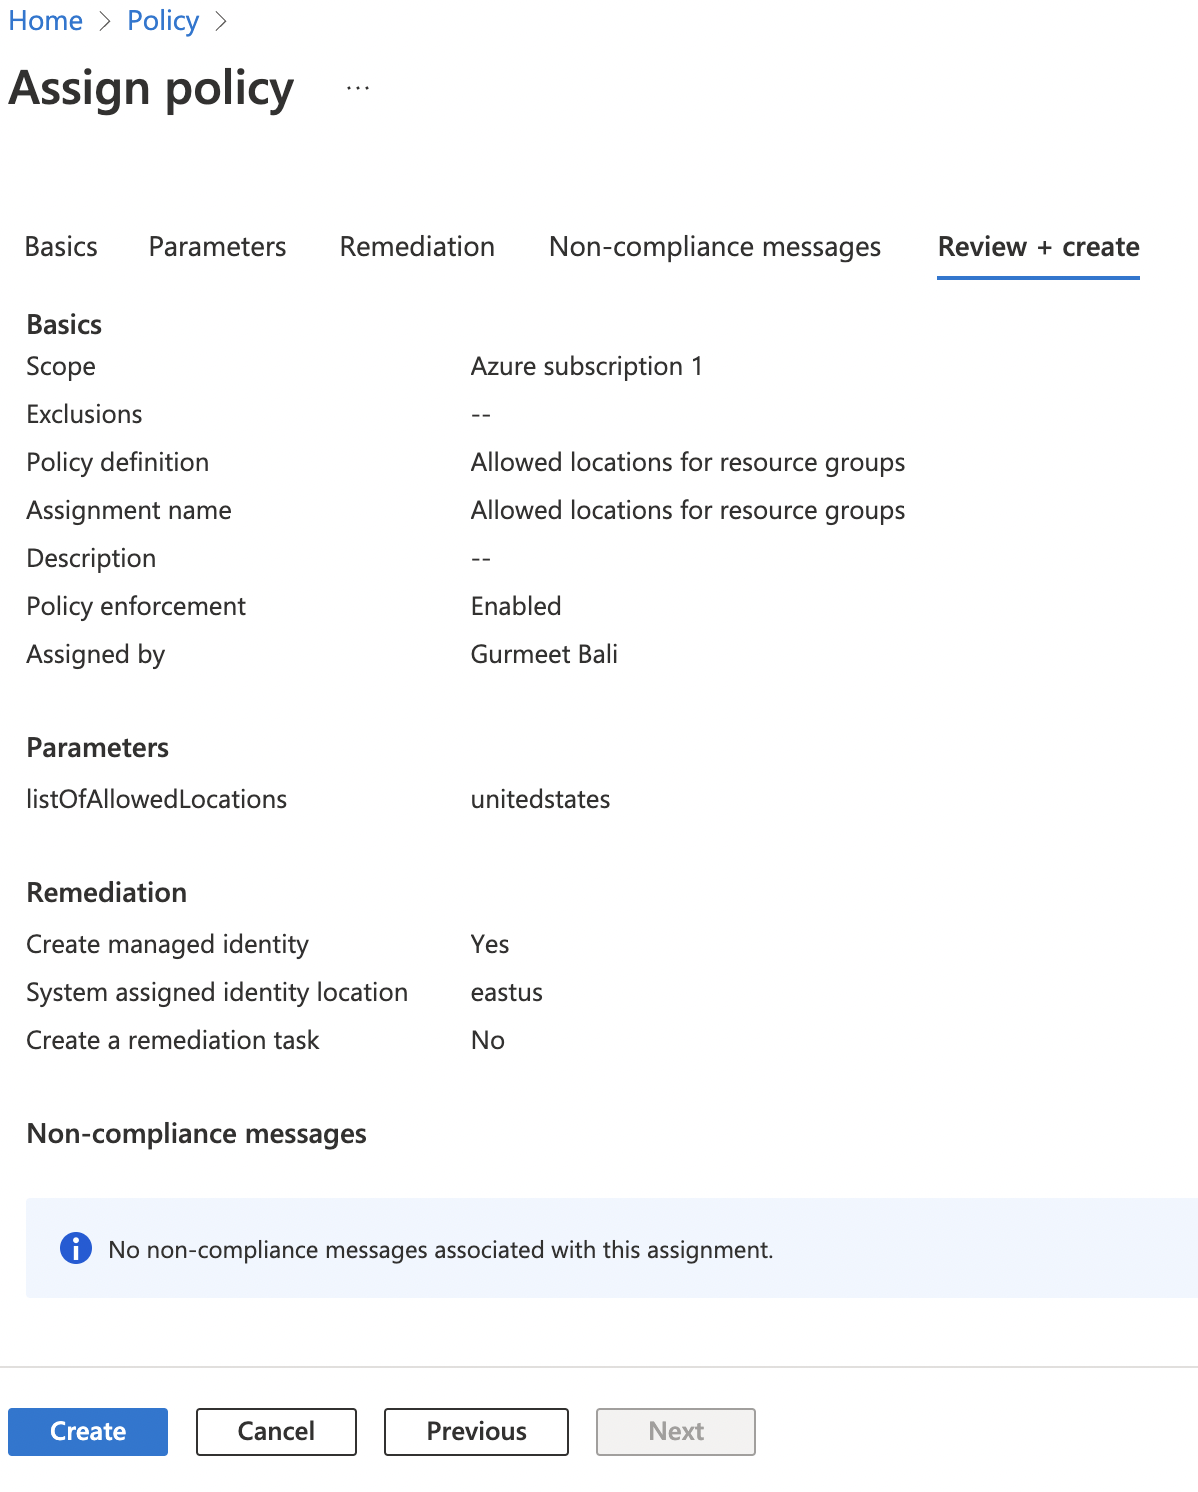
On the “Review + Create” tab, click “Create” button at the bottom to create the specific “Resources Allowed Locations” policy.
Repeat steps number 6 - 10 to enable the built-in “Azure Policy definition: Audit Resources Allowed Locations” for all directories.