Open DNS
Determine if TCP or UDP port 53 for DNS is open to the public
While some ports such as HTTP and HTTPS are required to be open to the public to function properly, more sensitive services such as DNS should be restricted to known IP addresses.
Recommended Actions
Follow the appropriate remediation steps below to resolve the issue.
Log in to the Microsoft Azure Management Console.
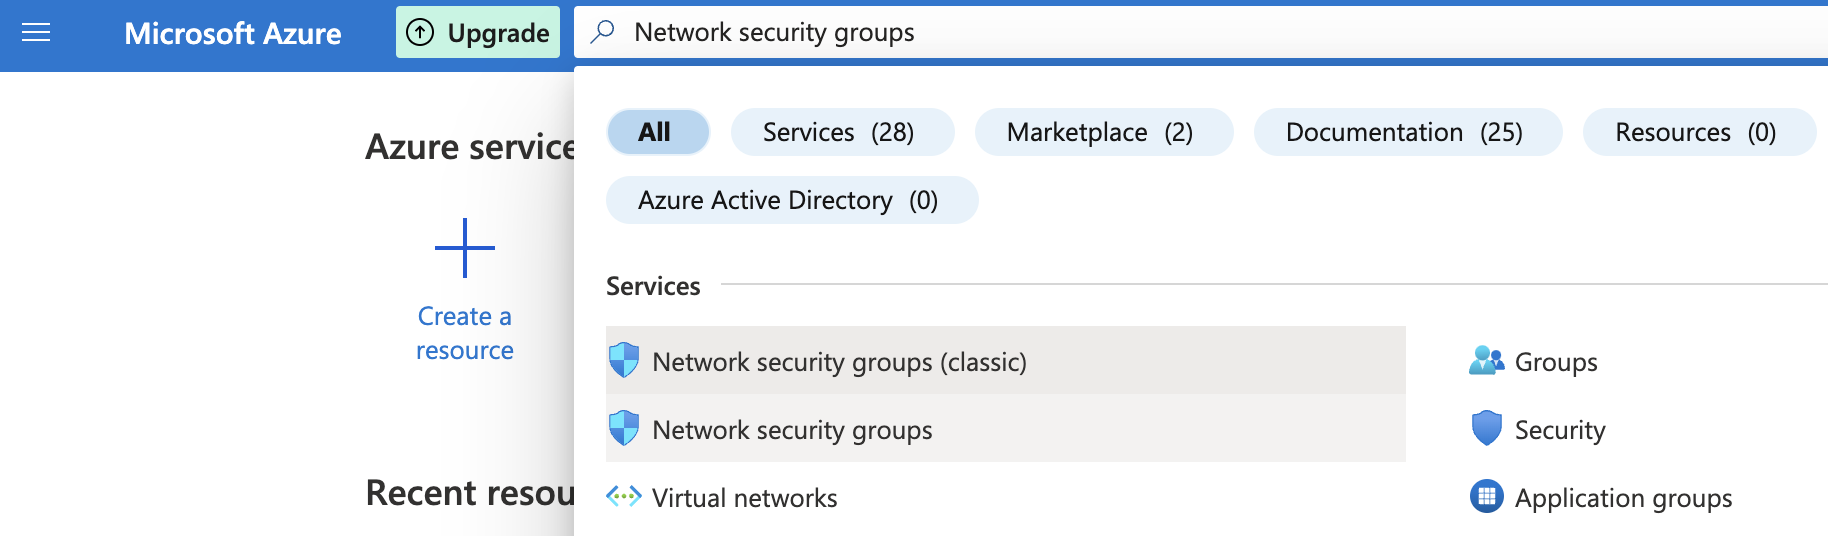
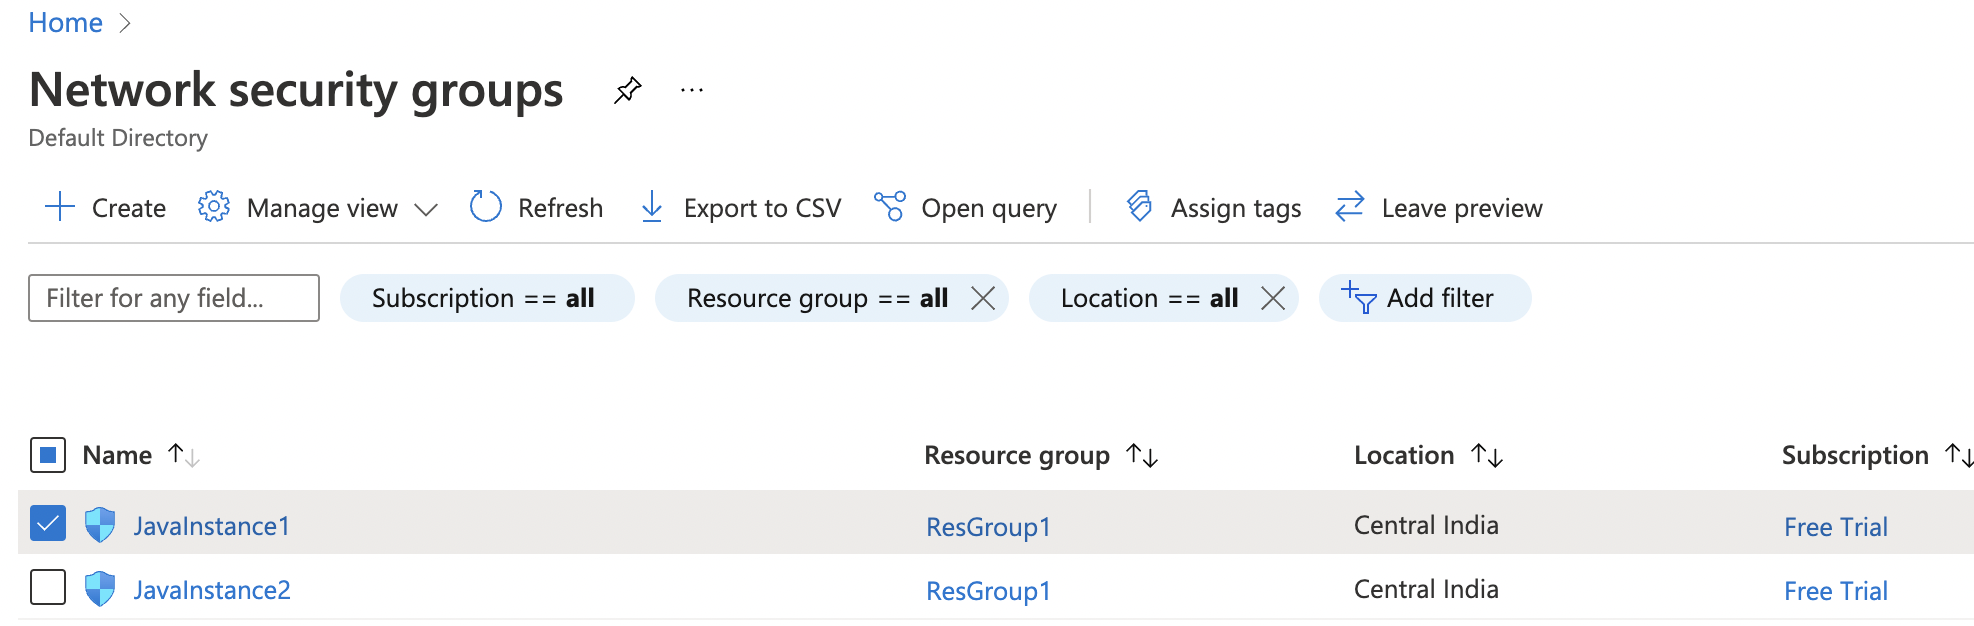
Click on the search bar at the top and search for Network security groups.
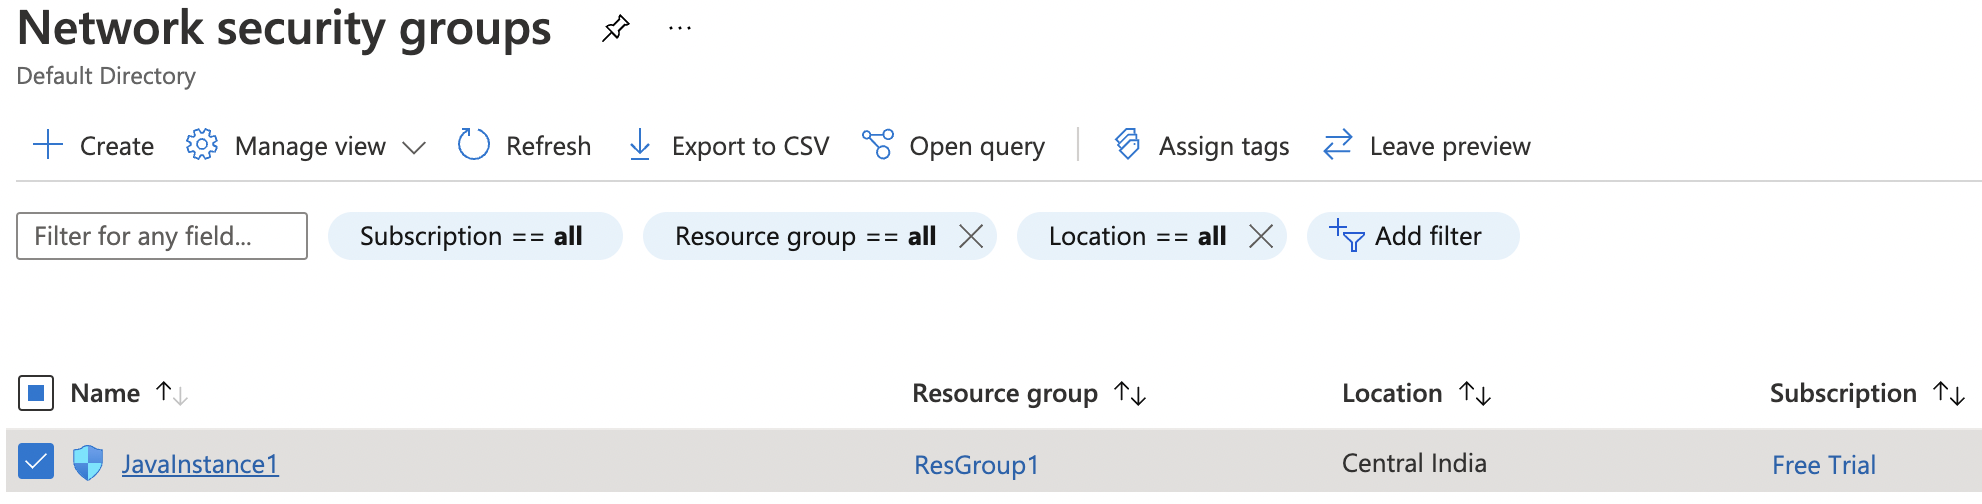
Select the “Network security group” that needs to be verified.

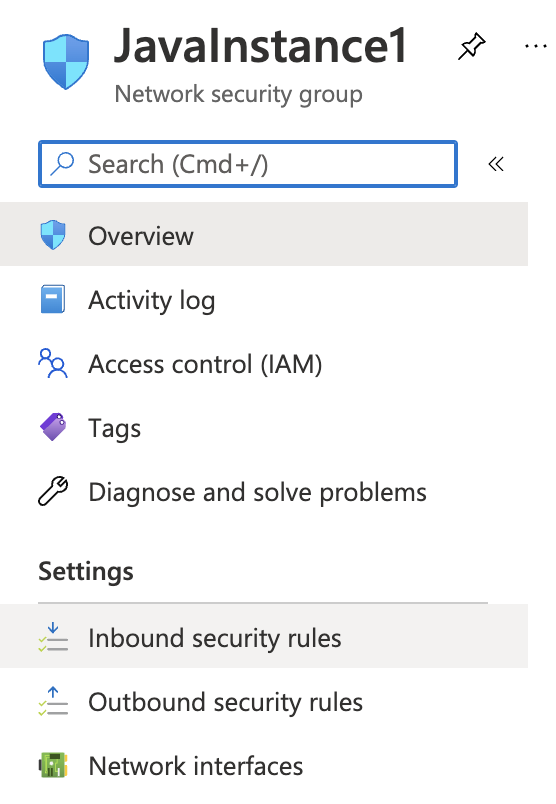
Click on the “Name” of the selected “Network security group” to access the port configurations.
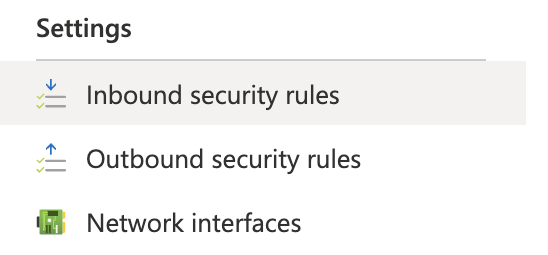
In the “Overview” tab scroll down the page and check the “Inbound security rules” under the “Settings”.
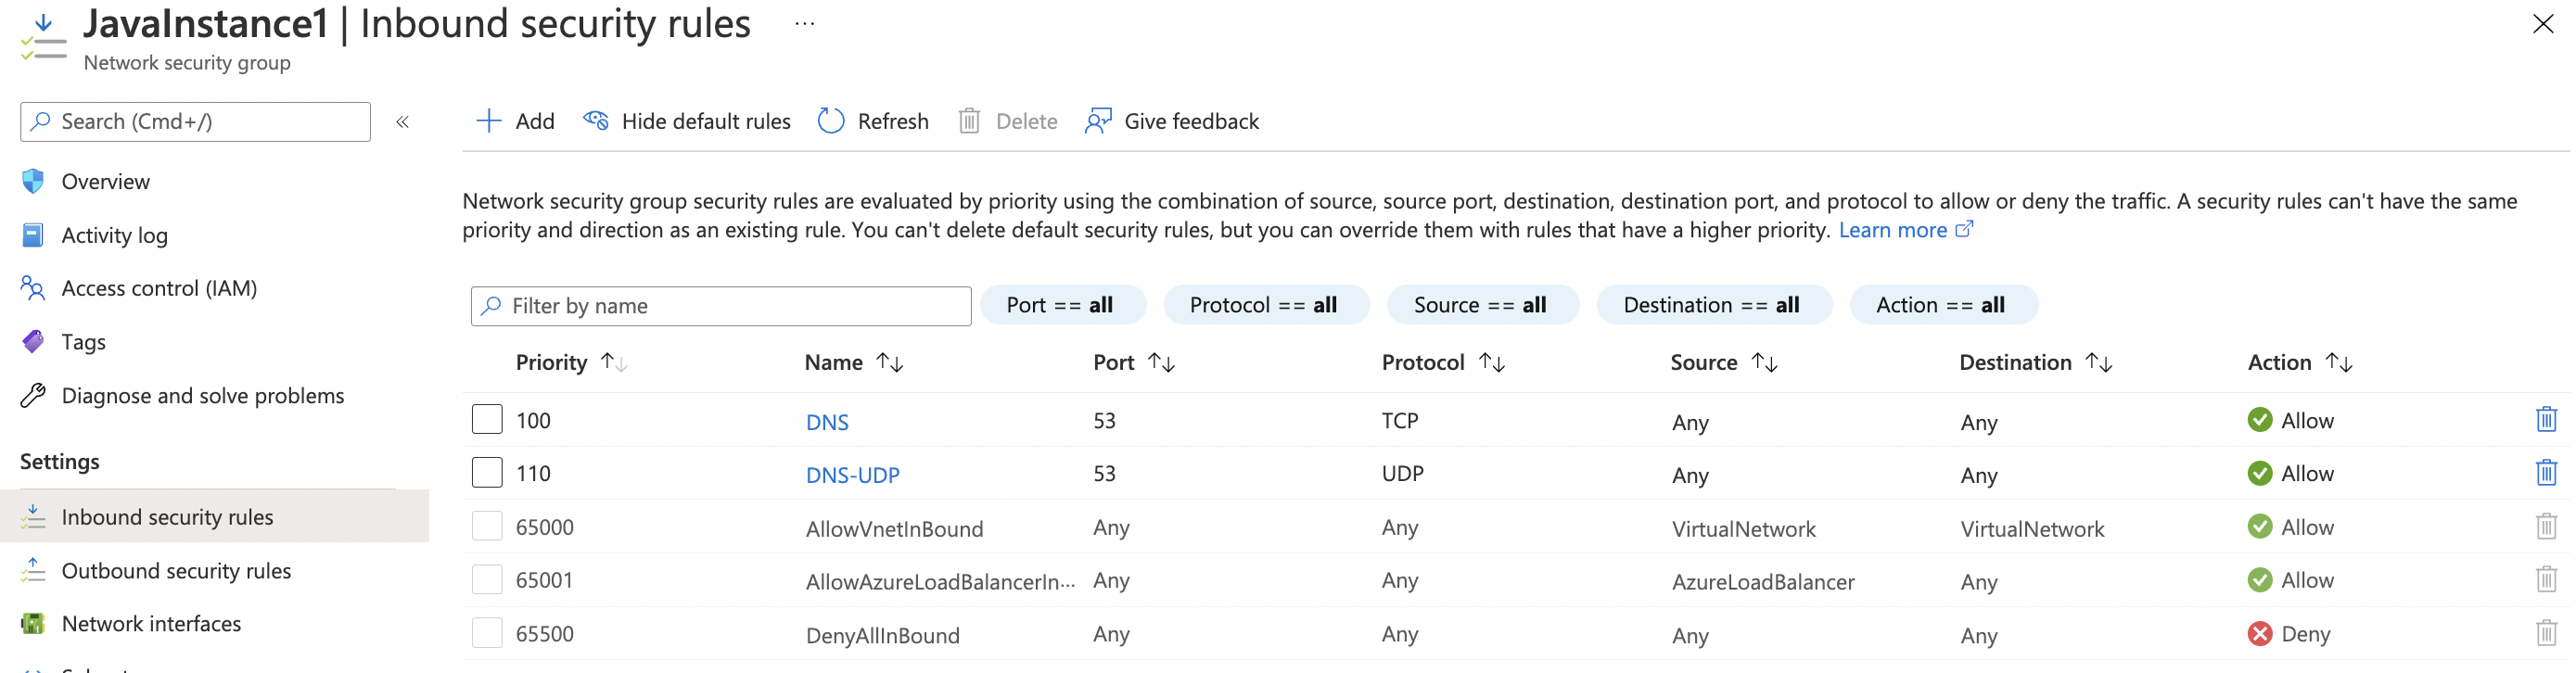
If the “DNS” for port 53 with the protocol “TCP/UDP” is showing as “Allow” in column “Action” for all “Source” and “Destination” then the selected “Network security group” has TCP/UDP port 53 for DNS open to the public.
Repeat step number 2 - 6 to verify other “Network security groups.”
Navigate to the “Network security groups” and select the security group that needs to be modified for restricting the “TCP/UDP” port for DNS on port 53 to specific IP Address.
Scroll down the left navigation panel and choose “Inbound security rules” under “Settings.”
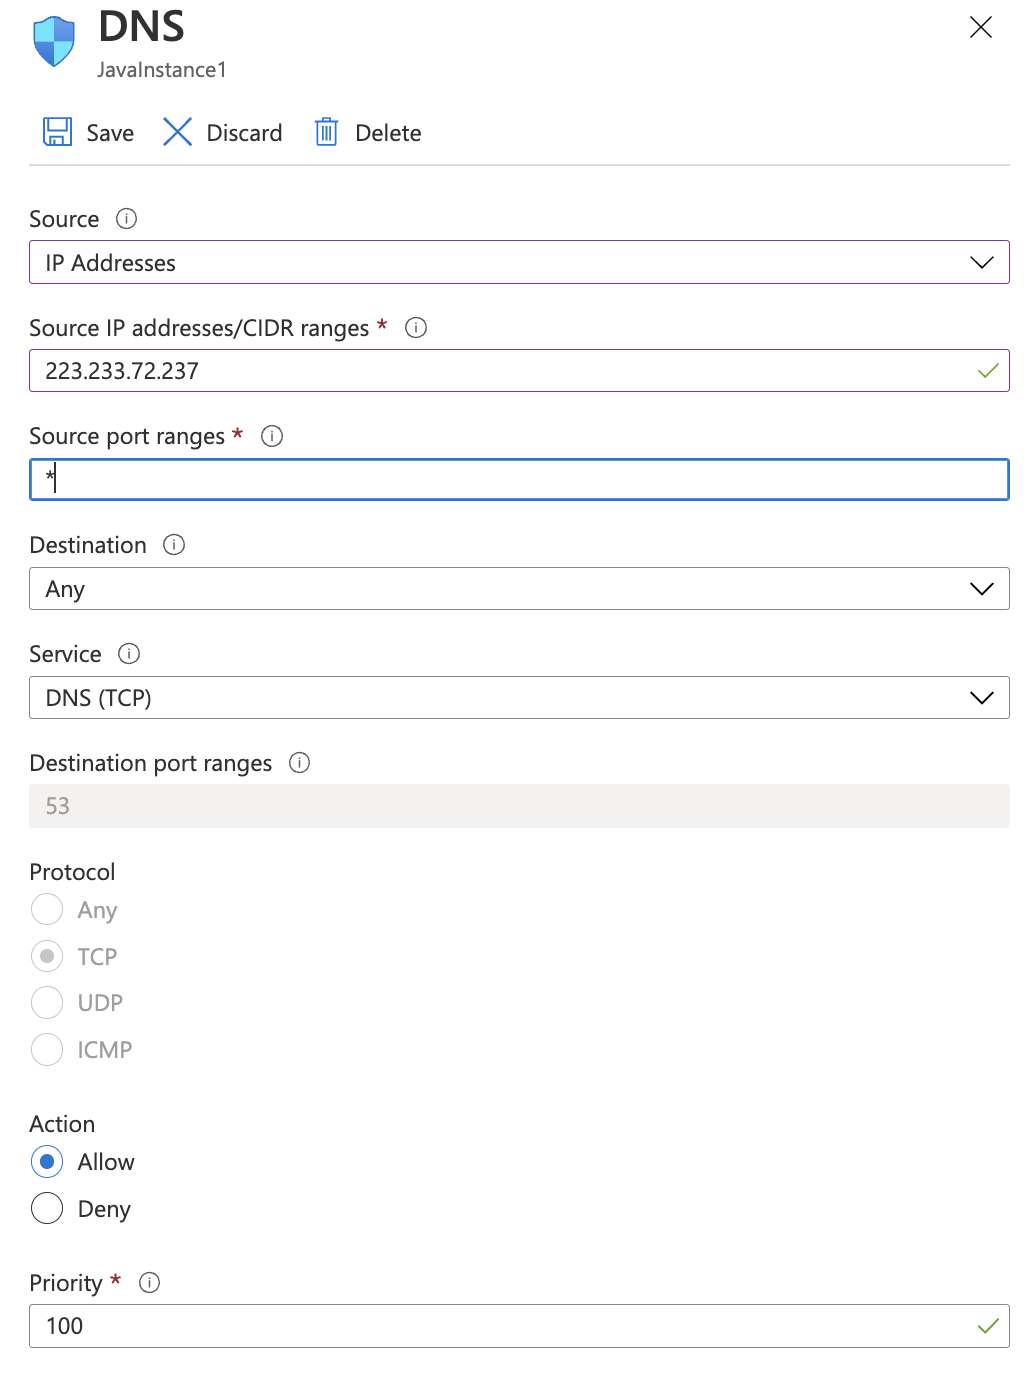
Click on the “DNS” protocol in the “Name” column and in the right pane under “Source” select the “IP Addresses” from the dropdown menu and enter the “Source IP addresses/CIDR ranges” as per the requirement, select the required Protocol and Action and click on the “Save” option at the top of the pane.
Repeat step number 8 - 10 to restrict TCP and UDP port 53 to known IP addresses.