Auto Provisioning Enabled
Ensures that automatic provisioning of the monitoring agent is enabled
The Microsoft Monitoring Agent scans for various security-related configurations and events such as system updates, OS vulnerabilities, and endpoint protection and provides alerts.
Recommended Actions
Follow the appropriate remediation steps below to resolve the issue.
-
Log in to the Microsoft Azure Management Console.
-
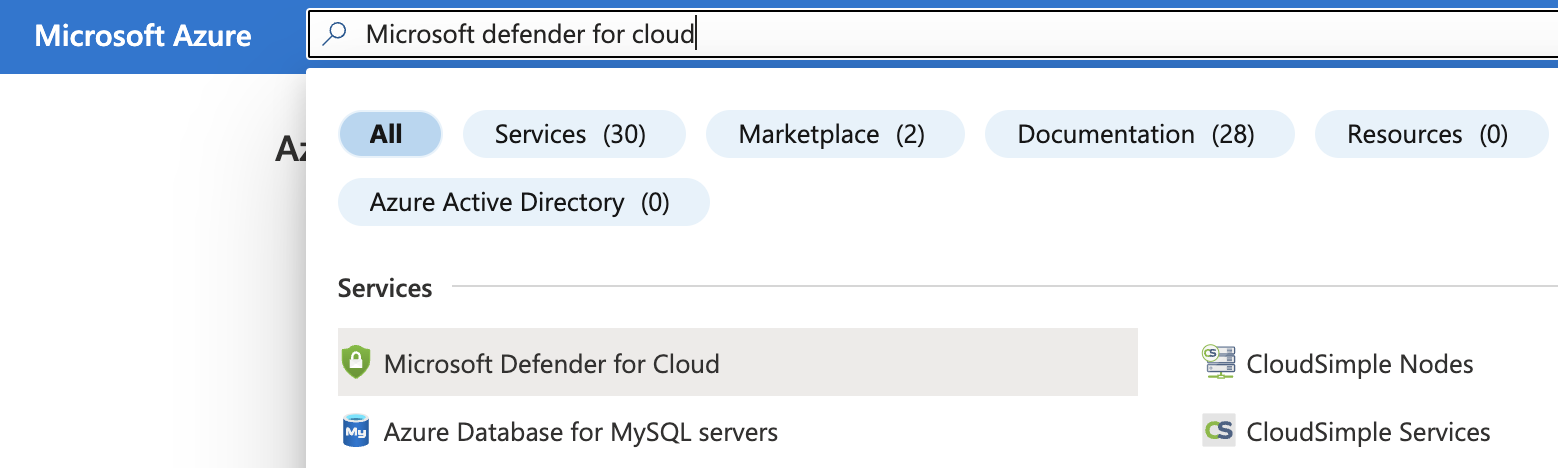
Select the “Search resources, services, and docs” option at the top and search for “Microsoft Defender for Cloud”.
-
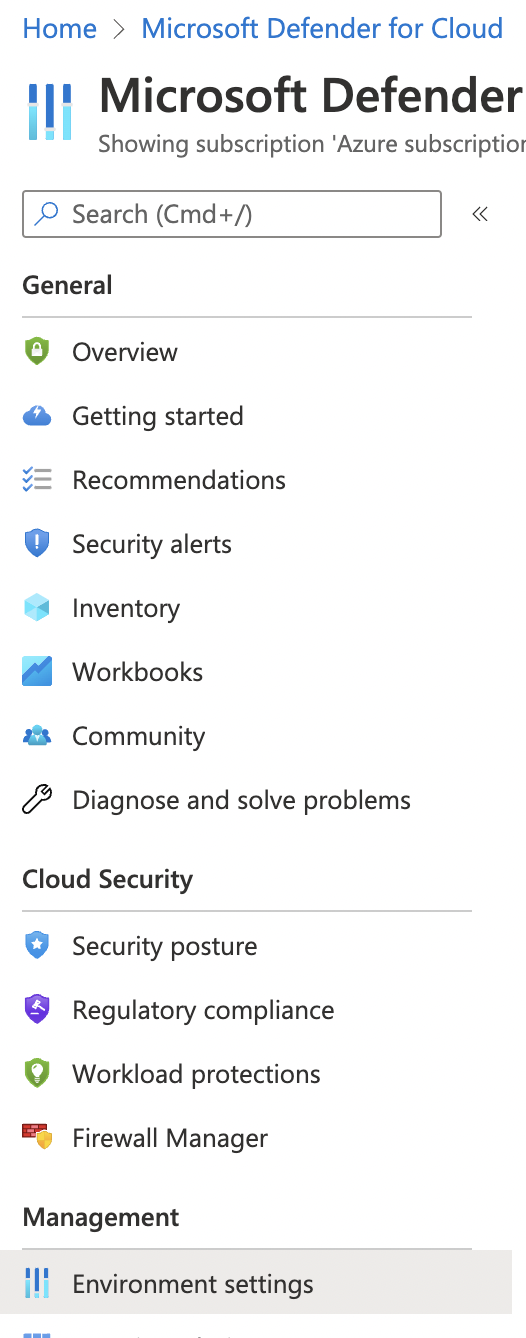
On the “Microsoft Defender for Cloud” page scroll down the left navigation panel and choose “Environment Settings”.
-
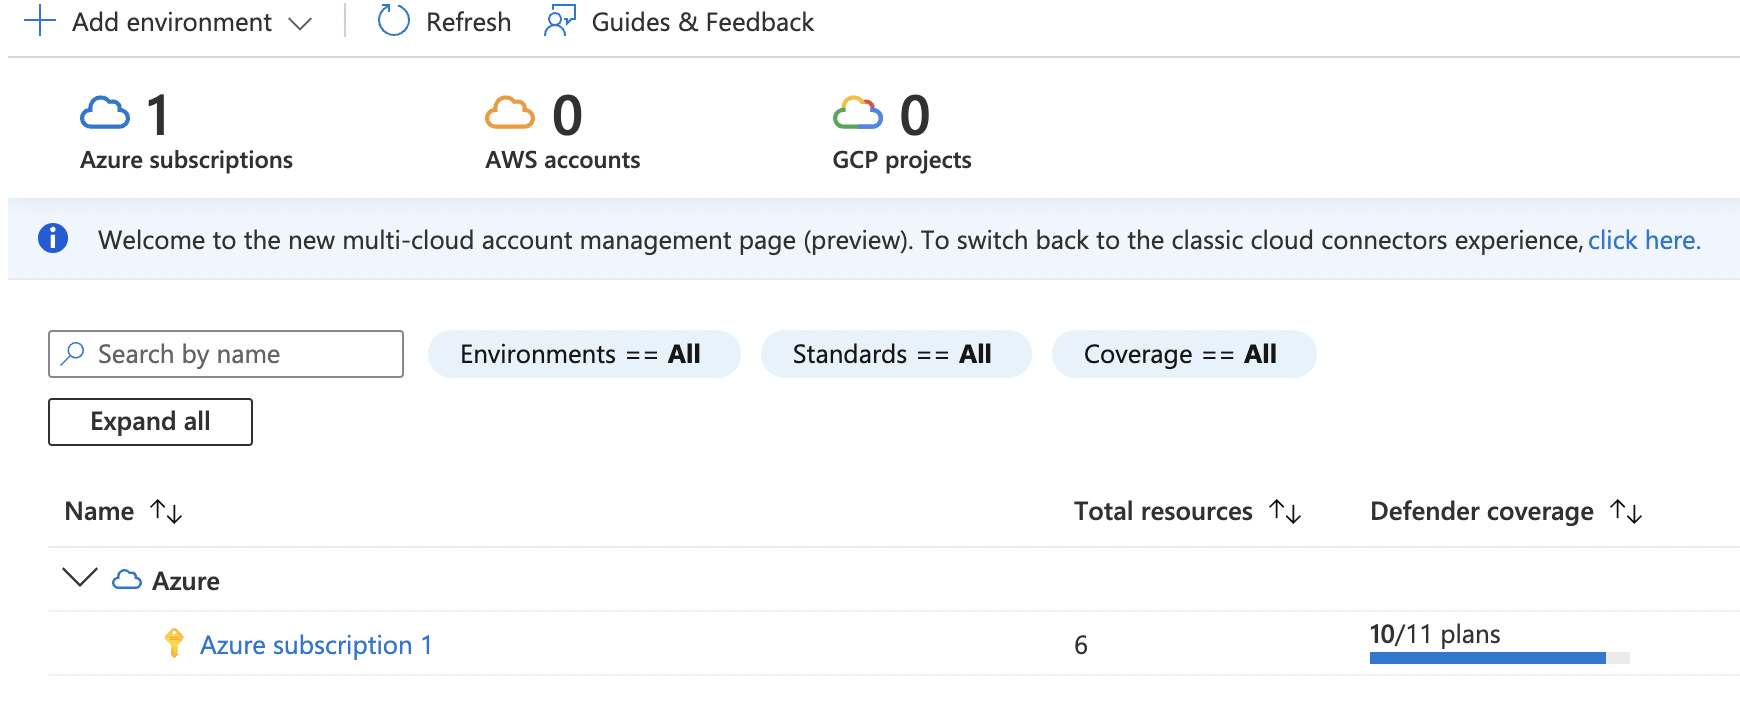
On the “Environment Settings” page, select the “Subscription” by clicking on its “Name”.
-
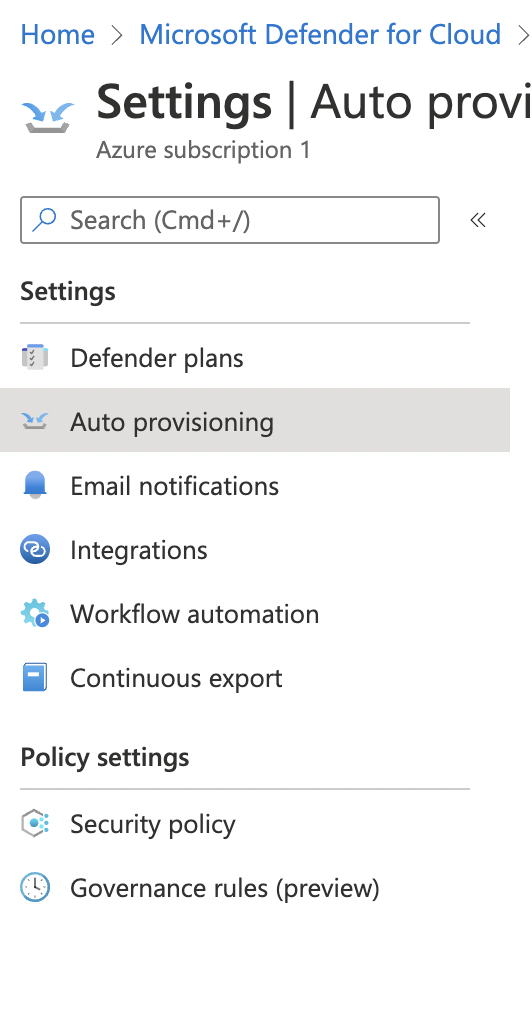
Under the “Settings” page, click on “Auto Provisioning”
-
On the “Settings | Auto provisioning” page, if the “Log Analytics agent for Azure VMs” shows status as turned off, then the “Automatic provisioning” of the monitoring agent is not enabled.
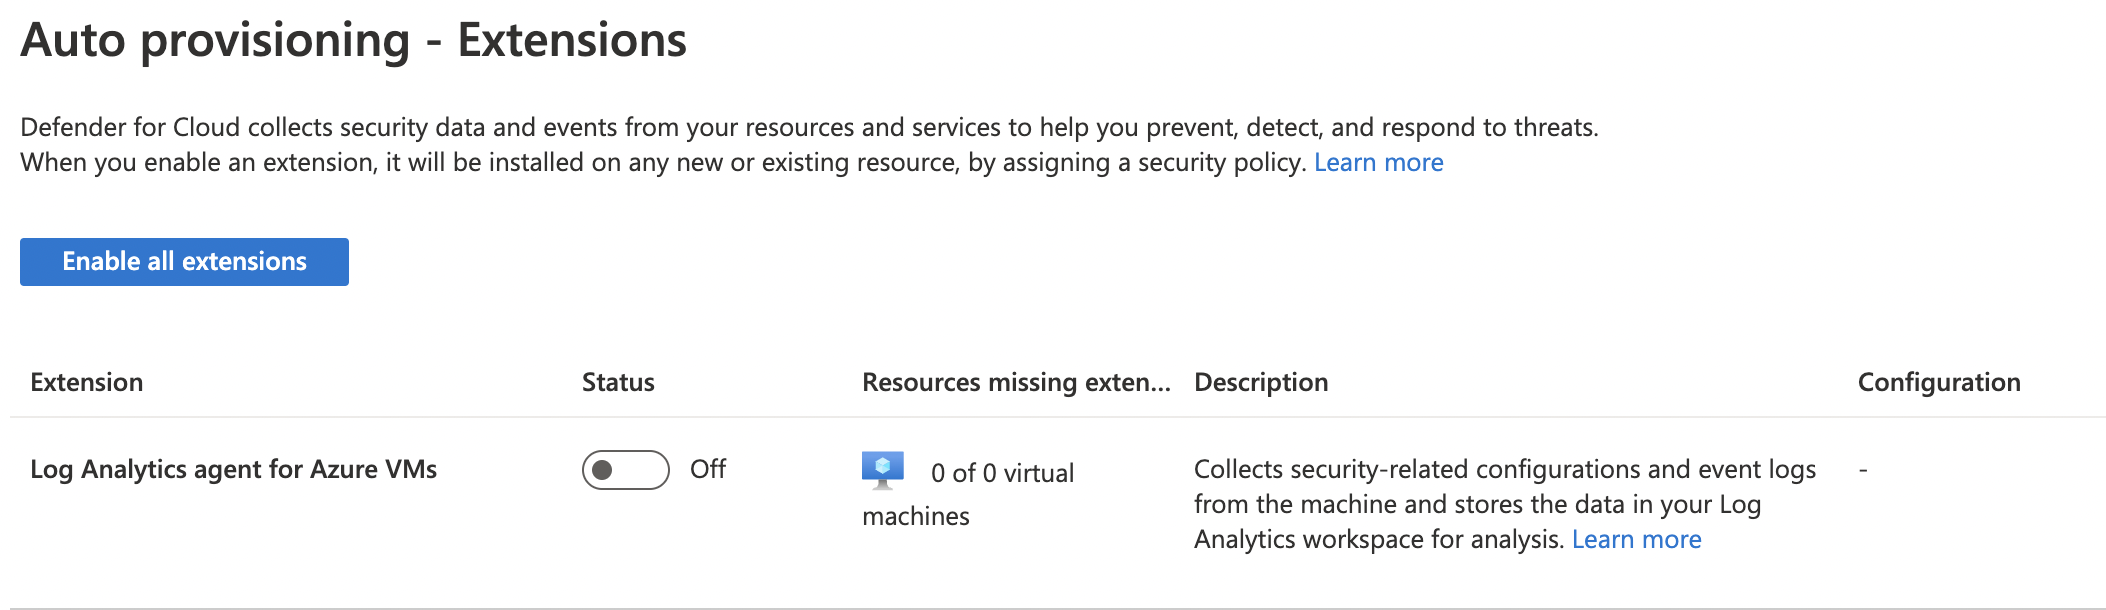
-
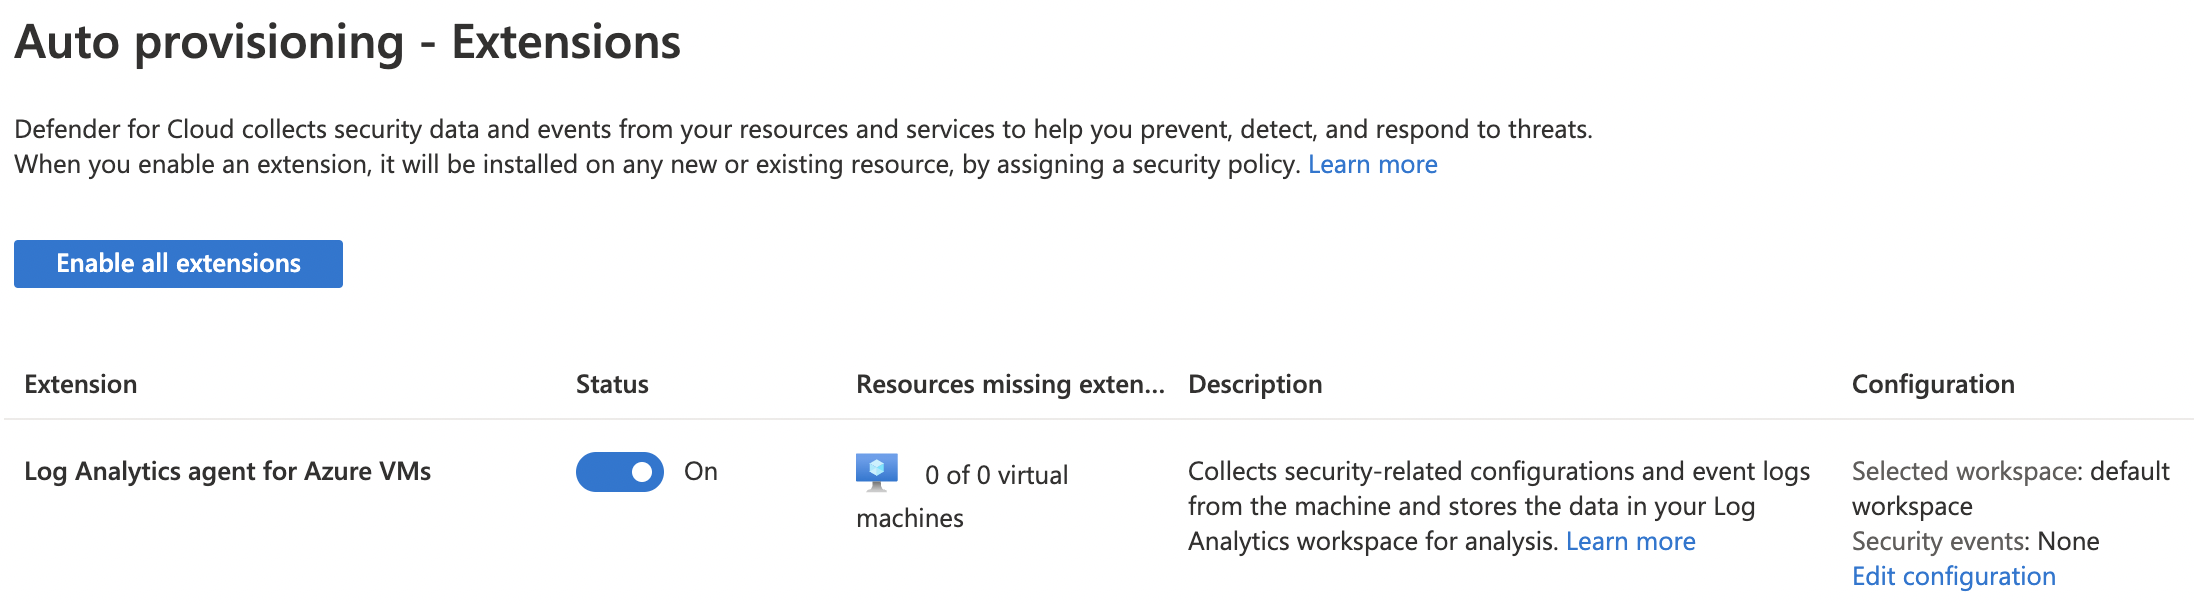
On the “Settings | Auto provisioning” page, turn the status “ON” for “Log Analytics agent for Azure VMs” by toggling it.

-
To the right under “Configuration” click on “Edit configuration”.
-
On the “Extension deployment configuration” page, select the “Workspace configuration” and click on the “All Events” under the “Windows security events”. Click on the “Apply” button to make the changes.
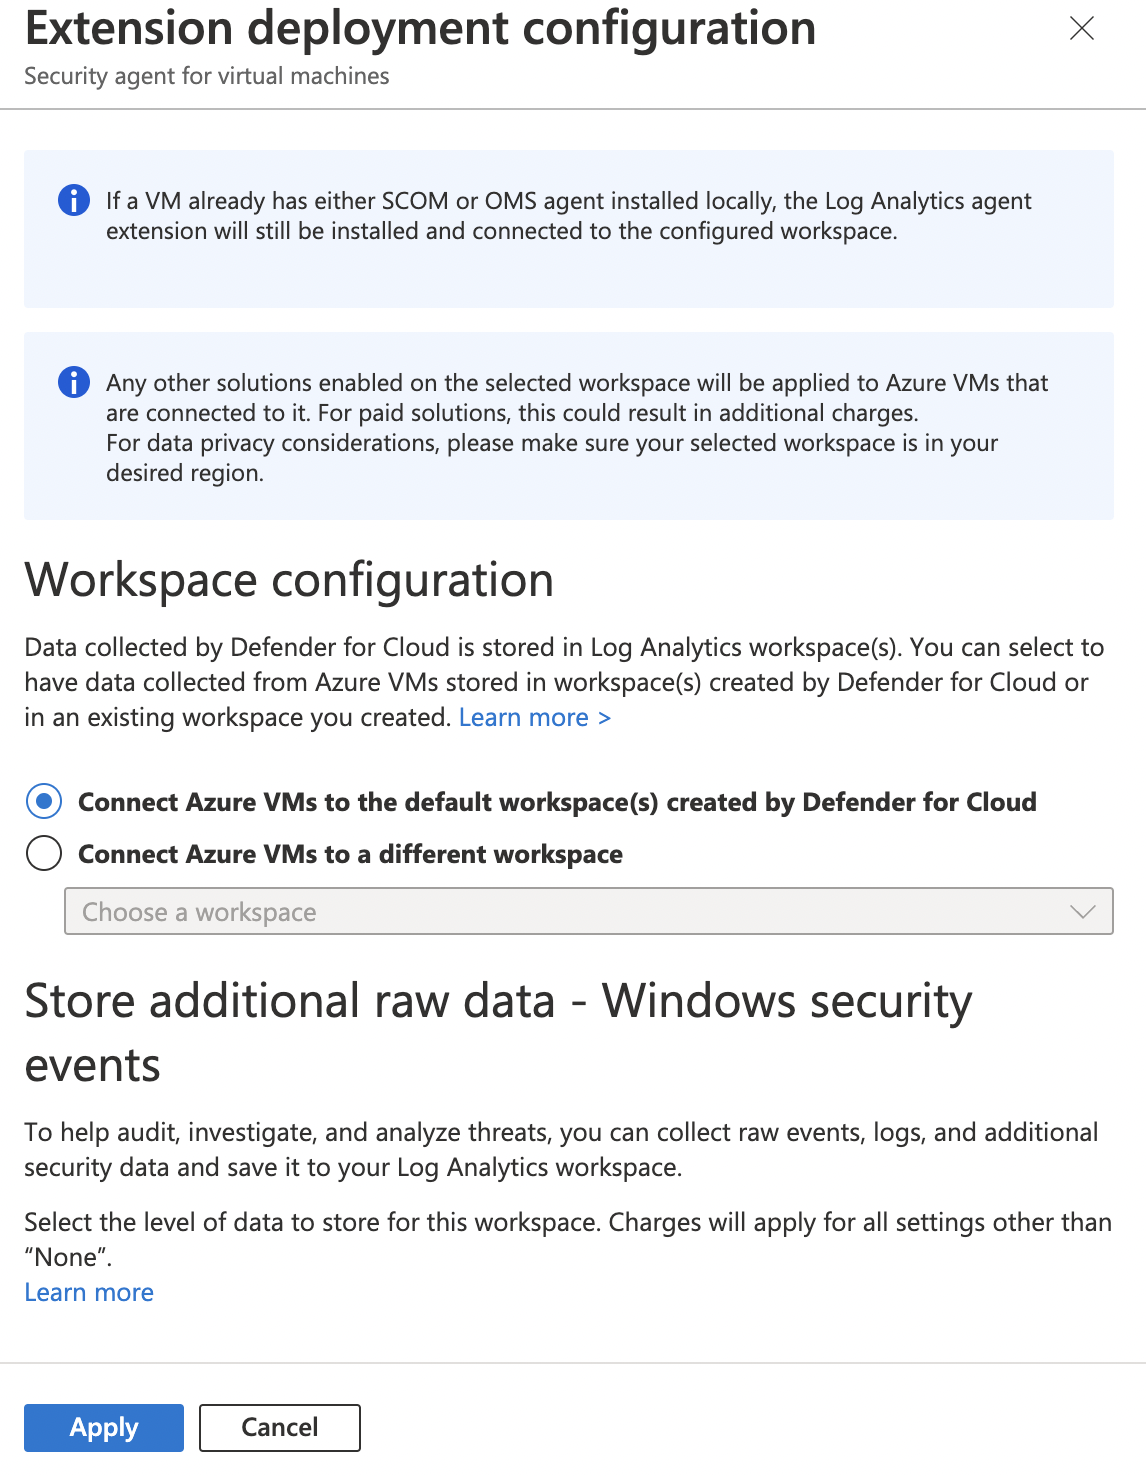
-
Repeat step number 3 - 9 to ensure that the data collection settings of the subscription have Auto Provisioning set to enabled.