SQL DB Multiple AZ
Ensures that SQL Database instances are created to be cross-AZ for high availability
Creating SQL Database instances in a single availability zone creates a single point of failure for all systems relying on that database. All SQL Database instances should be created in multiple availability zones to ensure proper failover.
Recommended Actions
Follow the appropriate remediation steps below to resolve the issue.
Log in to the Microsoft Azure Management Console.
Select the “Search resources, services, and docs” option at the top and search for “SQL databases”.

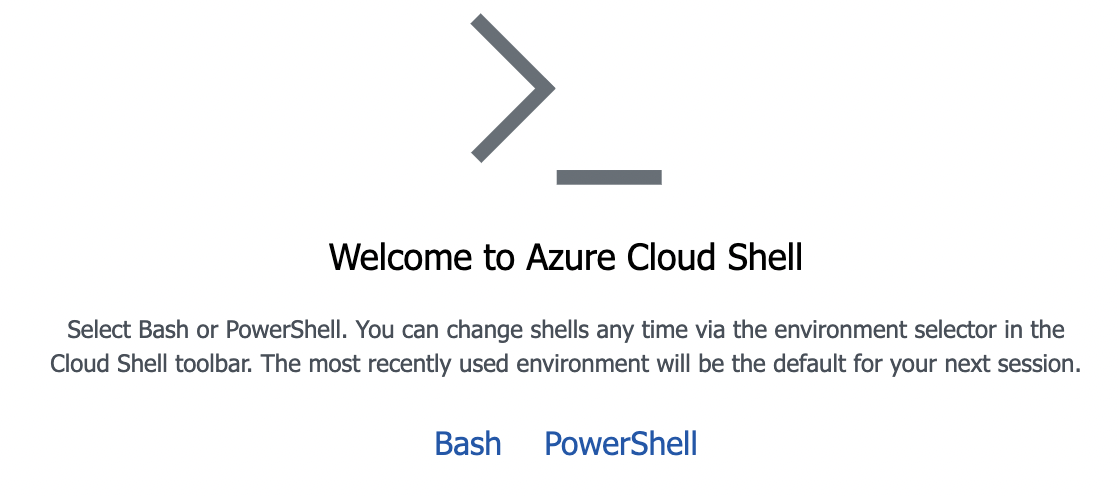
On the “SQL database” page, click on the “Cloud shell” icon at the top next to the search bar as “Availability Zones” cannot be checked from Azure “UI Console”.

In the box that opens at the bottom, select “PowerShell”.
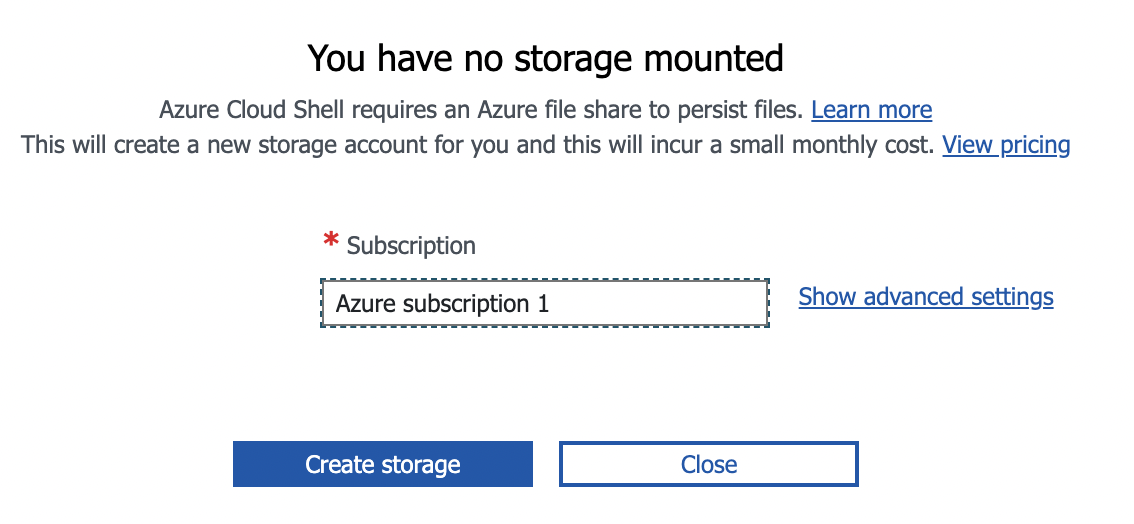
In the next screen, select the desired Azure Subscription & click on “Create storage” button.
Run “Get-AzSqlServer” PowerShell command in the PowerShell prompt, to list all the “SQL servers” in the selected subscription. Note the “ResourceGroupName” and “ServerName” of the desired SQL server.
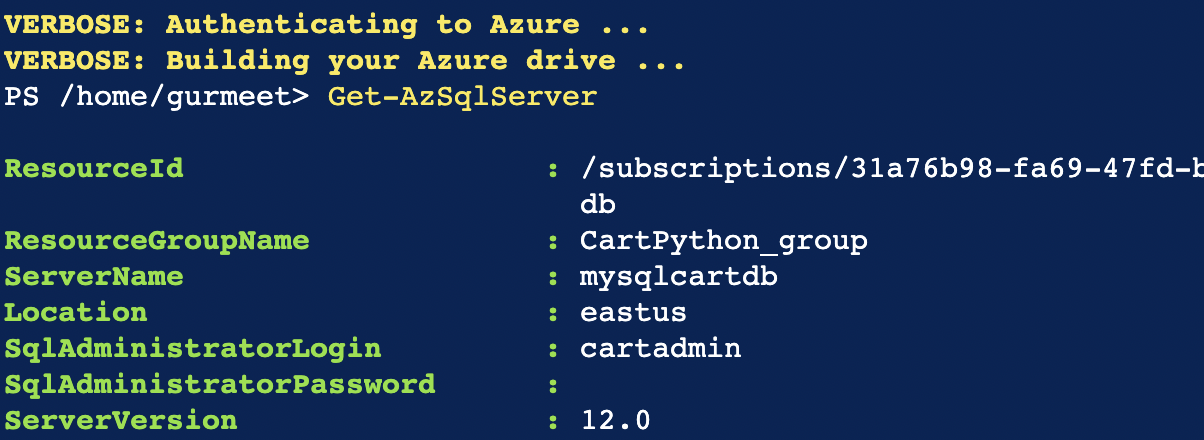
Run “Get-AzSqlDatabase -ResourceGroupName your_resource_group_name -ServerName your_server_name -DatabaseName your_DB_Name” PowerShell command.

If the value of property “ZoneReduntant” is “false” in the result then the database is not zone reduntant.

If the value of ZoneReduntant is False then we need to restore the affected Database with a minimum of “Premium” grade “Compute + storage”.
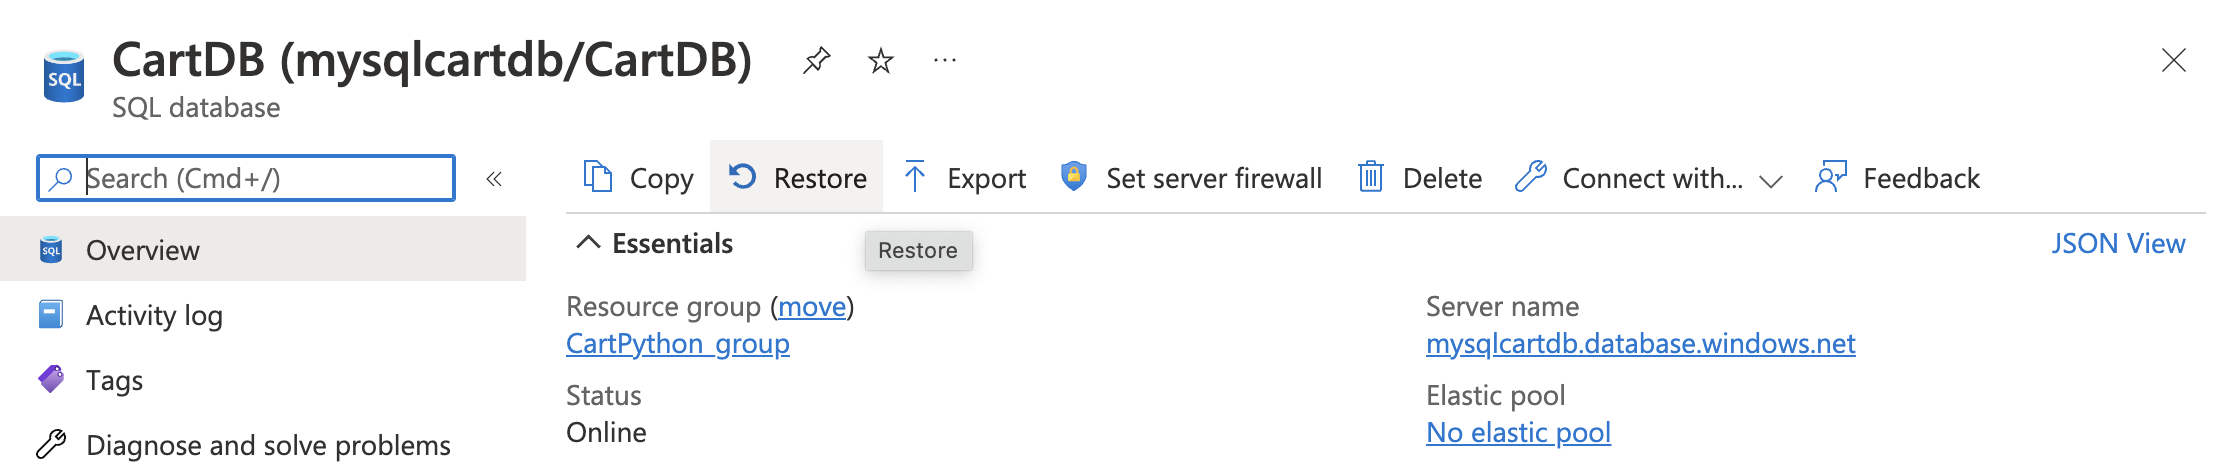
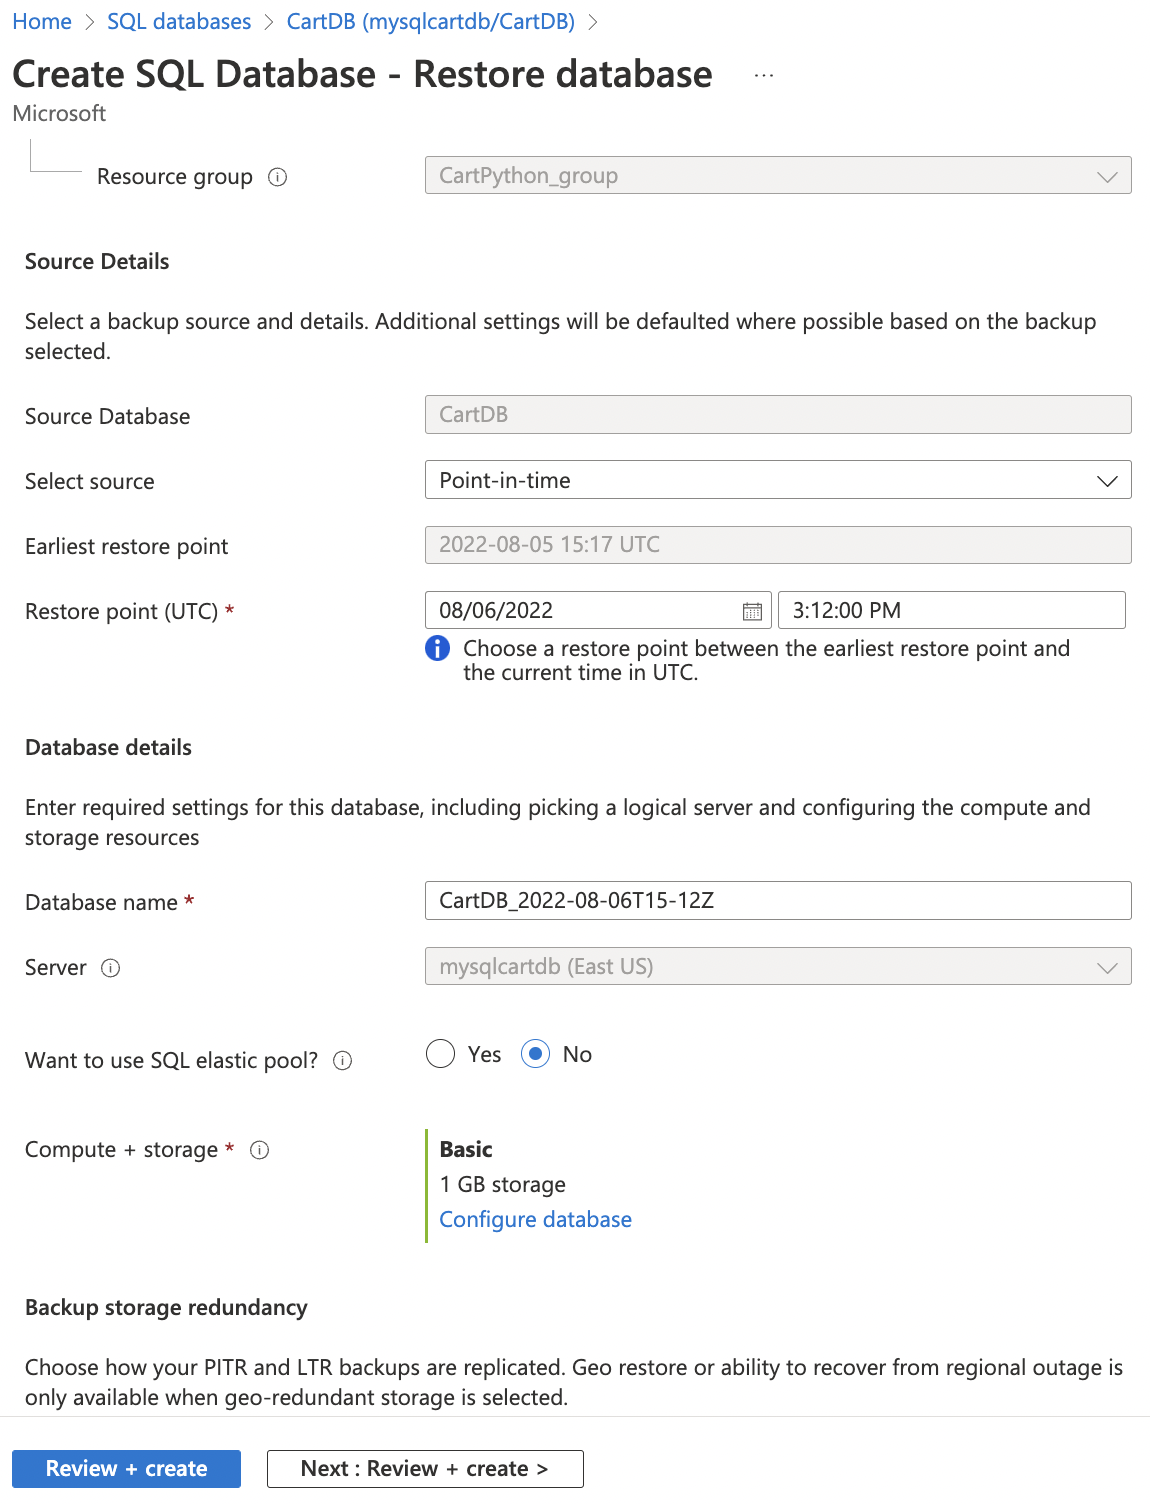
On the Azure UI Dashboard, go to the configuration of the affected database and click on “Restore” button at the top.
On the “Create SQL Database - Restore database” page, select the “Earliest restore point” and click on “Configure database” next to “Compute + storage”.
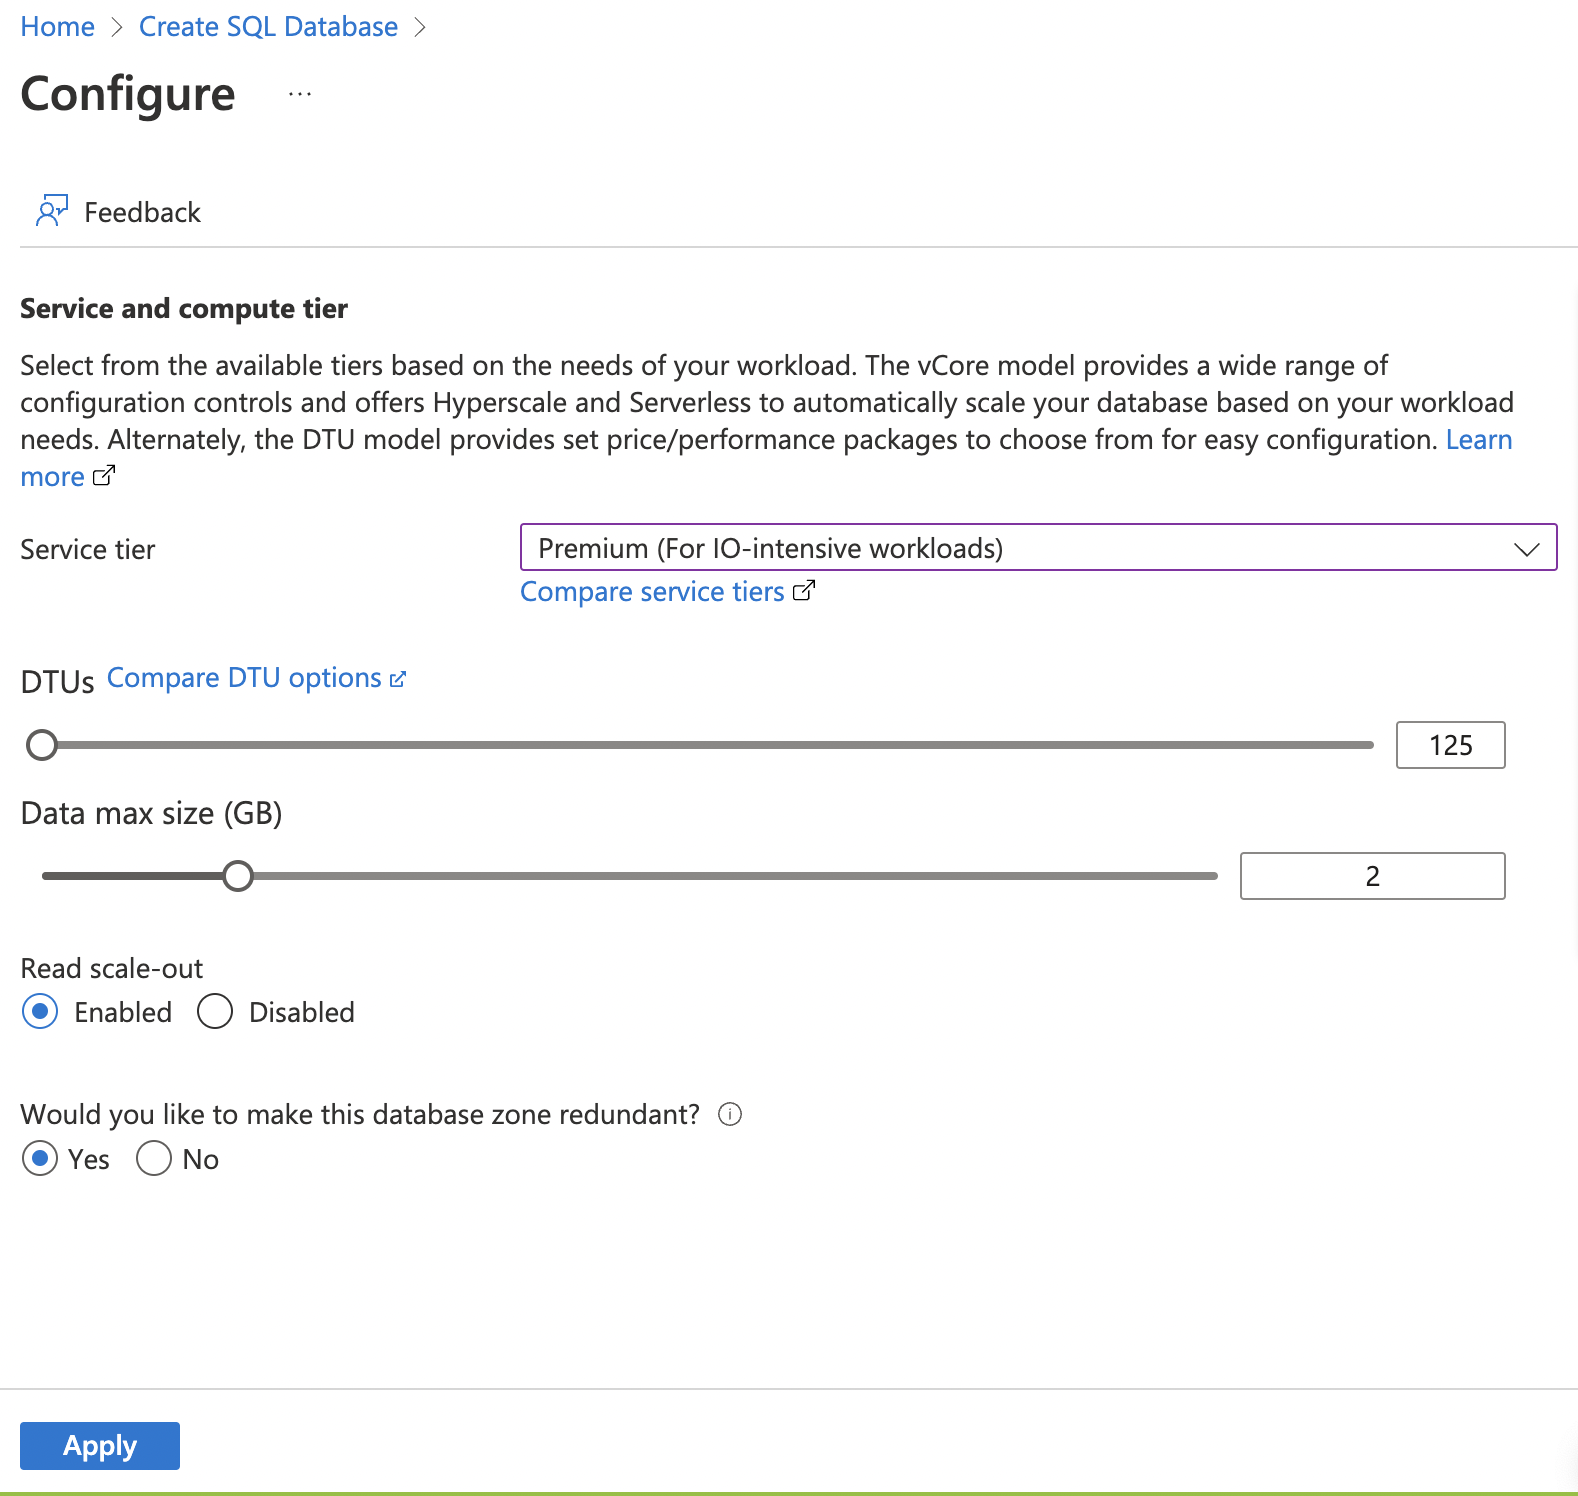
On the Configure page, select “Premium” or higher Service tier type in the “Service tier” dropdown.Then select “yes” for “Would you like to make this database zone redundant?” and click “Apply” button at the bottom.
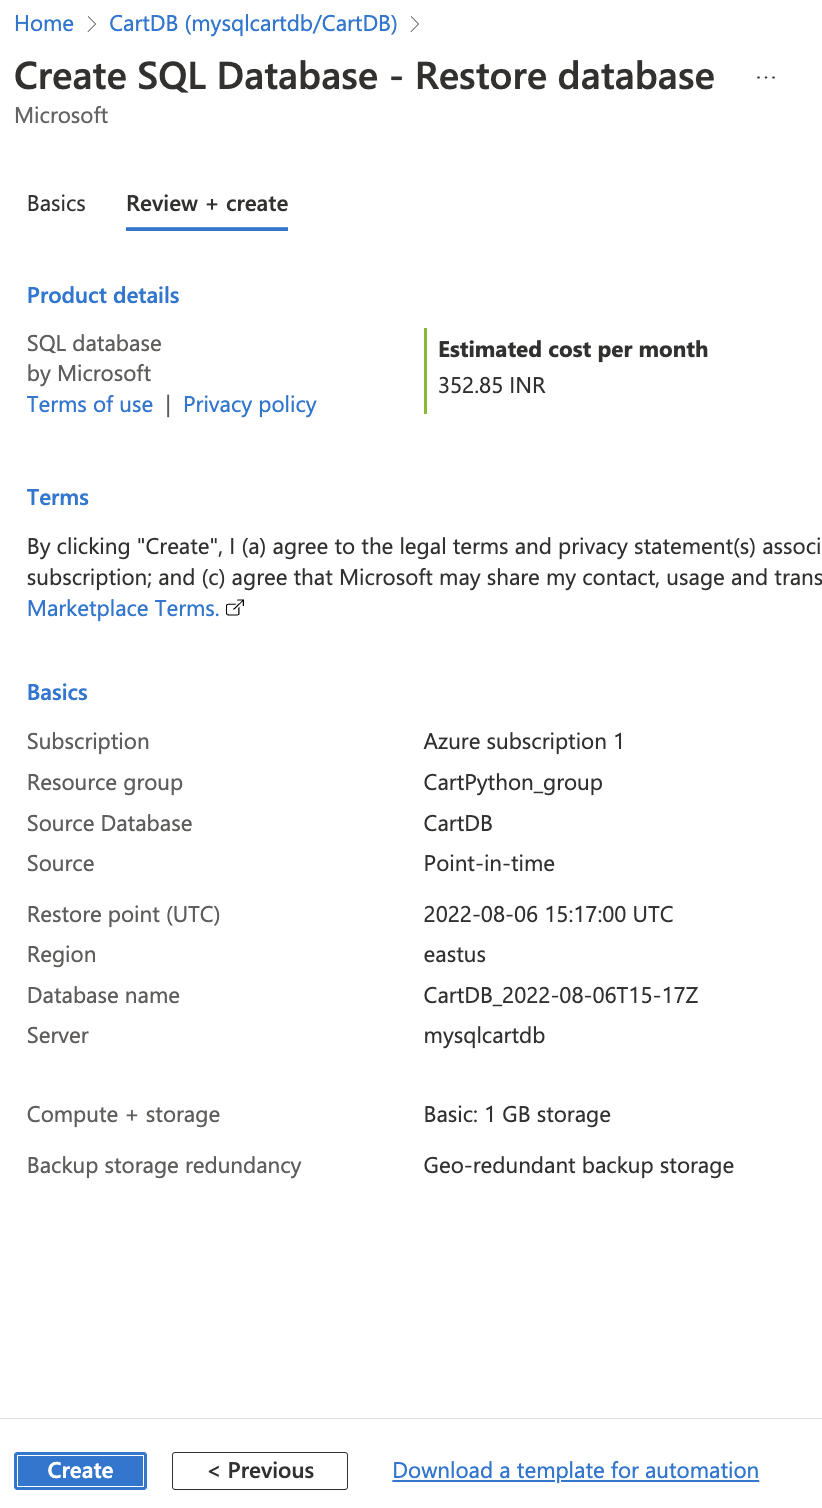
Now click “Review + create” and “Create” on the “Create SQL Database - Restore database” page to complete the restoration.
Once the restoration is complete, on Azure PowerShell run the command “Get-AzSqlDatabase -ResourceGroupName your_resource_groupname -ServerName your_server_name -DatabaseName your_DB_Name” to verify that zone reduntant property is now “True”.

Repeat steps 3 - 14 for all other SQL databases to make them zone redundant.