File Service Encryption
Ensures data encryption is enabled for File Services
File Service encryption protects your data at rest. Azure Storage encrypts your data and automatically decrypts it for you as you access it.
Recommended Actions
Follow the appropriate remediation steps below to resolve the issue.
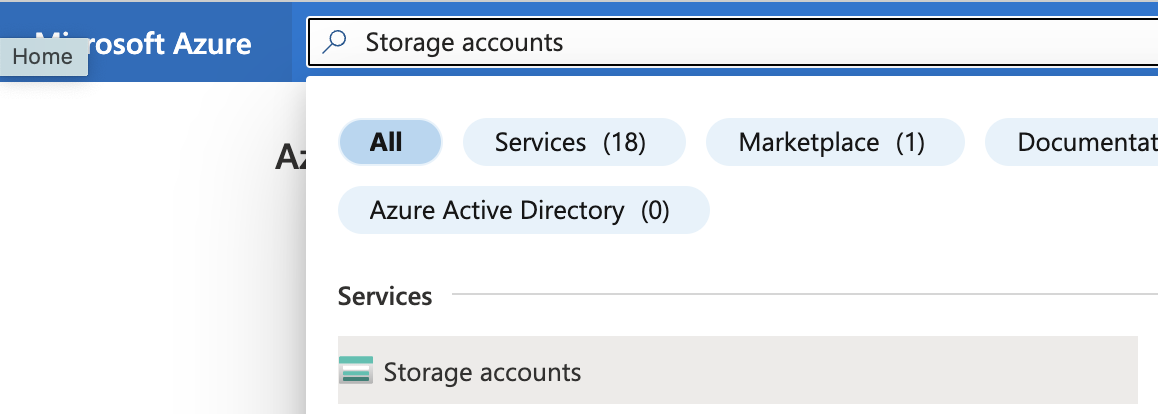
Log in to the Microsoft Azure Management Console.
Select the “Search resources, services, and docs” option at the top and search for “Storage accounts”.
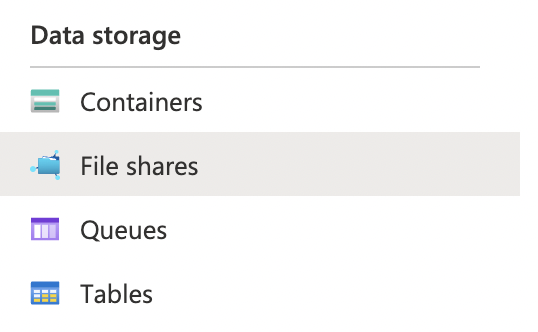
On the “Storage account” page, scroll down the left navigation panel and choose “File shares” under “Data Storage”.
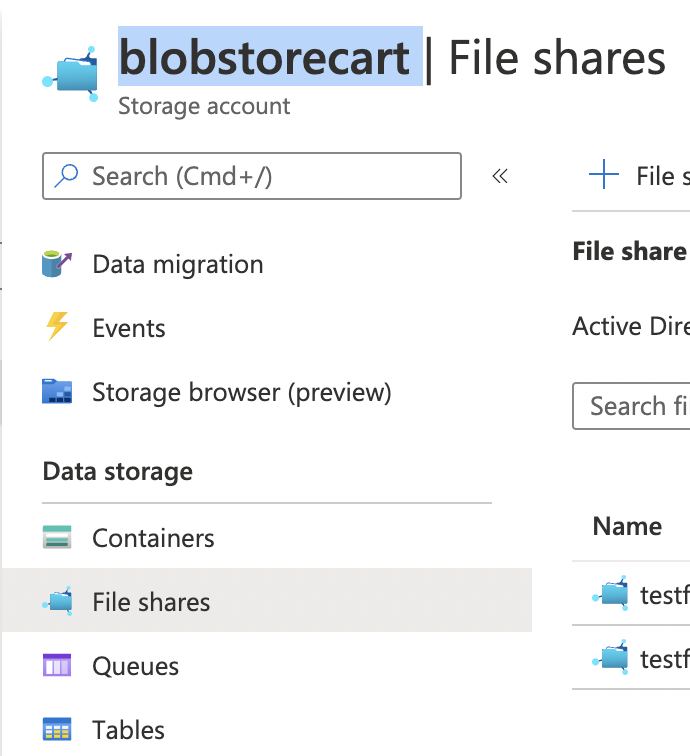
Select the “File share” on the “File sharing” page and check the storage account name at the top. File shares are a part of the Storage container. So to ensure encryption is properly configured for File Shares we have to check the encryption of the corresponding container
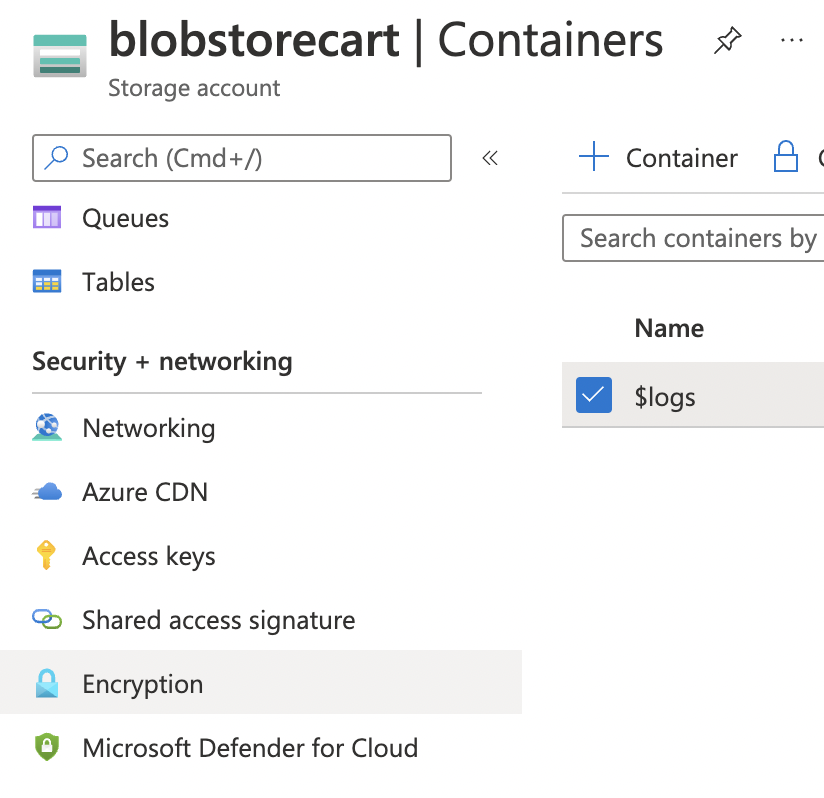
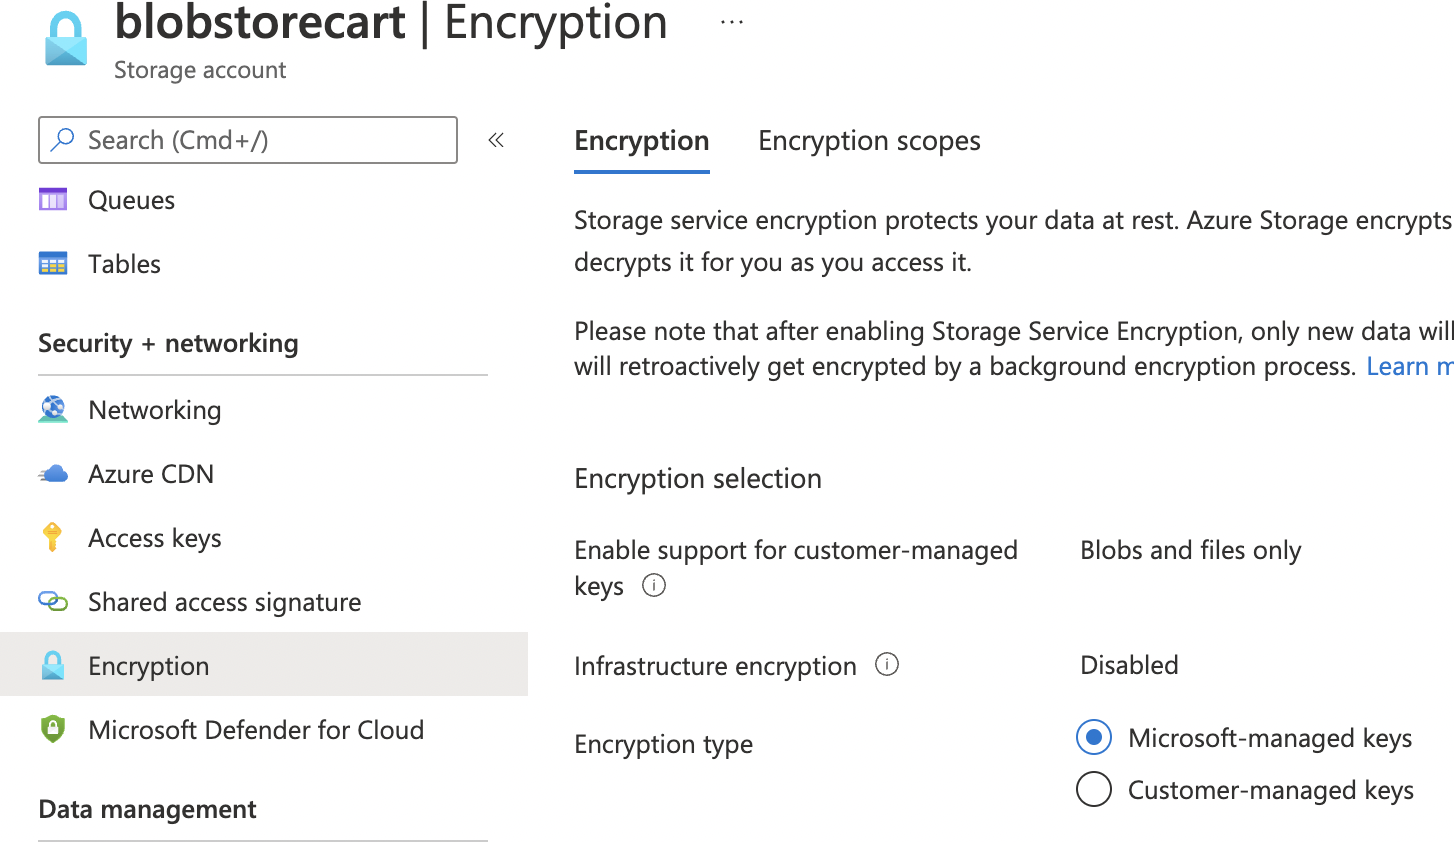
Navigate to “Storage account”, select the corresponding “Storage account”, scroll down the left navigation panel and choose “Encryption” under “Security + networking”.
On the “Encryption page” scroll down and check the “Encryption type”. If “Microsoft-managed keys” is selected, then “BYOK encryption” is not configured in the File Service Encryption.
To enable “BYOK encryption” select “Encryption type” as “Customer-managed keys”. In the “Encryption key” select option “Select from key vault”.
In the “Key Vault and key” click on the blue hughlighted text “Select a key vault and key”.
On the “Select a key” page, select “Key store type” as “Key vault”. In the “Key vault” and “key” options, select the key vault and key from the dropdown or you can create your own key vault and key. Click “Select” button at the end to save the selected options.
Click on the “Save” button at the end to make the changes.
Repeat step number 3 - 10 to ensure that data encryption is enabled for each File Service.